LaCie Ethernet Disk mini
Home Edition
User Manual
page 10
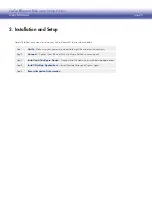
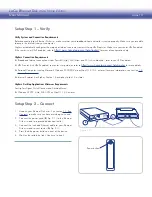
Setup Step 1 – Verify
Verify System and Connection Requirements
Before connecting your Ethernet Disk mini, make sure that your broadband home network is running properly. Make sure you are able
to access the Internet from your computer.
HipServ automatically configures the majority of today’s consumer routers utilizing UPnP features. Make sure your router UPnP-enabled.
If the router is not UPnP enabled, refer to
http://www.homelacie.com/help/router/
for manual configuration help.
HipServ Connection Requirements
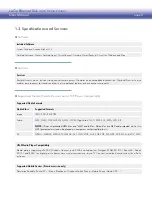
Broadband Internet connection utilizes Ports 80 (http), 443 (https) and 22 (ssh) unblocked – refer to your ISP for details
❖
UPnP router (with UPnP enabled; see router user guide) or refer to
❖
http://www.homelacie.com/help/router
for more details
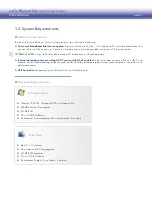
Personal Computer running Microsoft Windows 2000/XP/Vista or Mac OS X 10.3 or later (for more information, see section
❖
1.2,
System Requirements)
Internet Explorer 6 or higher, Firefox 1.5 or higher, Safari 1.3 or later
❖
HipServ Desktop Applications Minimum Requirements
For HipServ Agent, QuickConnect and DesktopMirror:
Windows XP SP2, Vista, 2000 SP4 or Mac OS 10.3 or later
❖
Setup Step 2 – Connect
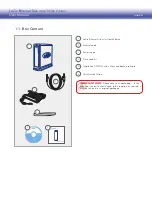
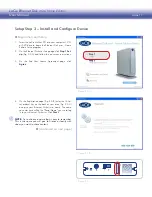
Unpack your Ethernet Disk mini. See section
1.
1.1, Box
Contents
to make sure you have everything you need.
Connect the power cord (
2.
B,
Fig. 2.1) to the Ethernet
Disk mini and to a grounded electrical outlet.
Connect the included Ethernet cable to your Ethernet
3.
Disk mini and to your router (
A,
Fig. 2.1).
Press the blue power button on front of the device.
4.
Wait for the solid blue light. Continue to step 3.
5.
Figure 2.2
US
B
B
A
Power button


