LaCie Ethernet Disk mini
Home Edition
User Manual
page 43
Use
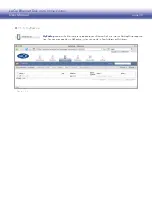
MySafe
to back up the files stored on the Ethernet Disk mini Home to an attached USB storage device.
This way, if files on the Ethernet Disk mini are damaged or accidentally deleted, you can restore them to
their original locations.
There are three main steps to using MySafe:
Connecting an external USB hard drive
❖
Backing up files to the external USB hard drive
❖
Restoring files to the Ethernet Disk mini (if necessary)
❖
See section
9.4.2. Managing MySafe USB External Storage
for information on disconnecting and formatting your MySafe drive.
7.2. MySafe
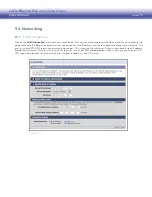
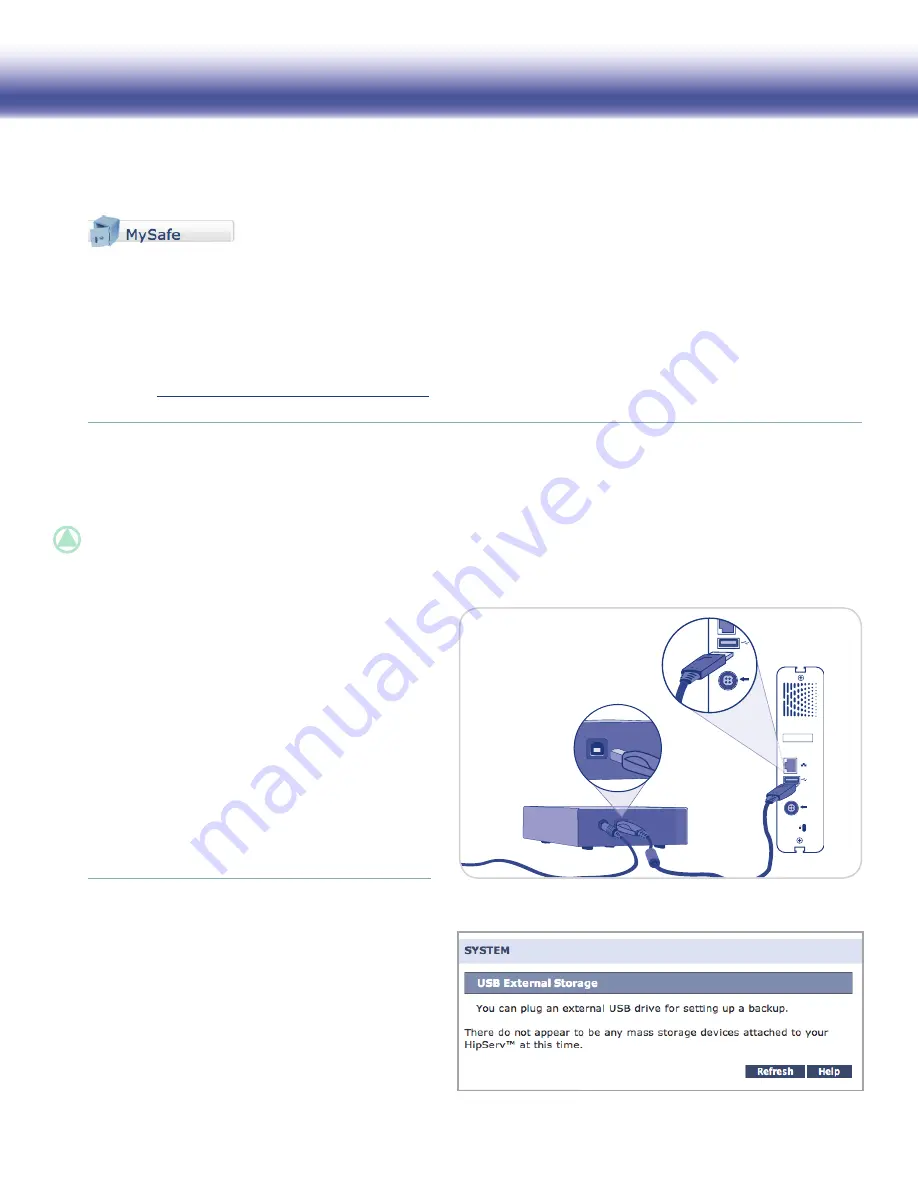
To connect an external hard drive:
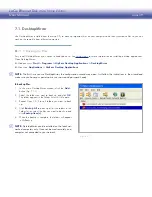
Make sure your Ethernet Disk mini is turned on and
1.
connected to your network.
Turn on the external USB hard drive.
2.
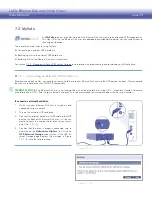
Connect the external hard drive’s USB cable to the USB
3.
port on the back of the Ethernet Disk mini, just like you
would connect the external hard drive to your com-
puter (Fig. 7.2.1-A).
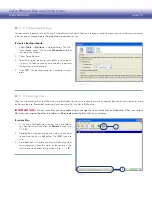
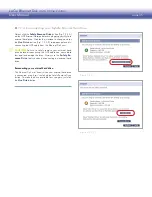
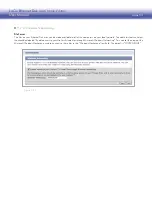
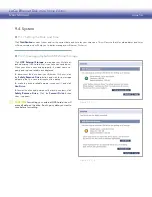
Confirm that the drive is properly connected. Log in
4.
and click on the
Administer HipServ
link. Click on
USB External Storage
under System. If the USB Ex-
ternal Storage page
displays the message in Figure
7.2.1-B, click the refresh button.
AAAA-AAAA-AAAA-AAAA
Figure 7.2.1-A
7.2.1. Connecting an External USB Hard Drive
■
Before you can back up files, you need to connect a hard drive to your Ethernet Disk mini via the USB port on the back. We recommend
that you use a hard drive that is USB 2.0 compatible.
TECHNICAl NOTE:
The Ethernet Disk mini is not compatible with external hard drives using HFS+ (Macintosh) format. Connect a
drive formatted in NTFS. Refer to your external hard drive’s user documentation for information about the file system format.
Figure 7.2.1-B

