21
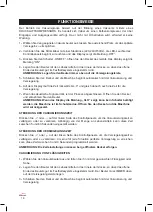
The working function of this item is based in one air compressor. This compressor is working
under a piston, with it corresponding inlet and outlet air valves.
1.- Select the proper vacuum bag and leave enough space for later sealing.
2.- Connect the power cable to a 220-240V/50Hz outlet and the LED light on the Control Panel
will turn on and the display will show the “OFF” message.
3.- Press the “ON/OFF” button, open the top of the machine and the display will show the “ON”
message.
4.- Place the bag containing the food inside the bell so that the open side of the bag is fastened
firmly into place with the locking system.
NOTE: Always place the bag above the sealing bar.
5.- Close the top and the machine will begin the vacuuming p automatic sealing.
6.- The display will count down the vacuuming time until “0” and then will count down the sealing
time.
7.- You will hear a sound that means the process has finished. Open the top and remove the bag.
NOTE: If the display shows the “CLO” message, you will not be able to use any buttons
because the machine is in protection mode. Open the top and the machine will return
to its original state.
VACUUMING TIME CONTROL
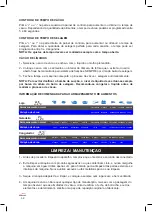
Press “+” or “-“ on the left side of the Control Panel in order to increase or decrease the vacuuming
time. Depending on the amount of food, the vacuuming time may be programmed between 5 and
60 seconds.
3
2
1
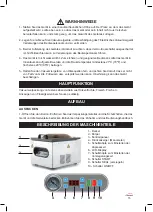
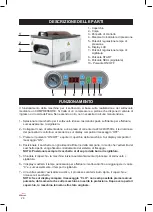
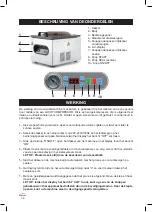
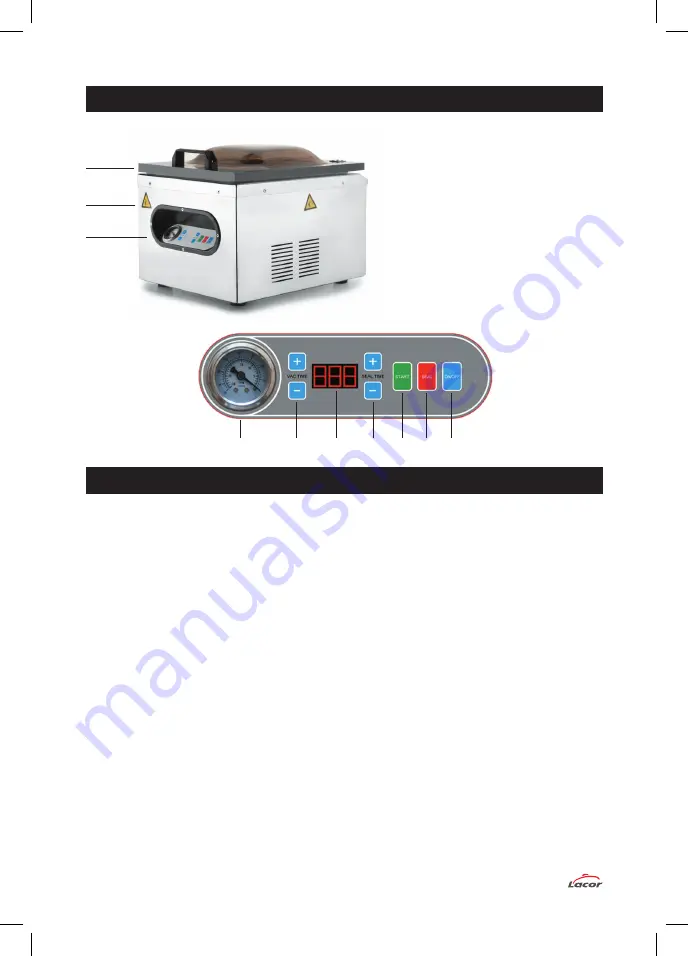
1.- Top
2.- Body
3.- Control Panel
4.- Pressure Gauge
5.- Pressure Time Adjustment
6.- LCD Display
7.- Sealing Time Adjustment
8.- START Button
9.- SEAL Button
10.- ON/OFF Button
4
5
6
7 8 9 10
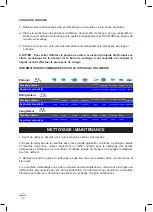
OPERATION
PARTS LIST


