22
2.
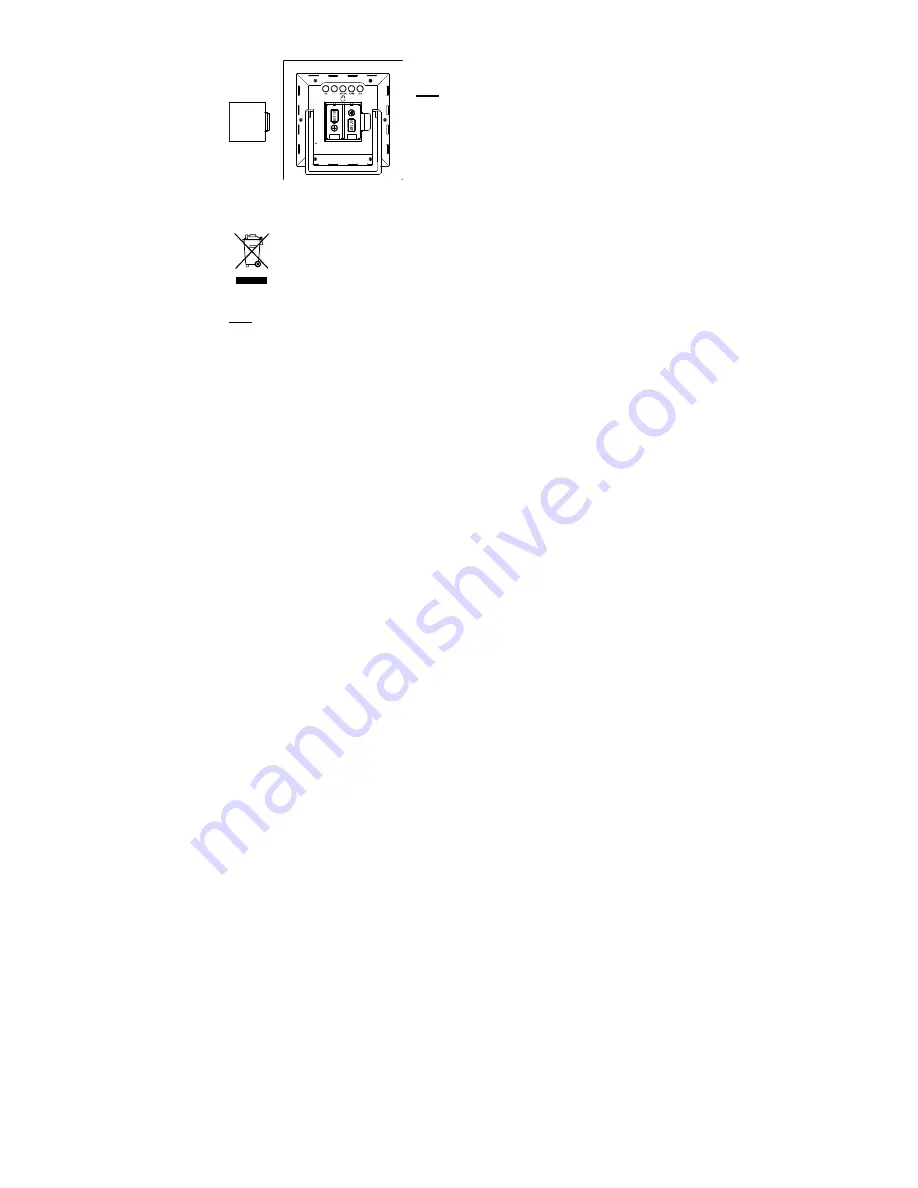
Insert batteries, observing the correct polarity (see marking).
3.
Replace the compartment cover.
Note: Always wait for 2 minutes after removing the batteries
before reinserting, otherwise start up and transmission problems
may occur. In the event of changing batteries in any of the units, all
units need to be reset by following the setting up procedures.
BATTERY CHANGE
It is recommended to replace the batteries in all units regularly to ensure optimum accuracy of these units (see
“Specifications”).
Please participate in the preservation of the environment. Return used batteries to an
authorized depot.
SETTING UP
Note: This weather station receives only one outdoor transmitter.
1.
First, insert the batteries in the transmitter (see “How to install and replace batteries in the thermo-
hygro transmitter”).
2.
Within 30 seconds of powering up the transmitter, insert batteries in the weather station (see “How to
install and replace batteries in the weather station”). Once the batteries are in place, all segments of
the LCD screen will light up briefly and a short signal tone will sound. Then the indoor temperature,
humidity and the time as 0:00 will be displayed. If these information are not displayed on the LCD screen
after 60 seconds, remove the batteries and wait for at least 60 seconds before reinserting them. Once the
indoor data is displayed user may proceed to the next step.
3.
After the batteries are inserted, the weather station will start receiving data signal from the transmitter. The
outdoor temperature and humidity data should then be displayed on the weather station. If this does not
happen after 2 minutes, the batteries will need to be removed from both units and reset from step 1.
4.
In order to ensure successful 868 MHz transmission, the distance between the weather station and the
transmitter should be within 100 meters (see notes on “Positioning” and “868 MHz Reception”).
FUNCTION KEYS
Weather station:
The weather station has five easy to use function keys:


