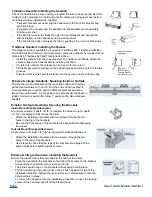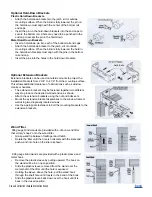
Classic Collection Installation Instructions 5
BACK
www.lafayetteinteriorfashions.com
18-3537-01 April 2014
Child Safety
Young children can STRANGLE in cord loops and in the loop above the cord stop. They
can also wrap the cord around their necks and STRANGLE. In addition, inner cords can
pull out to form a loop, which can STRANGLE a child.
• Always keep cords out of children’s reach.
• Move cribs, playpens and other furniture away from cords. Children can climb furniture
to get to cords.
• Do not tie cords together. Make sure cords do not twist together to create a loop.
Care and Cleaning
• Dust with a soft, clean cloth or chemically treated dust cloth. Tilt the slats up and dust.
Then tilt the slats down (but not all the way closed) and dust the other side of the
slats.
• Vacuum using the brush attachment or hand held vacuum and tilt the slats up and
down as described.
• Wash slats using a damp cloth and mild detergent. Use warm or cold water, not hot
water. Tilt the slats up and down as described.
• Bottom rail and slats may also be immersed in a bathtub for a more thorough clean-
ing. Do not immerse the headrail. Place the blind in a solution of mild, soapy water.
Rinse clean and either wipe dry or allow to air dry completely.
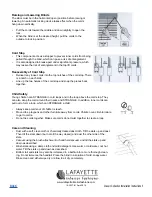
Raising and Lowering Blinds
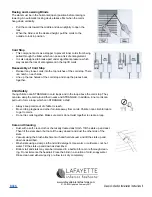
The slats must be in the horizontal (open) position before raising or
lowering. An automatic locking device takes effect when the cords
hang down vertically.
• Pull the cords toward the middle and down slightly to open the
lock.
• When the blind is at the desired height, pull the cords to the
outside to lock in position.
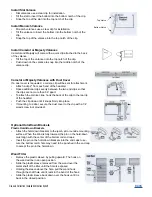
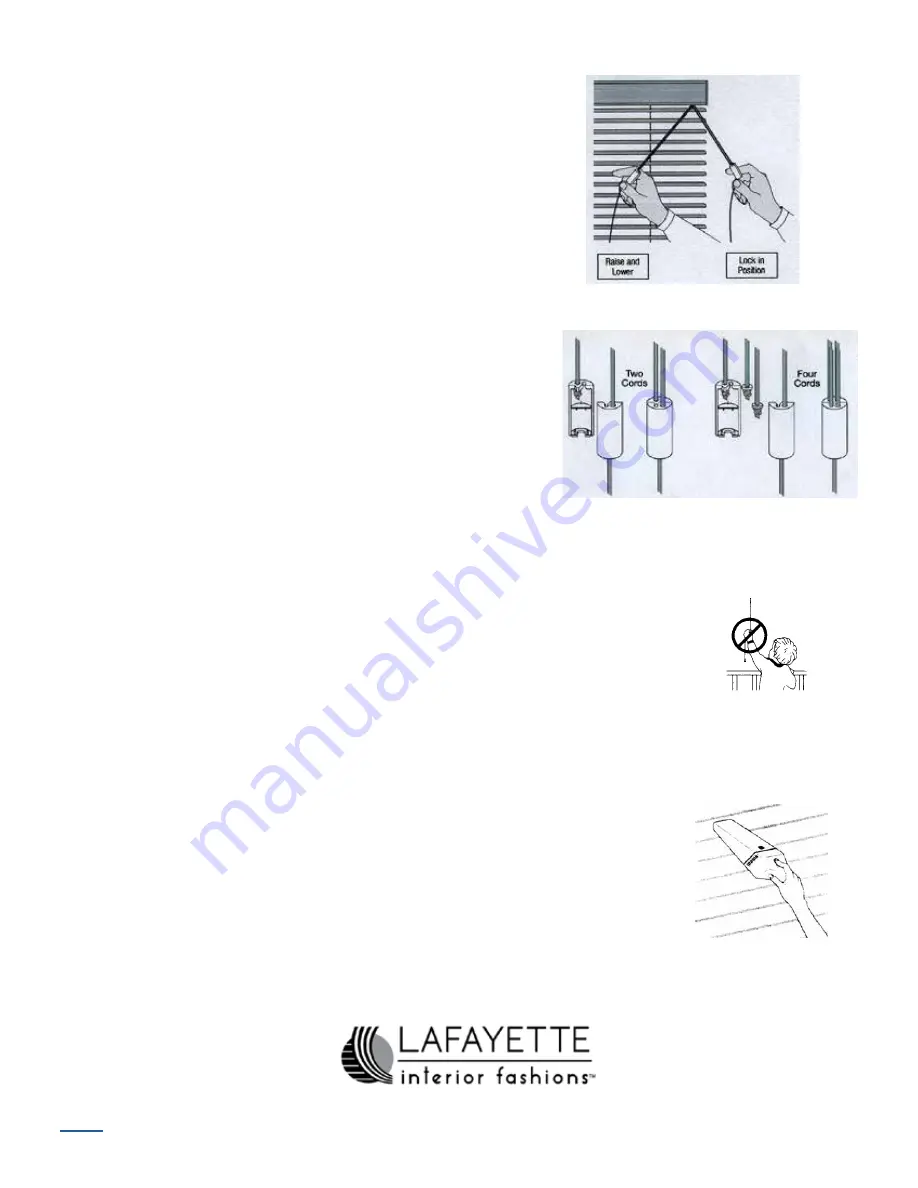
Cord Stop
• This component acts as a stopper to prevent inner cords from being
pulled through the blind, which can pose a risk of entanglement.
•
It is also designed to break apart under significant pressure, which
may lessen the risk of entanglement in the top lift cords.
Reassembly of Cord Stop
• Reinsert any loose cords into the top notches of the cord stop. There
is a notch on each side.
• Line up the two halves of the cord stop and snap the pieces back
together.


