HUMMEL
®
01.12.2012
English / Englisch
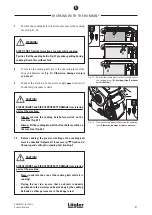
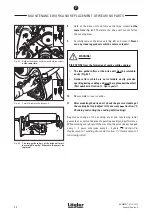
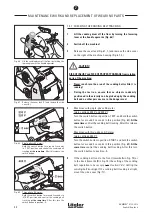
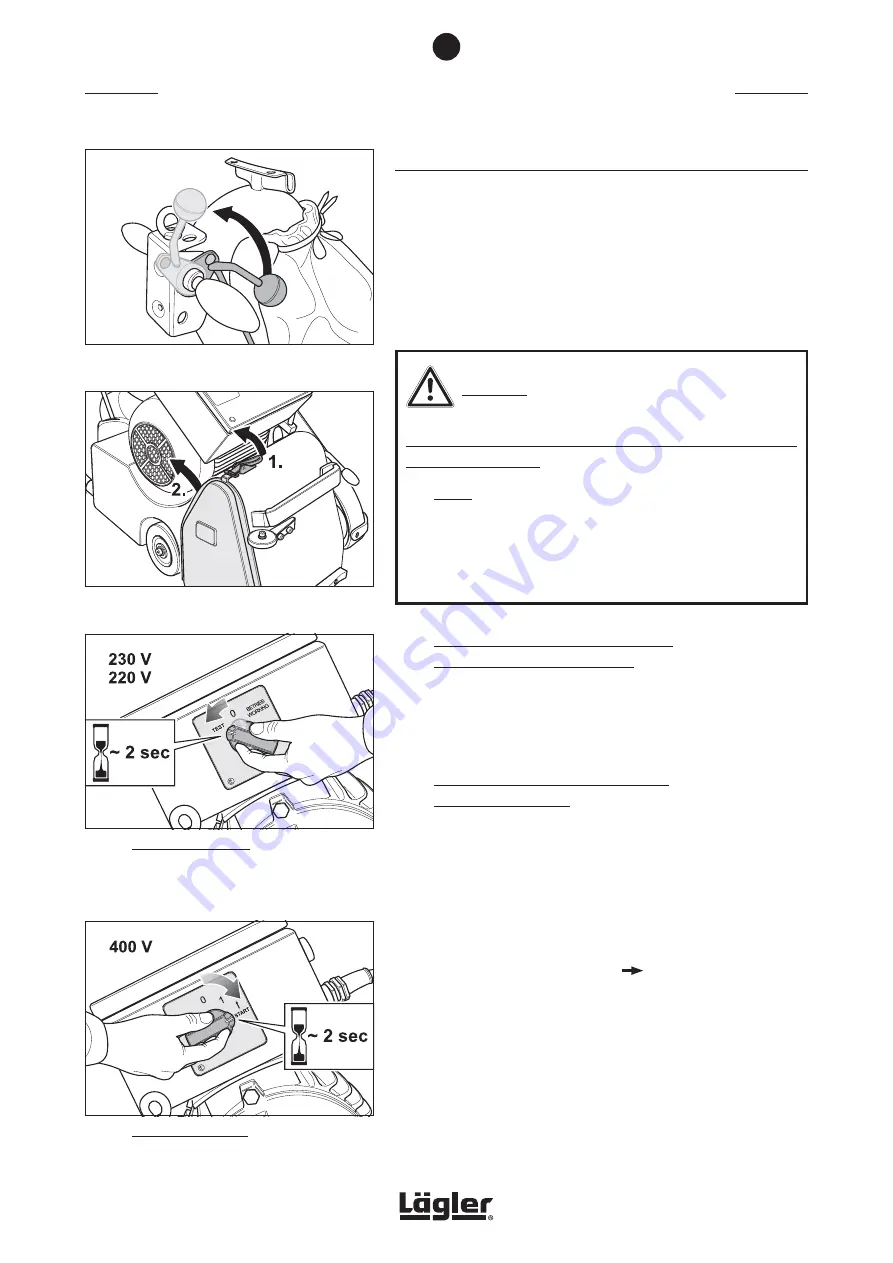
Fig. 68
Single-phase AC motor:
Hold the switch button for around 2 seconds
in -TEST- position and control the sanding belt
tracking
at the same time
. After this release the
switch button.
MAINTENANCE WORK AND REPLACEMENT OF WEARING PARTS
7
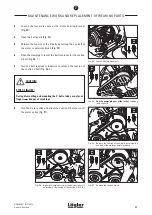
7.3.1 CHECKING THE SANDING BELT TRACKING
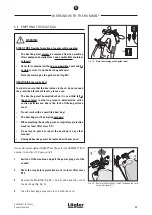
1
Lift the sanding drum off the floor by turning the lowering
lever at the handle upwards (Fig. 66)!
2
Switch off the machine!
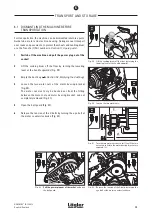
3
Release the cover lock (Fig. 67, 1.) and remove the side cover
on the right of the machine housing (Fig. 67, 2.).
CAUTION!
RISK OF INJURY and RISK OF PROPERTY DAMAGE from rotating
parts of the machine:
•
Never reach into the area of the sanding belt while it is
running!
•
During the test run, ensure that no objects randomly
positioned in the vicinity can be picked up by the sanding
belt and no other persons are in the danger area!
4
Machines with single-phase AC motor
(mains voltage 230 V and 220 V):
Turn the switch button in position -TEST- and hold the switch
button for around 2 seconds in this position (Fig. 68).
At the
same time
control the sanding belt tracking. After this release
the switch button.
Machines with three-phase AC motor
(mains voltage 400 V):
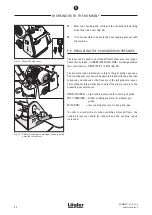
Turn the switch button in position -START- and hold the switch
button for around 2 seconds in this position (Fig. 69).
At the
same time
control the sanding belt tracking. After this turn
the switch button to position -0-.
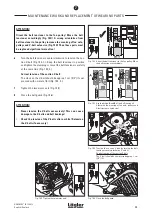
5
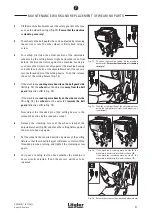
If the sanding belt runs to the front (towards
A
in Fig. 70) or
to the back (towards
B
in Fig. 70) the setting of the sanding
belt regulation is necessary (
Section 7.3.2, Setting the
sanding belt tracking
). If the sanding belt tracking is alright,
mount the side cover (Fig. 71).
Fig. 69
Three-phase AC motor:
Hold the switch button for around 2 seconds in
-START- position and control the sanding belt
tracking
at the same time
. After this turn the
switch button in position -0-.
Fig. 66
Lift the sanding drum off the floor by turning the
lowering lever at the handle upwards
Fig. 67
Release the cover lock (1.) and remove the side
cover (2.).
34
Summary of Contents for HUMMEL
Page 56: ...HUMMEL 01 12 2012 English Englisch SPARE PARTS 56 11...
Page 58: ...HUMMEL 01 12 2012 English Englisch SPARE PARTS 58 11...
Page 60: ...HUMMEL 01 12 2012 English Englisch SPARE PARTS 60 11...
Page 64: ...HUMMEL 01 12 2012 English Englisch SPARE PARTS 64 11...
Page 66: ...HUMMEL 01 12 2012 English Englisch SPARE PARTS 66 11...
Page 68: ...HUMMEL 01 12 2012 English Englisch NOTES 68...
Page 69: ...HUMMEL 01 12 2012 English Englisch NOTES 69...


