SINGLE 01.02.2013
English / Englisch
MAINTENANCE AND REPLACEMENT OF WEARING PARTS
3
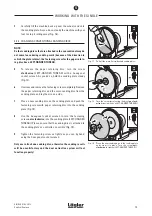
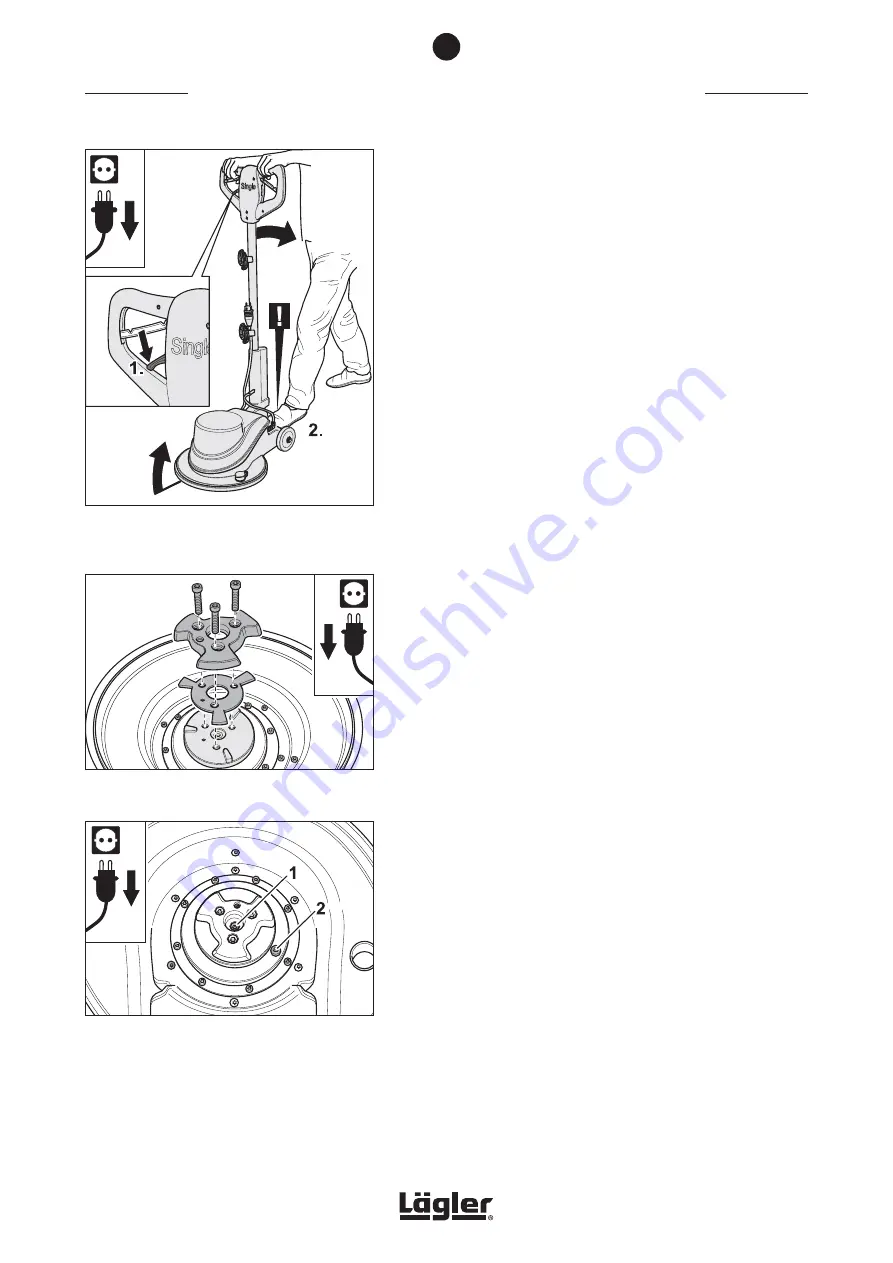
Release the adjusting lever so that the guide tube can engage
again. Carefully tilt the machine backwards on the wheels. As
you do so, steady the machine with your foot to stop it roll-
ing away (Fig. 32).
Please ensure that the machine is stable
before commencing work!
4
Release and remove the three screws that fasten the plate
mounting in place.
5
Use two screwdrivers or something similar to lever the plate
mounting off the retaining pin.
6
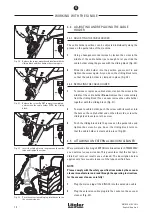
Remove the shock absorber (Fig. 33).
7
Replace the parts that are damaged or worn.
8
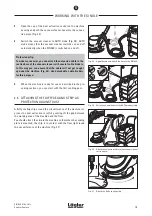
The gear of the SINGLE is maintenance-free and contains
a special oil. The incorrect volume of oil can cause severe
damage to the gear.
For this reason, NEVER open the oil drainage screws in the
motor shaft or in the gear cover
(Fig. 34).
9
To assemble, follow the instructions above in reverse order.
Please ensure that the pattern of holes on the shock absorber
and the plate mounting match the pattern on the gear output.
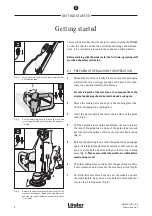
Fig. 32
Release the adjusting lever and carefully tilt the
machine backwards. Ensure that the machine is
stable!
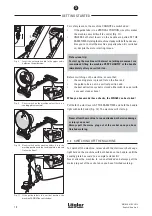
Fig. 33
Replace the plate mounting and the shock ab-
sorber.
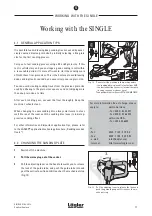
Fig. 34
The two screws with markings are oil drainage
screws.
DO NOT UNSCREW THEM!
6
18
Summary of Contents for SINGLE
Page 25: ...SINGLE 01 02 2013 English Englisch NOTES 25...
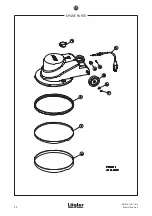
Page 28: ...SINGLE 01 02 2013 English Englisch SPARE PARTS 28 11...
Page 30: ...SINGLE 01 02 2013 English Englisch SPARE PARTS 30 11...
Page 32: ...SINGLE 01 02 2013 English Englisch SPARE PARTS 32 11...
Page 34: ...SINGLE 01 02 2013 English Englisch SPARE PARTS 34 11...
Page 36: ...SINGLE 01 02 2013 English Englisch SPARE PARTS 36 11...

