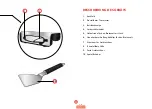
FIRST USE AND DAILY OPERATION
FIRST USE
*
When unpacking the appliance, take care to remove and
check all packing for parts as well as packets and additional
packing information.
*
Make sure that no parts or accessories are missing or defective.
*
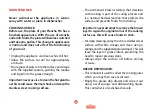
Before using the appliance, clean the cooking surface thoroughly
with soapy water to remove any impurities from the packaging.
Dry thoroughly.
*
A new appliance may smoke and/or give off an odour when used
for the first time. To reduce the chance of smoking or odour, it is
recommended to allow the appliance to heat for
10
minutes and
then cool for approximately
30
minutes before the first use.
*
You may then proceed with curing the surface which helps both
to protect it and to keep food from sticking. To cure the cooking
surface, wipe down the surface thoroughly using alcohol vinegar,
heat the appliance and then slide a slice of bacon or ham fat around
over the entire cooking surface. After coating with a layer of fat
in this manner, the surface will gradually turn brown. The plancha
is now cured and ready for use.
START-UP AND OPERATION
*
Place the appliance on a flat, stable, heat-resistant surface.
*
The device is suitable for outside use. It can be used inside under
an extraction hood.
*
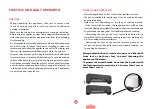
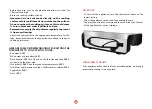
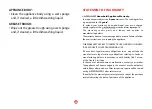
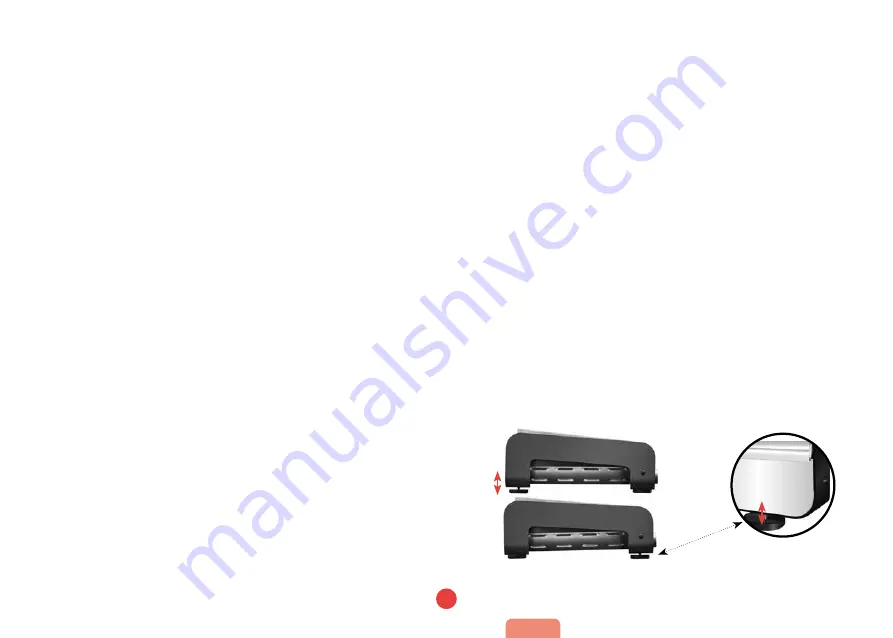
Adjust the feet depending on the type of cooking desired.
- If the feet are left retracted, the cooking surface will be nearly
level and sloping very slightly forward to allow for slow drainage
of grease and cooking juices for traditional plancha cooking.
- Unscrewing the feet on the front causes the plancha to tip
toward the rear to prevent any cooking juices from draining off,
e.g. for cooking mussels marinière.
- Unscrewing the feet on the rear causes more grease to run
off into the grease trough for more diet-friendly cooking, e.g.
for cooking duck breasts.
Always adjust the front or rear feet in pairs, i.e. either both
front feet or both rear feet, to avoid throwing the
appliance off-balance.
To protect the screw threads, do not use the product with
the feet unscrewed excessively (i.e. to more than
3
mm or
more than
7
turns).
45
ENG
Summary of Contents for Plancha Pro 219
Page 1: ...INSTRUCTIONS FR NED DEU ENG type 219 NOTICE Plancha Pro ...
Page 6: ...2 1 6 3 4 5 Plancha Pro Type 219 8 06 ...
Page 18: ...2 1 6 3 4 5 Plancha Pro Type 219 8 18 ...
Page 30: ...2 1 6 3 4 5 Plancha Pro Typ 219 8 30 ...
Page 42: ...2 1 6 3 4 5 Plancha Pro Type 219 8 42 ...
Page 50: ......
Page 51: ......

