2 & 3 HP Mobile Dust Cyclone Manual
20
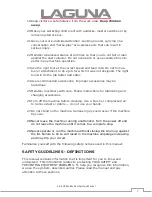
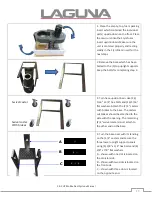
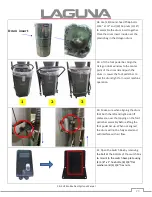
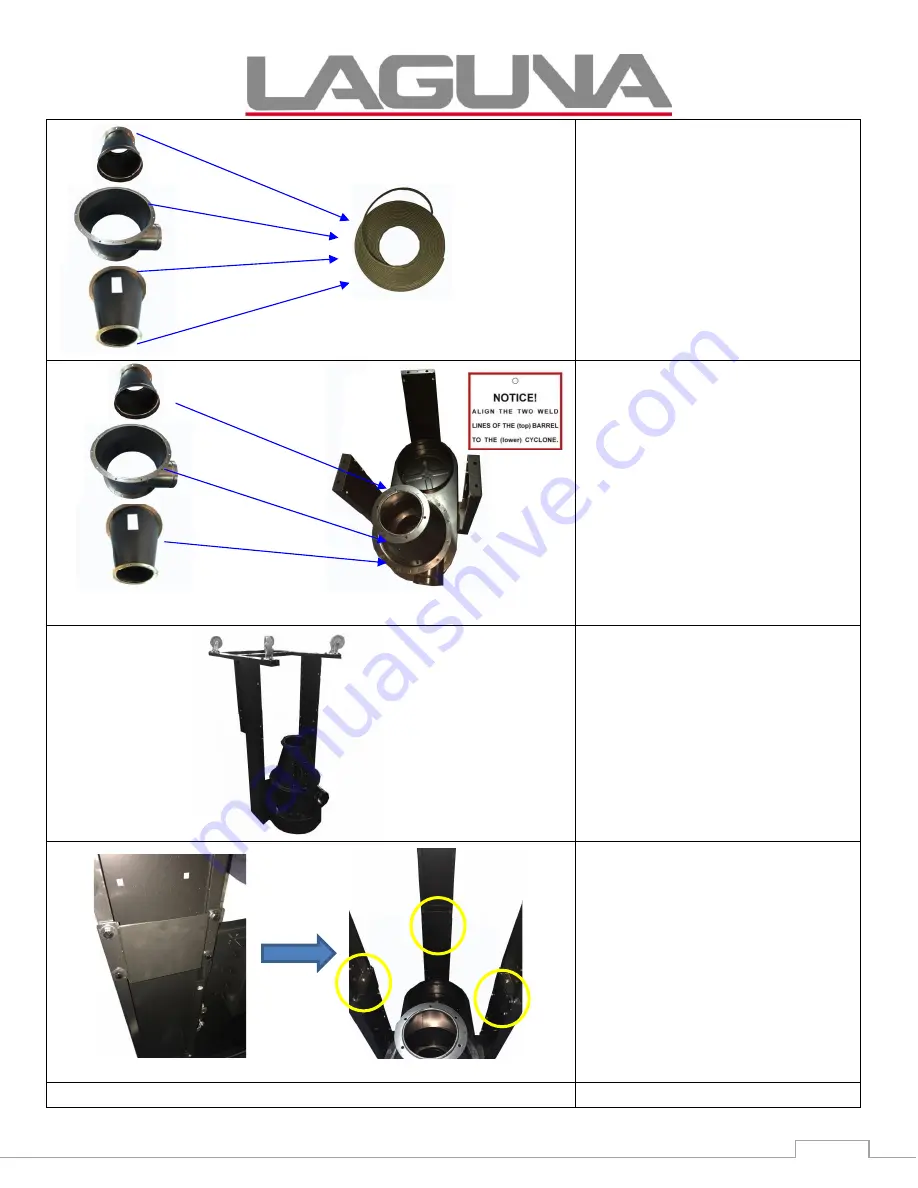
5. (Intake cylinder, cyclone barrel
and cyclone funnel). Install 3 x 6mm
foam tape to rims on each location
shown on the left.
- Top rim of the intake cylinder
- Top rim of the cyclone barrel
- Top and lower rim of cyclone
funnel
6. Attach the intake cylinder to the
dust chute using (4) 5/16”
x
5/8” hex
spring bolts. Then, attach the
cyclone barrel onto the dust chute
using (12) 5/16”
x
3/4” hex bolts and
(12) 5/16”
x18x2t flat washers
followed by attaching the cyclone
funnel to the barrel using (12)
5/16”
x
3/4” hex bolts, (24)
5/16”
x18x2 flat washers and (12)
5/16” hex nuts.
7. Secure the base with (3) lower
upright support panels to the unit using
(6) 5/16” x 3/4” hex bolts and (6) 5/16”
x 1" flat washers.
8. Secure the (3) upright support
reinforcement plates using (12) 5/16” x
3/4” hex bolts and (12) 5/16” x 1” flat
washers.
Summary of Contents for CFLUX2
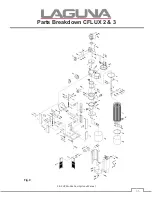
Page 35: ...2 3 HP Mobile Dust Cyclone Manual 35 Parts Breakdown CFLUX 2 3 Fig 9 ...
Page 36: ...2 3 HP Mobile Dust Cyclone Manual 36 Figure 10 Fan Motor Switch SECTION A Close up view ...
Page 38: ...2 3 HP Mobile Dust Cyclone Manual 38 Figure 12 Panels Lock SECTION C Close up view ...
Page 39: ...2 3 HP Mobile Dust Cyclone Manual 39 Figure 13 Barrel insert SECTION D Close up view 16H 16P ...
Page 48: ...2 3 HP Mobile Dust Cyclone Manual 48 NOTES Ph 800 234 1976 www lagunatools com 100721 ...


