2 & 3 HP Mobile Dust Cyclone Manual
27
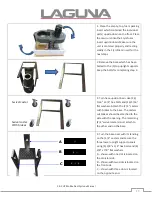
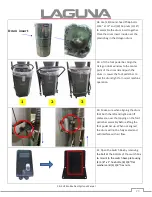
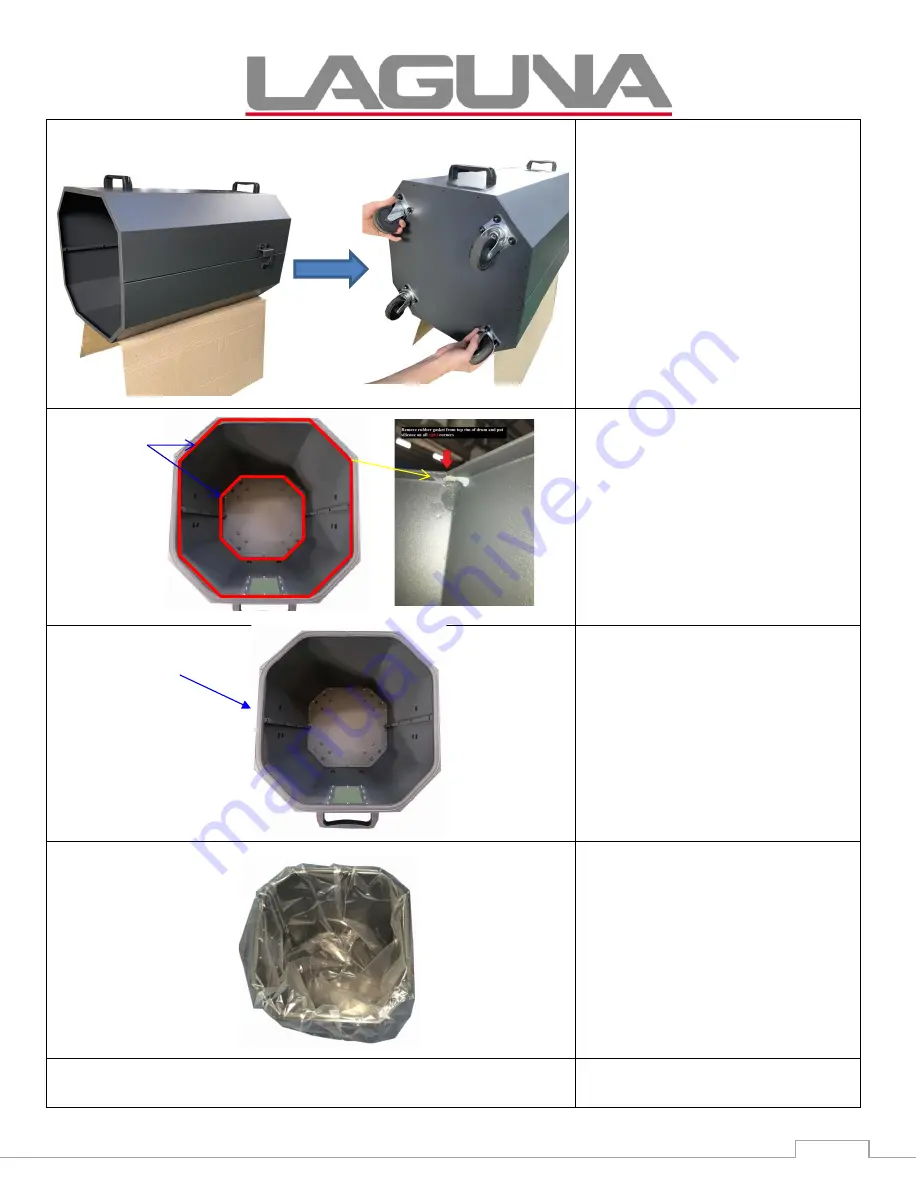
34. Place the drum on its side with the
handle facing top. With the help of
another person, hold the base panel
with wheels up against the base of the
drum. Using (22) M3 x 6mm Philips flat
point screws and M3 cap nuts secure
and fasten tightly.
Make sure the head
of the Philip screw is on the inside of
the drum.
The cap nut is secured from
the outside. Otherwise, this will cause
for air leakage regardless of silicone
being applied.
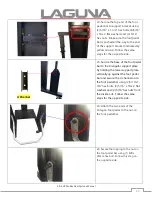
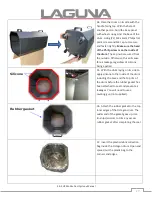
35. With the drum laying on its side to
apply silicone to the inside of the drum
including the base and the top rim of
the drum before the rubber gasket has
been attached to seal and prevent air
leakages. You will need to use a
caulking gun (not supplied).
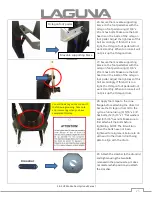
36. Attach the rubber gasket to the top
inner edges of the Octagon drum. The
wider end of the gasket goes up. Use
tin snips/scissors to trim any excess
rubber gasket after completing the seal.
37. Insert the plastic debris collection
bag inside the Octagon drum. Open and
spread out the plastic bag to the
corners and edges.
Rubber gasket
Silicone
Summary of Contents for CFLUX2
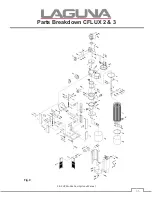
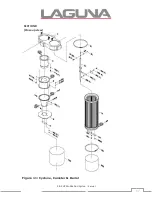
Page 35: ...2 3 HP Mobile Dust Cyclone Manual 35 Parts Breakdown CFLUX 2 3 Fig 9 ...
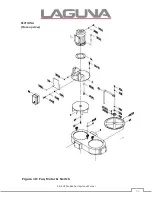
Page 36: ...2 3 HP Mobile Dust Cyclone Manual 36 Figure 10 Fan Motor Switch SECTION A Close up view ...
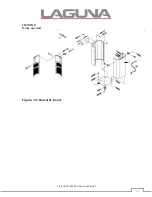
Page 38: ...2 3 HP Mobile Dust Cyclone Manual 38 Figure 12 Panels Lock SECTION C Close up view ...
Page 39: ...2 3 HP Mobile Dust Cyclone Manual 39 Figure 13 Barrel insert SECTION D Close up view 16H 16P ...
Page 48: ...2 3 HP Mobile Dust Cyclone Manual 48 NOTES Ph 800 234 1976 www lagunatools com 100721 ...

