-4-
www.igm.cz
Contents
1. Declaration of conformity
1.1 Warranty
2. About this manual
3. Fusion 3 Specifications
3.1 Contents
3.2 Technical
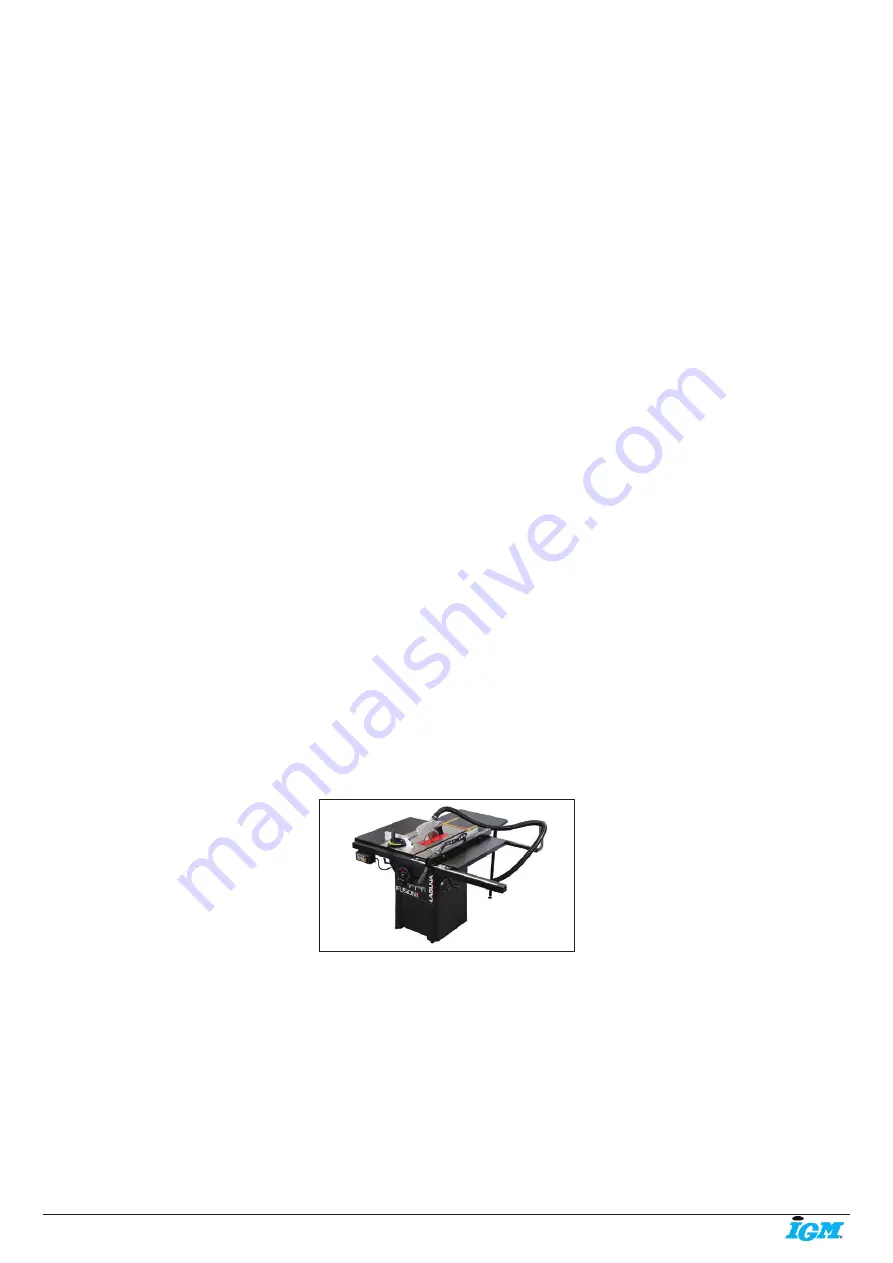
3.3 Main Features
4. General Safety
4.1 Intended Use
4.2 Work Area
4.3 Personal Safety
4.4 Tool Use
4.5 Guarding Related Warnings
4.6 Work Related Warnings
4.7 Kickback Causes and Related Warnings
4.8 Table Saw Operating Prodedure Warnings
4.9 Electrical
4.10 Noise emissions
4.11 Grounding
4.12 Rulings
4.13 Notice on safe use of the machine
5. Machine overview
5.1 Controls
6. Setup
6.1 Receiving and unpacking
6.2 Inventory
6.3 Loose parts & overview
6.4 General setup
6.5 Installing/removing the throat plate
6.6 Installing/removing safety accessories
6.7 Installing/removing the blade
7.
Adjustments
7.1 Fence adjustments
7.2 Table adjustments
7.3 Arbor and tilt adjustments
7.4 Accessory adjustments
7.5 Push block and push stick
8. Type of cut
8.1 Ripping
8.2 Bevel ripping
8.3 Ripping small workpieces
8.4 Cross cutting
8.5 Bevel cross cutting
8.6 Mitre cuts
9. Maintenance
9.1 Internal Components Map
10. Trouble-shooting
1. Declaration of conformity
We declare that this product is in compliance
with the directive and the standard mentioned
on the 2. page of this manual.
1.1 Warranty
IGM Tools & Machinery strives to always
deliver high-quality machinery. The warranty is
governed by the valid terms and conditions of
IGM Tools & Machinery available at
www.igmtools.com.
2. About manual
This manual is intended to thoroughly cover the
setup up, maintenance, and proper adjustments
of your new purchase. Aside from the
proceeding general safety considerations,
this manual DOES NOT cover woodworking
or metalworking techniques that are possible
with this product and the appropriate safety
precautions necessary for safe practices. There
are several organizations with published safe
practices, techniques, and proper operation of
this tool. Or look for handy tips and instructions
at www.igmtools.com.
3. Fusion 3 specifications
3.1 Contents
Professional Square Zero Clearance Throat
Plate (pre-installed)
250 mm Saw Blade (pre-installed)
Riving Knife (pre-installed)
Mitre Gauge (ships in tool holder)
Tool Holder (pre-installed)
Fence
Blade Guard
Arbor Wrench
Installation and Adjustment Tools
3.2 Technical Data
Power
230V / 50 Hz / 1 Phase
Motor Type
TEFC Capacitor Start AC Induction
Power Input
2200 W
Motor Speed
2850 /min-1
Full Load Amperage
14.5 A
Start Capacitor
400 µF-U
Run Capacitor
50 µF-U
Switch Type
Magnetic with Overload Protection
Power Transfer
Single V-Ribbed 142J FJ
Power Cord
2 m / H07RNF
Power Plug Included
CEE 7/7
Breaker Recommendation
16 A,
tripping characteristic C (16/1/C)
General
Footprint (LxW)
503 x 520 mm
Overall Dimensions (LxWxH)
1663 mm x 1652 mm x 1081 mm
Shipping Dimensions (LxWxH)
1130 mm x 1100 mm x 1190 mm
Weight (No Accessories)
157 Kg
Shipping Weight:
202 Kg
Dust Collection: Outlet Dia.
101.6 mm
Dust Collection m3/h, min.
934 m
3
/h
Sound Emissions
N/A
Specifics
Blade Diameter
250 mm
Bore Diameter
30 mm
Arbor Speed
3800 /min-1
Blade Rotation
Counter-Clockwise
(face arbor)
Rip Capacity, with Fence
914,4 mm Right (1 320,8 mm w/ accessories)
Max. Depth of Cut 90°
79 mm
Max. Depth of Cut 45°
56 mm
Blade Tilt
45° Left, 3° Arbor Adjustment
Table Dim., with Extensions (LxW)
1117 mm x 1663 mm
Wing Dimensions (LxW)
792 x 305 mm
Mitre Slot
19 and 23 mm, T-Slot
Fence Type
Sliding Cam Action Fully Adjustable
Fence Dim (LxWxTh.) 670 x 80 x 17 mm
Throat Plate Type
Zero Clearance
Throat Plate (LxWxTh.) 372 x 104.5 x 13 mm
Floor to Table Height 887 mm
3.3 Main Features
• Robust cast-iron trunnion.
• Sheet metal control wheels.
• Two T-slots on the side of the blade.
• Smooth control of the blade height and tilt.
• Lever for a quick blade swap.
• Adjustable control panel.
• Quick clamping riving knife.
• Integrated wheel for simple mobility.
• Includes rear table.
4. General Safety
Warning: Read all safety considerations. Failure
to follow this set of guidelines can result in
unwarranted damage to the machine and serious
injury to the operator and bystanders. Save all
warnings and instructions for future reference.
4.1 Intended Use
• Table saw and the workpiece guide equipment
supplied with it are intended to be used
exclusively for the following purposes:
- Laminated and non-laminated board materials
(e.g. chipboard, coreboard, MDF board,...)
- Solid wood
- Gypsum plasterboard, Cardboard, Veneer with
a suitable clamping device
- Dimensionally stable plastics (thermoset
plastics, thermoplastics).Sawing these materials
does not normally involve any risks in respect of
dust, chips, and thermal degradation products.
Tools:
EN - English
Operating Instructions
Dear Woodworker,
Thank you for your purchase and welcome to the Laguna Tools group of discerning woodworkers. We understand that you have a
choice of where to purchase your machines and appreciate the confidence you have in the Laguna Tools brand.
Every machine manufactured by Laguna Tools has been carefully designed and well thought through from a woodworker’s perspective.
Through hands-on experience, Laguna Tools is constantly working hard to make innovative, precision products. Products that inspire
you to create works of art, are a joy to run and work on, and encourage your performance.


