2. Setup
15
2.
S
et
up
CO2 Laser Machine © 2018 Laguna Tools 8/27/2018
EN
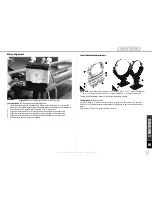
Laser Tube (height) Adjustment Notice
In our quality and testing facility, the tube is mounted and the laser machine mirrors
are aligned accordingly. The laser tube is then removed and put back in the original
packaging.
Because of this, it should not be necessary to re-align the mirrors or
Laser tube Mount.
After completion of Axillary equipment and software setup, the
operator will continue to the First Use Section. If it is then discovered that the laser
is not aligned, proceed to the maintenance sections: Checking for Alignment, Laser
Tube Mount Adjustments, Mirror Adjustments, Alignment Procedures.
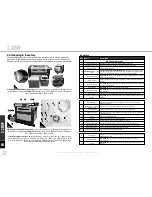
2.5 Auxiliary Equipment Setup
The following axillary accessories were designed for the X-Series Laser Machines
and are required to operate the laser machine. These instructions should be
followed exactly to properly set up the equipment. Some of these accessories are
designed to fit multiple machines offered by Laguna Tools, check the
specification
sheet for a fit guide of all X-Series Laser accessories.
Exhaust Ventilation
WARNING!
Do not connect to a power supply until the set-up is complete. Do not perform any of the following
steps, installations, or adjustments with the machine connected to a power source unless directed to do so.
WARNING!
The fan can tip over if not fastened to a base.
NOTICE:
It is a good idea to use a power strip with an on/off switch to give power to all components at the same
time, and to turn the machine (systems) on and off easily.
NOTICE:
The use of an indoor fume extractor can be very helpful in isolating and controlling the fumes emitted
from laser cutting and engraving.
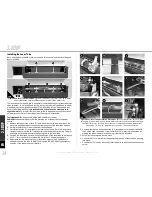
The machine must be ventilated during operation. You will need 3 band clamps, 2
ducting coils or other duct-work, the blower unit, and a flat-head screwdriver to
fasten the clamps.
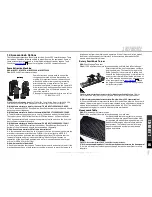
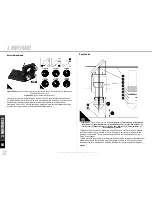
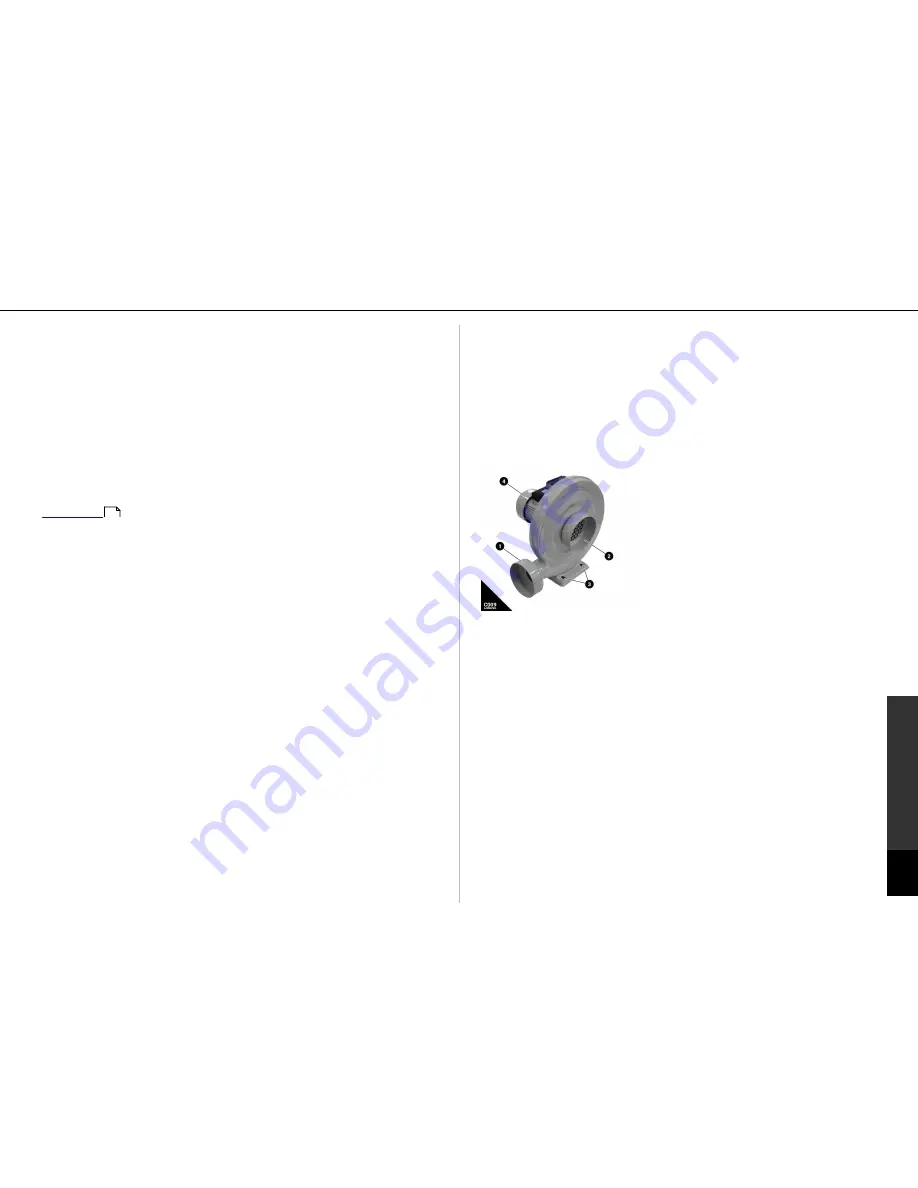
Fig C010: Exhaust Blowing unit for laser machines. (1)
Positive Pressure output (air comes out here).
(2)
Negative pressure input (air is sucked in here).
(3)
Mounting Bolt Holes.
(4)
TEFC AC Induction Motor.
SKU:
N/A included with laser machine
Fits:
All CO2 and Fiber Laser machines < 100Watt.
The purpose of the exhaust blower is to pull
harmful gasses away from the machine and
operator and direct them to a safe location
through the included duct-work. The exhaust
system must be set up such that it is in
compliance with all local safety and
environmental codes. Laguna Strongly recommends purchasing a fume extractor or
filter stack to protect people from the toxic fumes produced in some laser cutting
applications/procedures.
Q: Can I use a different blower than the one included?
A: The unit was choose because it is best suited for the operating conditions of the
Laser Machine. It is our recommendation to use the included auxiliary machines.
Q: I am not getting enough suction with the included blower to pull the dirty air
through a filter arrangement like the in-line filter.
A: Because of the higher pressure needed to force air through the filters, the included
fan may not be sufficient - if this is the case then attach the filter stack to the output
of the exhaust blower. If still not efficient, a higher powered blower is required.
Set-up
Tools Needed:
Allan Wrenches, Phillips Head Screw Driver.
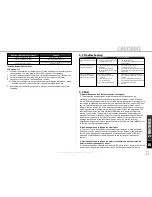
1. Connect the exhaust intake (2) to the rear of the laser machine with 1 (of 2)
ducting coils.
2. Fasten the ducting coils together with the included band clamps.
3. Connect the exhaust outlet (1) to the second ducting coil with a band clamp.
4. Fasten the fan to the floor to prevent it from tipping under centrifugal load.
5. The exhaust must, safely and legally, take the fumes from the laser machine
away from any individuals who could inhale the fumes.
5


