14
Assembly & setup
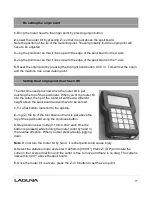
Assembling the controller
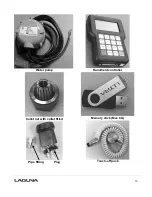
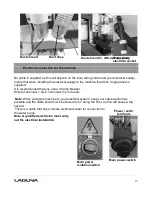
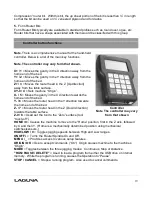
Fit the cable to the controller and ensure that the screws
are finger tight.
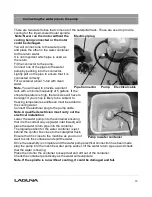
Note.
When using a memory stick, it fits into a slot on
the top of the hand-held controller and must not exceed
8G in capacity.
Memory stick slot (max 8G)
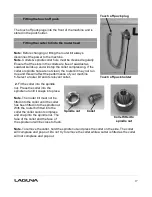
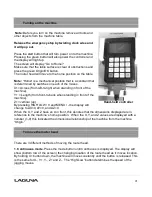
Fitting the dust hose
1.
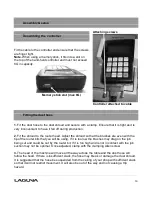
Fit the dust hose to the dust shroud and secure with a clamp. Ensure that it is tight as it is
very inconvenient to have it fall off during production.
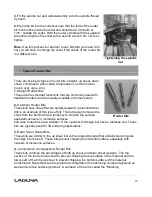
2.
Fit the shroud to the router head. Adjust the shroud so that the brushes are even with the
tip of the router bits that you will be using. If it is too low the brushes may drag on the job
being cut and could be cut by the router bit. If it is too high and is not in contact with the job
suction may not be optimal. Once adjusted, clamp with the clamping Allen screw.
3.
The head of the machine will move all the way across the table and the dust hose will
follow the head. If there is insufficient slack, the hose may break or damage the dust shroud.
It is suggested that the hose be suspended from the ceiling of your shop with sufficient slack
so that it will not restrict movement. It will also be out of the way and not causing a trip
hazard.
Attaching screws
Controller attached to cable
Summary of Contents for MCNC Swift 60 X 120-0233
Page 2: ......
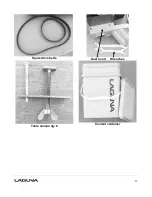
Page 11: ...11 Spare drive belts Dust hood Wrenches Table clamps qty 8 Coolant container...
Page 30: ...30 Control cabinet Spindle inverter 24 volt power supply Control cabinet...
Page 32: ...32 Motor drivers 80 Volt power supplies Terminal strip Main power disconnect...
Page 35: ...35 1 Machine not level on the floor Re level the machine ensuring that it has no movement...


