24
Using a spoil board on the machine table
Spoil board preparation
Note.
Do not confuse flatness with bow. If the board is bowed
it may not stick down. Never use a bowed board as a spoil
board.
The machine is supplied with pre-machined spoil boards that
can be protected by covering with an additional spoil board/s.
You may want to cover the spoil boards with a complete
sheet but this will remove access to the T slots. This can be
used when your work is attached to the machine with double-
sided tape.
Note.
The use of an additional spoil board will reduce the
gantry clearance.
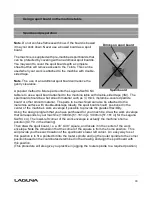
A popular method to fixture parts onto the Laguna Swift CNC
table is to use a spoil board attached to the machine table with double-sided tape (3M). The
spoil board should
be a flat smooth material such as ½” thick, melamine
-covered particle
board or other smooth material. The parts to be machined can also be attached to the
melamine surface with double-stick tape Ideally, the spoil board should positioned in the
center of
the machine’s work envelope if possible to provide the greatest flexibility.
Using the design program that you have purchased for your machine, draw the work envelope
that corresponds to your machine (1300mm [51.181 in] x 1300mm [51.181 in] for the Laguna
Swift 4 x 4). The lower-
left corner of the work envelope is actually the machine’s home
position (X0, Y0 in the drawing).
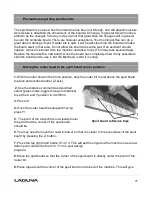
Then draw the spoil board, i.e.
a 48” X 48”
square, and locate it in the center of the work
envelope. Note the dimension that the corner of the square is from the home position. This
will provide you the exact location of the spoil board’s lower left corner.
An easy way to set
this position is to fit a pointed bit into the router spindle and jog the router spindle to the corner
position based on the coordinates determined in the drawing and align the spoil board with
this position.
(This procedure will also give you practice in jogging the router spindle to a required position.)
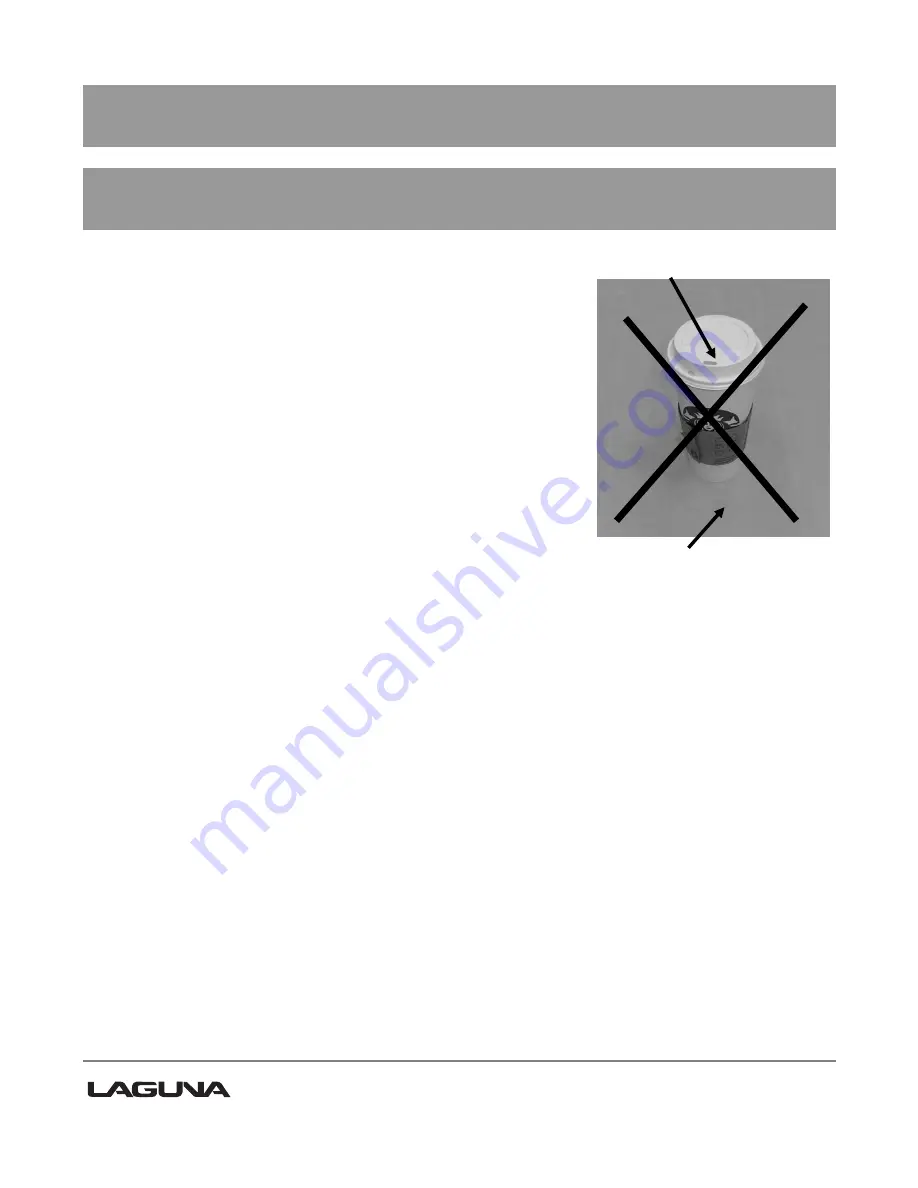
Drinks on spoil board
Spoil board
Summary of Contents for MCNC Swift 60 X 120-0233
Page 2: ......
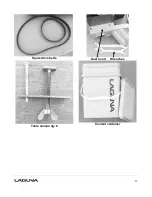
Page 11: ...11 Spare drive belts Dust hood Wrenches Table clamps qty 8 Coolant container...
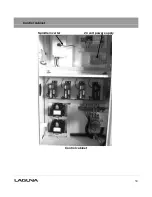
Page 30: ...30 Control cabinet Spindle inverter 24 volt power supply Control cabinet...
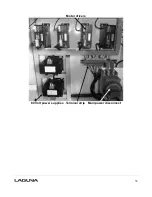
Page 32: ...32 Motor drivers 80 Volt power supplies Terminal strip Main power disconnect...
Page 35: ...35 1 Machine not level on the floor Re level the machine ensuring that it has no movement...

