4. OPERATION
30
4-4. 3 SPEED CHANGE
1.
Set the saw unit down
2.
Stop the machine , turn the main switch to 0 ; then lock it and indicating this
with a sign
3.
Open the rear door
4.
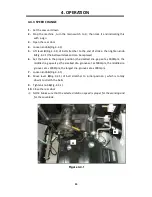
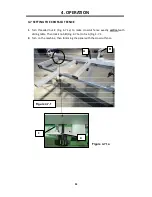
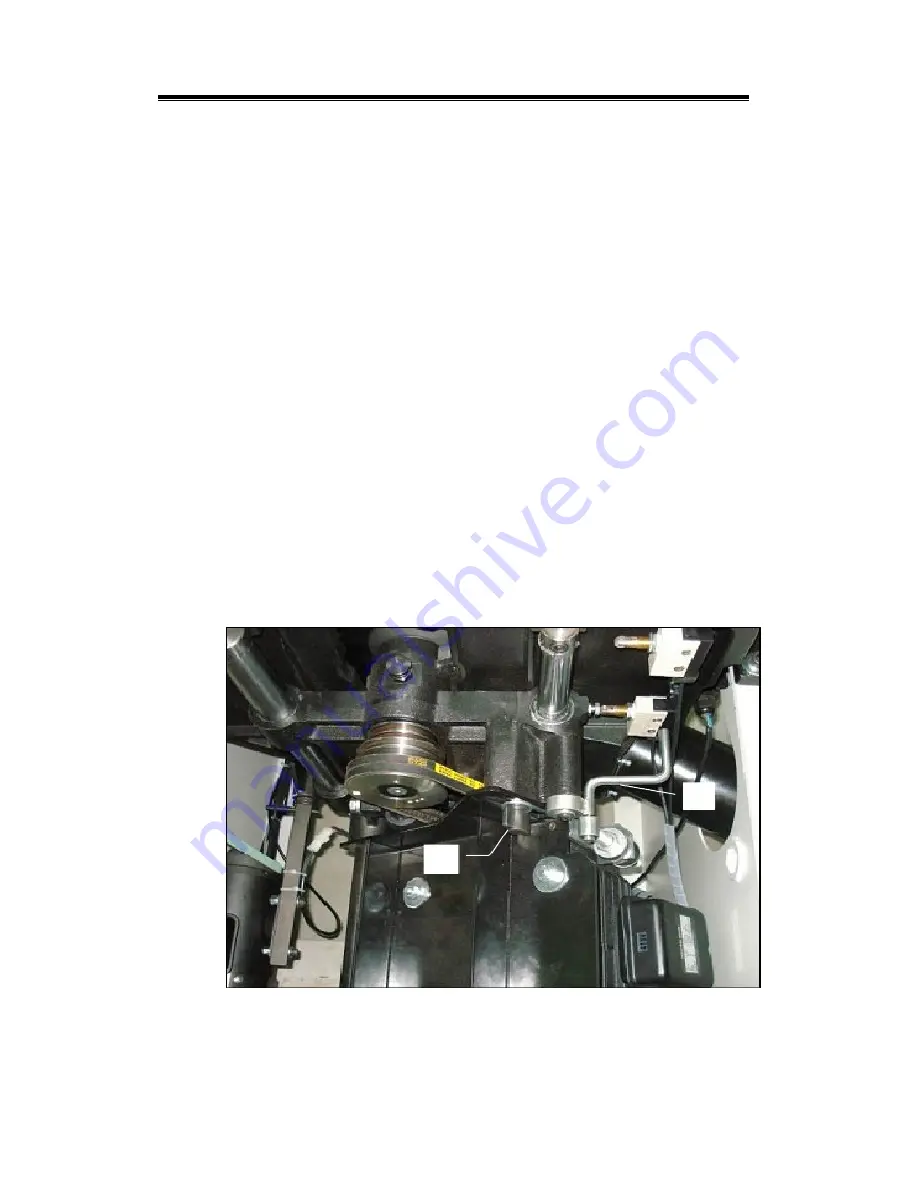
Loosen knob
A
(Fig. 4-4.1)
5.
Lift lever
B
(Fig. 4-4.1) of belt stretcher to the end of stroke, then tighten knob
A
(Fig. 4-4.1)the belts will slack and can be replaced
6.
Set the belts in the proper position (the smallest dia. gap set as 5000rpm, the
middle dia. gap sets as the smallest dia. groove set as 5000rpm, the middle dia.
groove set as 4000rpm, the largest dia. groove set as 3000rpm.
7.
Loosen knob
A
(Fig. 4-4.1)
8.
Move lever
B
(Fig. 4-4.1) of belt stretcher to initial position ( which is totally
down) to stretch the belts
9.
Tighten knob
A
(Fig. 4-4.1)
10.
Close the rear door
※
NOTE: Make sure that the selected rotation speed is proper for the working and
for the saw blade.
Figure 4-4.1
A
B
Summary of Contents for P12 10
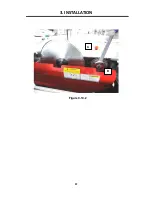
Page 26: ...3 INSTALLATION 22 Figure 3 10 2 D C ...
Page 52: ......
Page 53: ......
Page 54: ...MPSP12 10 0135 ASSEM 1 1 23 1 ...
Page 58: ...MPSP12 10 0135 ASSEM 1 2 4 5 ...
Page 60: ...MPSP12 10 0135 ASSEM 3 1 5 7 ...
Page 63: ...MPSP12 10 0135 ASSEM 3 2 6 10 ...
Page 65: ...MPSP12 10 0135 ASSEM 3 3 5 12 ...
Page 67: ...MPSP12 10 0135 ASSEM 4 10 14 ...
Page 69: ...MPSP12 10 0135 ASSEM 5 7 16 ...
Page 72: ...MPSP12 10 0135 ASSEM 6 1 19 ...
Page 74: ...MPSP12 10 0135 ASSEM 6 2 21 ...
Page 76: ...MPSP12 10 0135 ASSEM 6 3 23 ...
Page 78: ...MPSP12 10 0135 ASSEM 7 6 3200mm 25 ...
Page 80: ...MPSP12 10 0135 ASSEM 8 1 27 ...
Page 82: ...MPSP12 10 0135 ASSEM 9 3 29 ...
Page 85: ...MPSP12 10 0135 ASSEM 10 3 32 ...
Page 89: ...MPSP12 10 0135 ASSEM 12 6 4 36 ...
Page 92: ...MPSP12 10 0135 ASSEM 12 10 39 ...

