Double Drum Sander 37 x 2
76
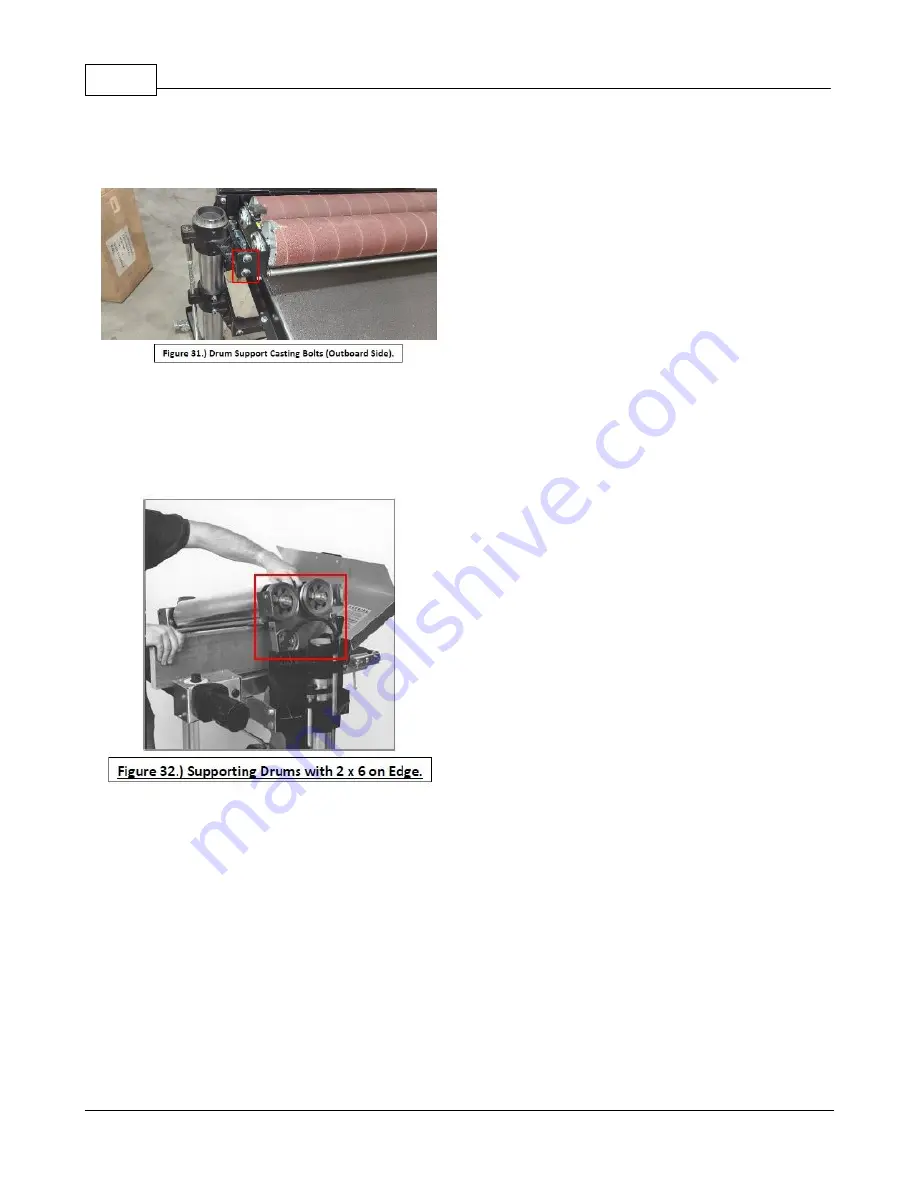
side) side of the sander.
Loosen the bottom two 3/8" x 1-1/4" bolts
from the left drum support casting,
but do
not remove them
.
5.) Lift the right (inboard) side of drums and place a 2 x 6 on edge under the drums (See Figure 32).
Loosen and remove the V-Belt pulleys from drum shafts.
Important:
Make sure to note the location of the pulleys. Also measure the distance from pulley edge to the drum
support casting to use as a reference when reinstalling pulleys so they will be properly aligned.
6.) Loosen the set screws in the two V-belt pulleys and remove the pulleys. Next, loosen the two set screws in
each of the four bearing collars
(See Figure 33)
. Now remove the sanding drum support brackets that hold the
bearings
(See Figure 34)
. Remove the sanding drums currently and install the new drums. If the bearings need
replacing, replace them currently.
Summary of Contents for 37 x 2
Page 2: ......
Page 17: ...General Information 17 Castings...
Page 18: ...Double Drum Sander 37 x 2 18 Supermax Specifications...
Page 19: ...General Information 19 Supermax Accessory Supply Check List...
Page 47: ...Mainteance 47...
Page 54: ...Double Drum Sander 37 x 2 54...
Page 56: ...Double Drum Sander 37 x 2 56 Drumhead Assembly Exploded View...
Page 57: ...Drumhead Parts List 57 Drumhead Parts List...
Page 58: ...Double Drum Sander 37 x 2 58...
Page 59: ...Conveyor Exploded View 59 Conveyor Exploded View...
Page 60: ...Double Drum Sander 37 x 2 60 Conveyor Parts List...
Page 61: ...Conveyor Parts List 61...
Page 62: ...Double Drum Sander 37 x 2 62 Exploded Diagrams...
Page 63: ...Parts Lists 63 Parts Lists...
Page 77: ...Disassembly Procedure 77...
Page 79: ...Warranties 79 Warranties Laguna Tools Warranty...
Page 80: ...Double Drum Sander 37 x 2 80 Modifications RMA Policy Laguna Tools Packaging RMA Procedure...
Page 81: ...Warranties 81...


