
WARRANTY FOR INFORMATION ONLY-
ORIGINAL WARRANTY SENT WITH SHIPMENT.
2
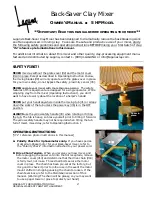
Back-Saver Clay Mixer
O
WNER
’
S
M
ANUAL
∙
5 HP M
ODEL
** I
MPORTANT
: R
EAD THIS MANUAL BEFORE OPERATING YOUR MIXER
**
Laguna’s Back-Saver Clay Mixer has been designed to dramatically reduce the backbreaking work
so often experienced in mixing clay. To ensure the safe and productive use of your mixer, study
the following safety guidelines and operating instructions BEFORE mixing your first batch of clay.
“#’s” reference photo illustrations in this manual.
For additional information about this mixer and other quality, clay-processing equipment manu-
factured and distributed by Laguna, contact 1- (800) 4-LAGUNA or info@lagunaclay.com.
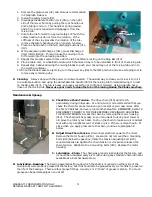
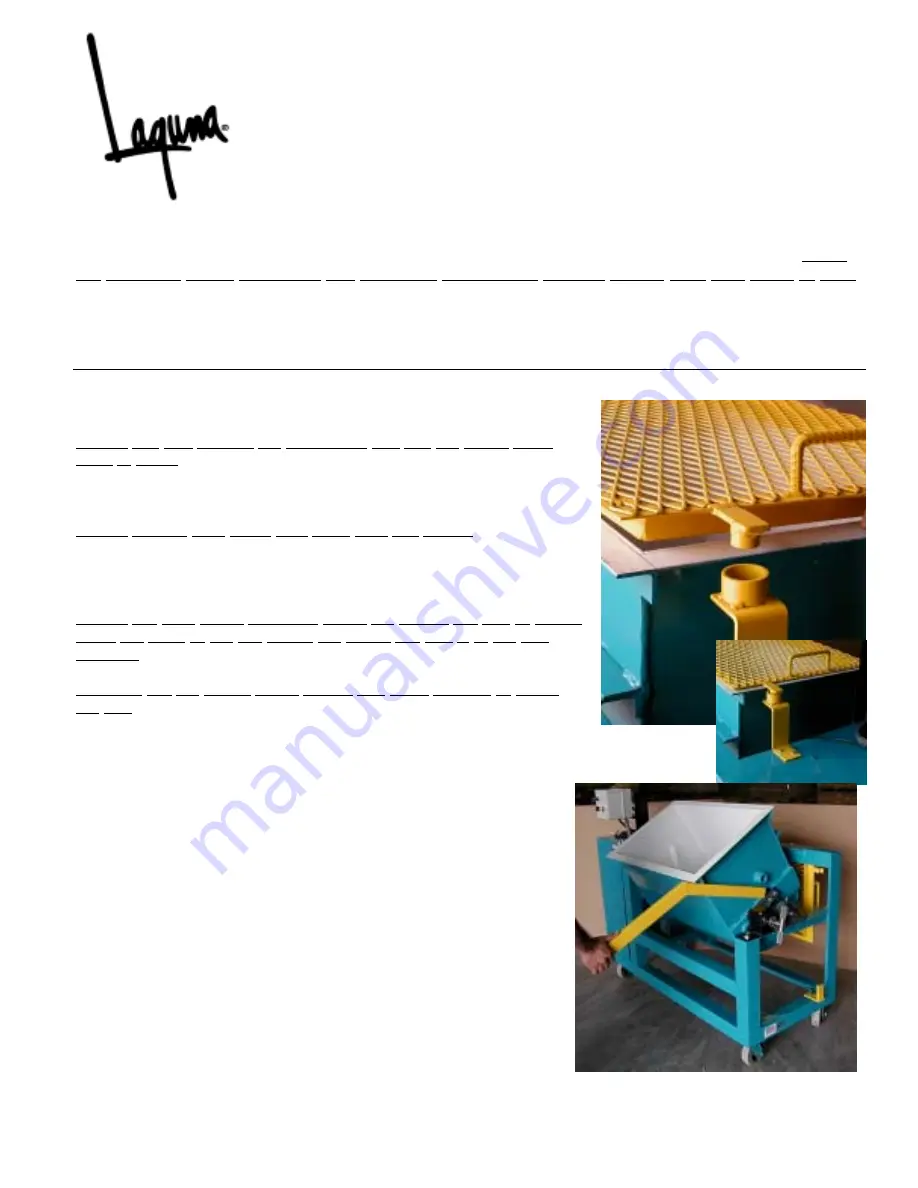
SAFETY FIRST!
NEVER
mix clay without the grate-cover (#2) and the motor cover
(#14) in place. Except as described in Operating Instruction J below,
the mixing blades (#8) will only operate with the grate-cover in place.
For your own safety, do not bypass the safety, proximity sensor (#5).
NEVER
operate your mixer with more than one person. The safety
features of this equipment are designed for a single operator. While
emptying clay from the mixer (
Operating Instruction J
), you don’t
want to have to worry about the location of a helper’s hands!
NEVER
put your hands anywhere inside the mixing tub (#1) or scrape
down the sides of the tub unless the power key (#6) is in the OFF
position.
ALWAYS
use the yellow safety handle (#9) when rotating or tilting
the tub. The tub is heavy, so brace yourself prior to tilting it forward.
The yellow safety handle may not be required when tilting the tub
full of moist, mixed clay; refer to Operating Instruction J.
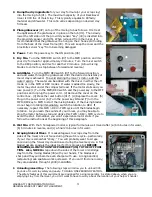
OPERATING INSTRUCTIONS:
[“#’s” reference photo illustrations in this manual]
A. Polarity Check for 3 phase motors only.
If you have special-
ordered a 3-phase motor for your Back-Saver mixer, refer to
the “
Polarity Check
” information attached to your power cord.
B. Drive Chain Tension.
When you receive your new mixer, and
before plugging the power cord into the hot receptacle, remove
the motor cover (#14) and determine that the drive chain (#18)
is fairly taut, not loose. Three small bolts secure the motor
cover in place. The chain has been pre-set at the factory, but
it is good to check it prior to initial use in the event the motor
mount shifted in shipping causing the chain to loosen. If the
chain feels loose, refer to the
Maintenance
section of this
manual. [Warning: The chain will be greasy, so you may want
to use a paper towel or glove to protect your hand.]
#2
#4
#5
Cover in
place
#14
#9
#13
#8
!
#1
#1


