Fusion F3 Table Saw - Setup - Front Rail Pt. 2 & Control Switch
40
© 2020 Laguna Tools
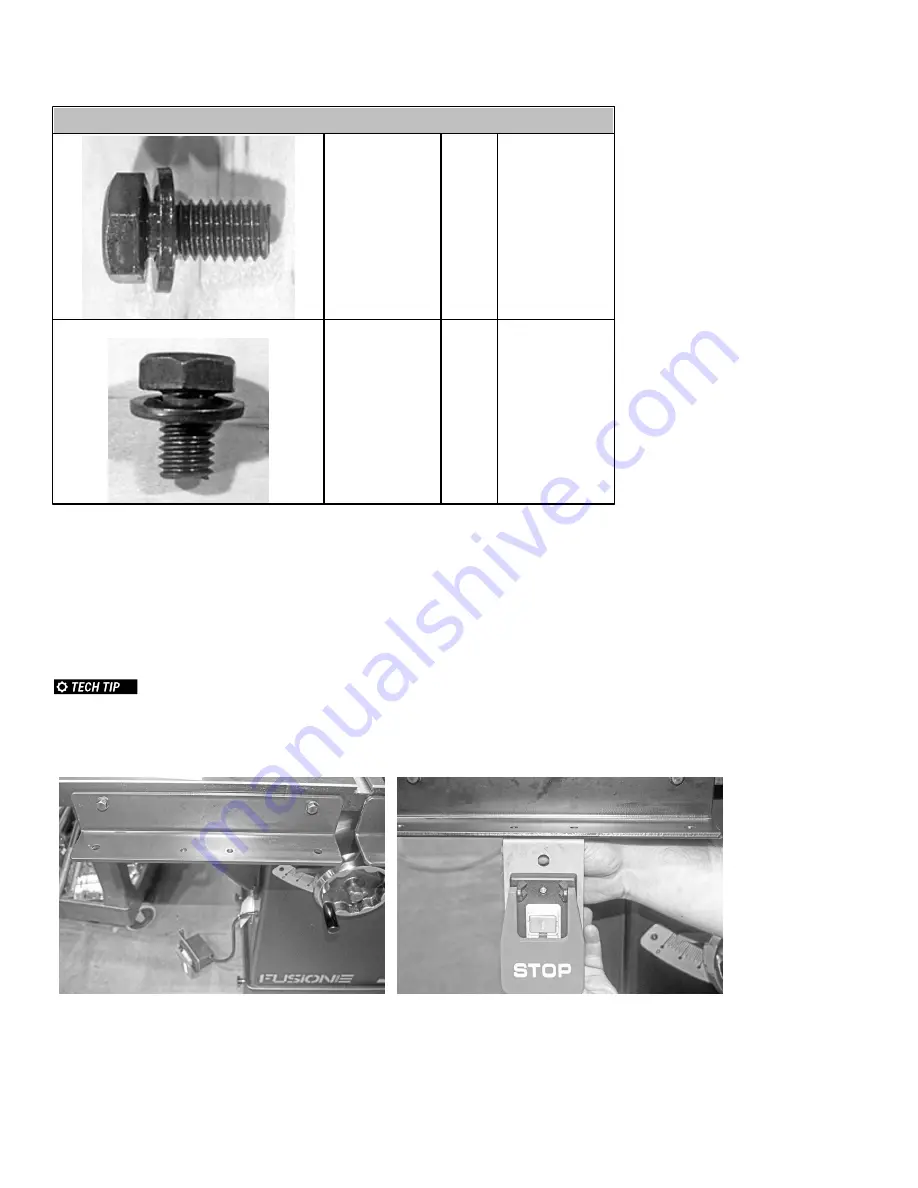
Hardware
L
Hex Cap Screw
w/ Flat Washer
(shorter)
9 of 9
Front Body to
Front Rail (left &
right side)
Mounting the Control Switch to the Left Front Rail:
1. Align the bolt holes on the top of the control switch with the bolt holes on the bottom of the left front rail bracket.
2. Thread the 2 longer hex cap screw and flat washer through the control switch’s bolt holes.
3. Tighten the bolts using either the general wrench or a 13 mm socket wrench to secure the control switch to the left front
rail bracket.
Ensure that the head of the hex bolts are threaded from underneath the left front rail. The ends of each the
bolts should be visible from the top of the left front rail.
Pre-Installation:
Control Switch Placement:
Summary of Contents for Fusion F3
Page 1: ...PRECISION WOODWORKING MANUAL Fusion F3 Table Saw MTSF3362203 0130 36 MTSF3362203 0130 52...
Page 21: ...Fusion F3 Table Saw Setup 21 2020 Laguna Tools Setup...
Page 54: ...Fusion F3 Table Saw Wiring Diagram 54 2020 Laguna Tools Wiring Diagram...
Page 56: ...Fusion F3 Table Saw Replacement Parts Diagram 56 2020 Laguna Tools Internal...
Page 57: ...Fusion F3 Table Saw Replacement Parts Diagram 57 2020 Laguna Tools Blade Guard Mitre Gauge...
Page 58: ...Fusion F3 Table Saw Replacement Parts Diagram 58 2020 Laguna Tools 36 Rails Fence...
Page 59: ...Fusion F3 Table Saw Replacement Parts Diagram 59 2020 Laguna Tools 52 Rails Fence...


