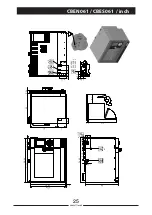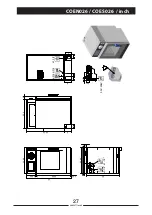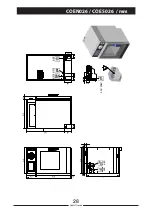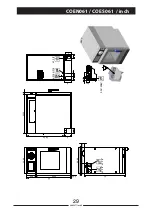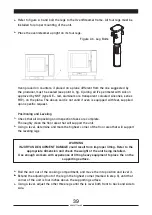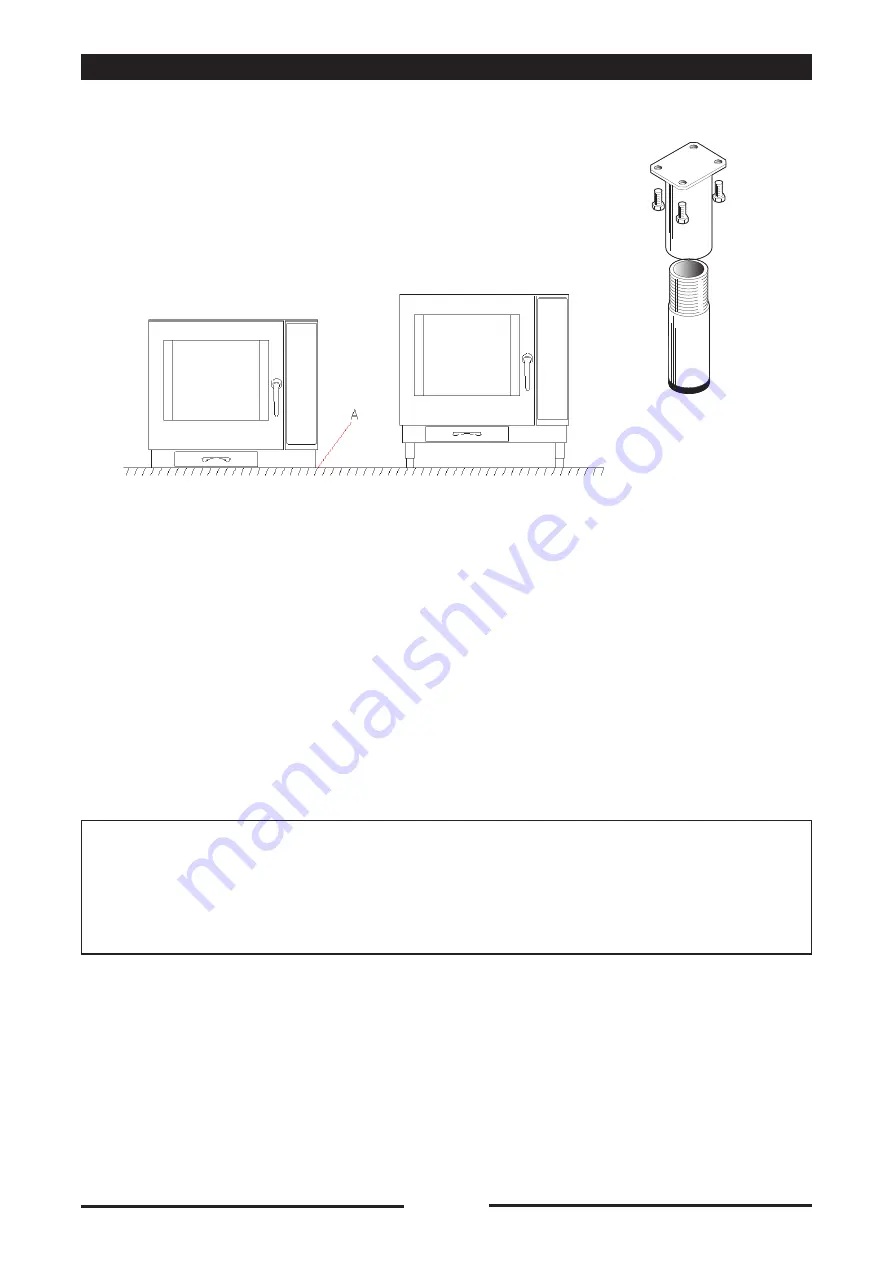
Refer to figure 2-3 and bolt the legs to the Oven/Steamer frame. All four legs must be
installed for proper mounting of the unit.
Place the oven/steamer upright on its four legs.
Positioning and Leveling
Check that all Unpacking and Inspection tasks are complete.
Thoroughly clean the floor area that will support the unit.
Using a level, determine and mark the highest corner of the floor area that will support
the leveling legs.
WARNING
INJURY AND EQUIPMENT DAMAGE could result from improper lifting. Refer to the
appropriate dimension and check the weight of the unit being installed.
Use enough workers with experience of lifting heavy equipment to place the on the
supporting surface.
Roll the cart out of the cooking compartment, and move the into position and level it.
Extend the adjusting foot of the leg in the highest corner (marked in step 3), until that
corner of the unit is four inches above the supporting surface.
Using a level, adjust the other three legs until the is level both front to back and side to
side.
39
90028771rev00
1
-
2
-
3
-
5
-
Figure 2-3. Leg Bolts
3
-
4
-
4
-
4
-
Oven placed on counters, if placed on a plane different from the one suggested by
the producer, must be sealed (see point A, fig. X) along all it’s perimeter with silicon
approved by NSF (type GE – red, aluminum ore transparent coloured silicones, series
RTV), on the plane. The above said is not valid if oven is equipped with feet, supplied
upon specific request.
Summary of Contents for Naboo Compact CBEN061
Page 2: ... 2 90028771rev00 ...
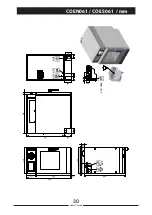
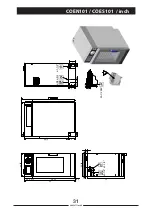
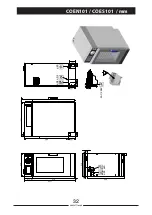
Page 20: ... 20 90028771rev00 INSTALLATION DIAGRAMS ...
Page 64: ... 64 90028771rev00 ...
Page 65: ... 65 90028771rev00 65 90028771rev00 ...
Page 66: ... 66 90028771rev00 66 90028771rev00 ...
Page 67: ......

