background image

https://connectivity.lairdtech.com 

© Copyright 2019 Laird. All Rights Reserved 

Americas

: +1-800-492-2320 

Europe

: +44-1628-858-940 

Hong Kong

: +852 2923 0610 


When the external prob

e is connected properly to the sensor, the sensor will operate “normally” once powered up. Normal operation 

of the sensor is indicated by the left LED will flashing e

ither “orange” or “green” color to indicate the connection status to a network.   

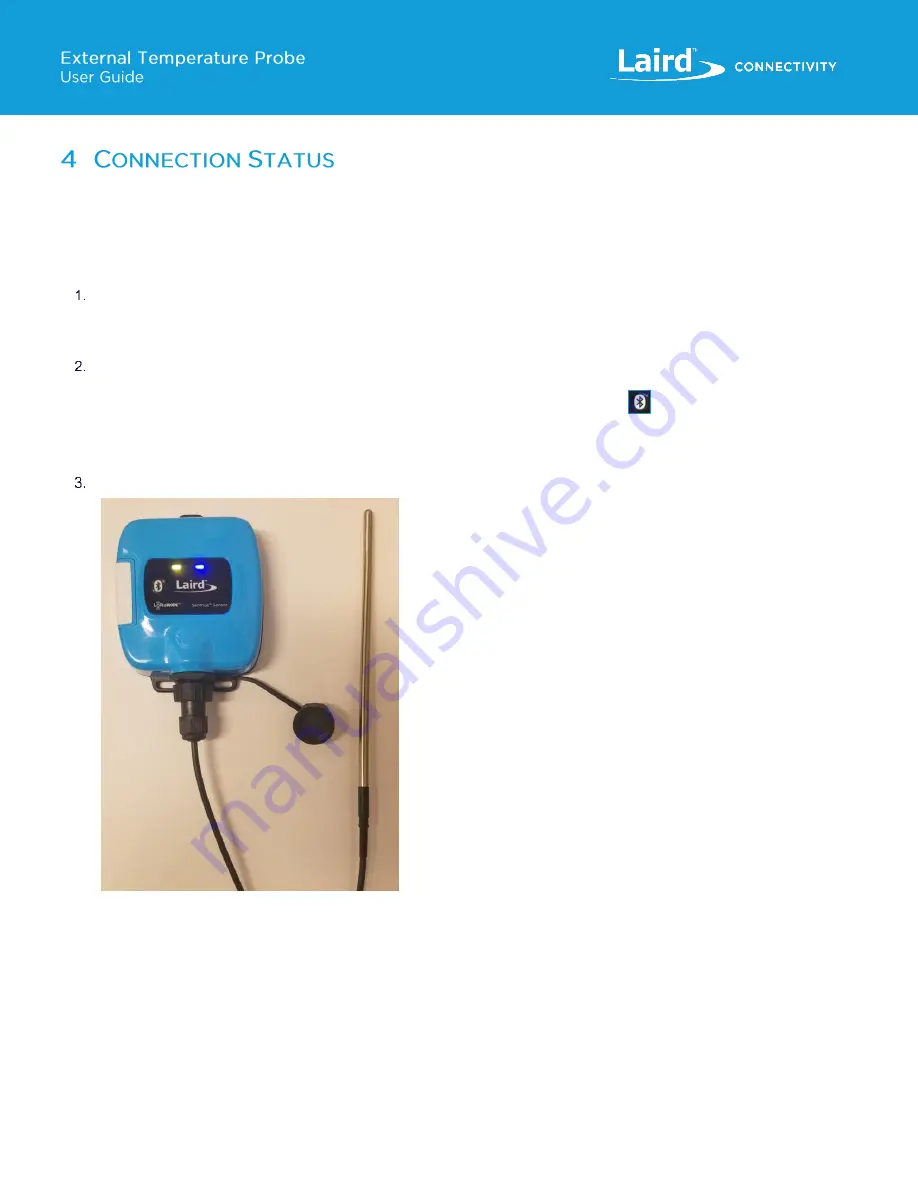
A connection problem is indicated by both LEDs on the front panel both being constantly on.  This is a visual indicator to the user 
that there is a communication issue between the sensor and the probe. The sensor will not function properly in this state. 

To remedy this, follow these steps: 


Retry the steps from the 

Installation

 section. Make sure the sensor has the latest firmware installed to ensure the sensor 

has all the latest capabilities. The firmware can be updated using the mobile app. Reference the RS1xx guide for more 
details 

RS1xx product page 

on this process. 


The time 

it takes for the sensor to detect a probe depends on the sensor’s settings, in particular, the read period and 

aggregate count. This means that the time to auto detect a probe can fluctuate between 30 seconds or likely much longer. 

To speed up the auto detect process of the sensor, press and hold the Bluetooth button 

 on the top of the sensor for 

five seconds after reconnecting the external probe. This will restart the sensor, and on startup the Sentrius sensor will 
check for the sensor.


If you continue to experience an issue, contact 

Laird Support

. There could be damage to the Sentrius sensor or probe.


Figure 5: Front panel LEDs are lit 

Summary of Contents for 455-0009

Page 1: ...A https connectivity lairdtech com 1 Copyright 2018 Laird All Rights Reserved Americas 1 800 492 2320 Europe 44 1628 858 940 Hong Kong 852 2923 0610 Version 1 0...

Page 2: ...ch com 2 Copyright 2019 Laird All Rights Reserved Americas 1 800 492 2320 Europe 44 1628 858 940 Hong Kong 852 2923 0610 Version Date Notes Contributors Approver 1 0 07 Jan 2019 Initial Release Robert...

Page 3: ...Hong Kong 852 2923 0610 1 Introduction 4 2 Part Numbers 4 3 Installation 5 3 1 Illustrations 6 3 1 1 Stainless Steel Temperature Probe with RJ45 Cable Assembly 6 3 1 2 RJ45 Cable Gland 7 4 Connection...

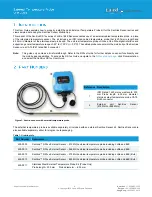
Page 4: ...ctionality and the mobile app capabilities To access the RS1xx Guide navigate to the RS1xx product page click Documentation and select the Sentrius RS1xx User Guide Figure 1 Sentrius sensor with exter...

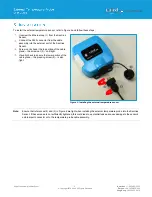
Page 5: ...the Sentrius Sensor Screw on by hand the top portion of the cable gland the screw nut 3 until tight Visually check to ensure the lower portion of the cable gland the pressing screw 2 is also tight Fig...

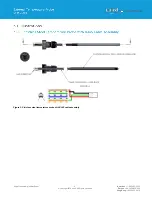
Page 6: ...onnectivity lairdtech com 6 Copyright 2019 Laird All Rights Reserved Americas 1 800 492 2320 Europe 44 1628 858 940 Hong Kong 852 2923 0610 Figure 3 Stainless steel temperature probe with RJ45 cable a...

Page 7: ...https connectivity lairdtech com 7 Copyright 2019 Laird All Rights Reserved Americas 1 800 492 2320 Europe 44 1628 858 940 Hong Kong 852 2923 0610 DIM in millimeters Figure 4 RJ45 cable gland...

Page 8: ...from the Installation section Make sure the sensor has the latest firmware installed to ensure the sensor has all the latest capabilities The firmware can be updated using the mobile app Reference the...

Page 9: ...he external temperature probe and sensor once a good cable connection is established To view real time sensor data follow these steps Press and hold the BLE button on the front panel of the sensor to...

Page 10: ...https connectivity lairdtech com 10 Copyright 2019 Laird All Rights Reserved Americas 1 800 492 2320 Europe 44 1628 858 940 Hong Kong 852 2923 0610...

Page 11: ...The average current consumption was 72 uA over 32 minutes The data rate that the RS186 transmitted at was SF7BW125 Every external temperature probe is cleaned with an alcoholic wipe and placed in an...

Reviews: