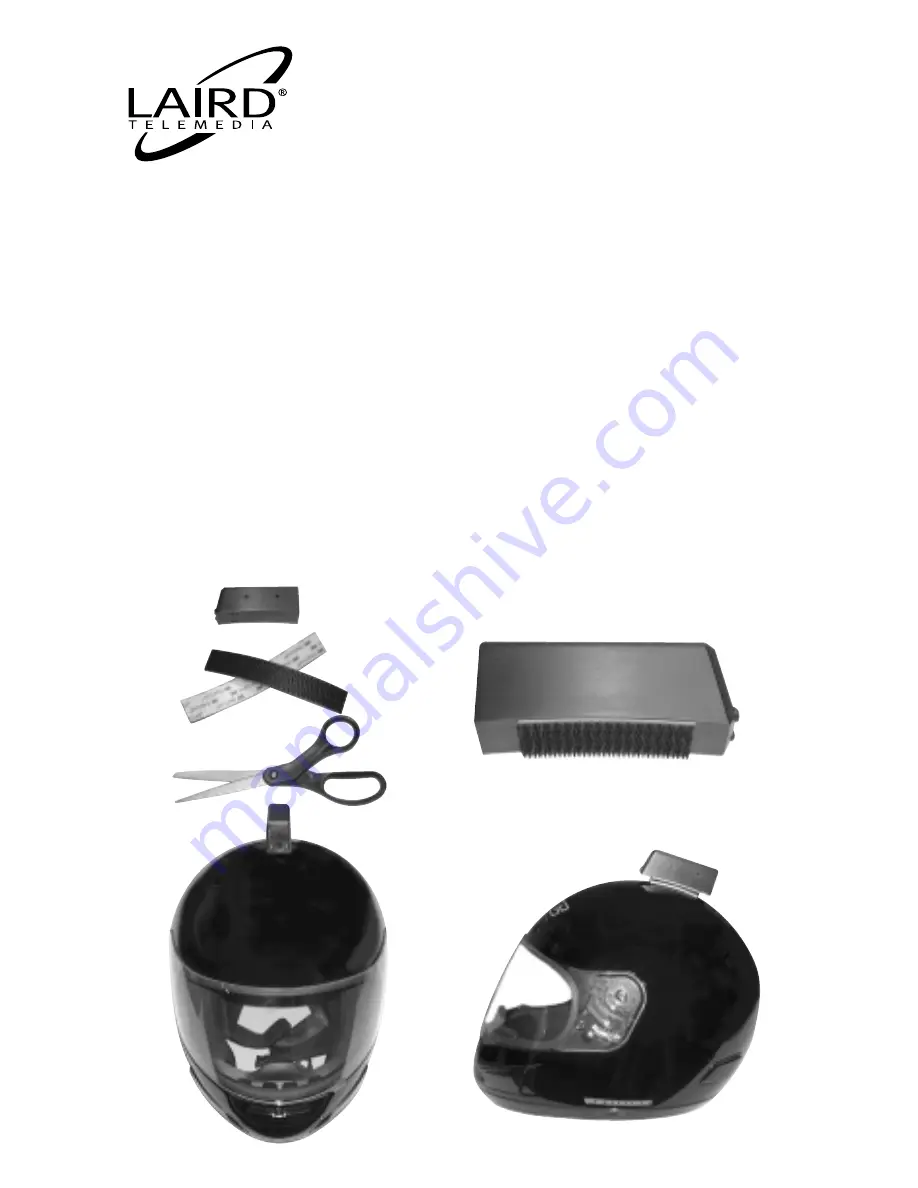
8.
Locate the helmet mounting location by determining the required angle of
view required. Top locations must be positioned back a bit to allow for the
right angle once the helmet is worn. It would be a good idea to experi-
ment with an associate to determine the right location for the camera.
9.
Once the camera location has been determined, cut and apply the strip of
sure-lock Velcro unto the curved base of the camera tube. This Velcro does
not have a hook and loop side like standard Velcro. Cut another piece and
squeeze it into place on top of the previous piece.
DO NOT REMOVE
THE ADHESIVE PROTECTION YET.
10.
Carefully locate the camera on the helmet and allow of maximum contact
to the curved area of the helmet and the camera tube. It would be a good
idea to power the camera and connect it to a video monitor. Use the mon-
itor to determine the proper location for your needs.
- Page 4 -
LTM-LCAM
LAIRDCAM
Helmet Camera System


