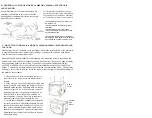
4. After securing the chain to the ceiling studs or beams, use 4 “S” hooks on the chain to
mount the air cleaner cabinet to the chain. (For easier installation, remove the electronic
cell and other filters to make the cabinet lighter when mounting)
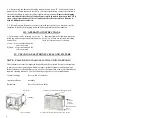
Remove the shipping
screw which holds the cells of all LakeAir units while in transit from our plant. This
screw is located at the base of the cell and locks the cell to the cabinet. Remove it
with a Phillips head screwdriver.
5. After making sure all parts are securely replaced into the unit, you may now test the
operation of the unit by plugging it into an outlet and turning the air cleaner on.
III. OPERATING INSTRUCTIONS
IV. CLEANING ELECTRONIC CELLS AND FILTERS
NOTE:
FAILURE TO CLEAN CELLS WILL VOID WARRANTY
The electronic cell must be inspected frequently and the collected dirt removed regularly
to prevent excess accumulation which may result in risk of flashover and fire damage.
Inspect electronic cells and filters every week for the first month or two to determine your
required cleaning schedule. Use the following as a guide for your establishment:
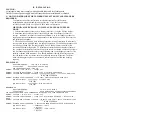
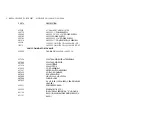
Cocktail Lounge
Conference Room
Restaurant
-Every week (if run daily)
-Monthly
-Every Week (if run daily)
6
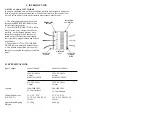
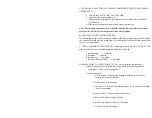
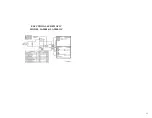
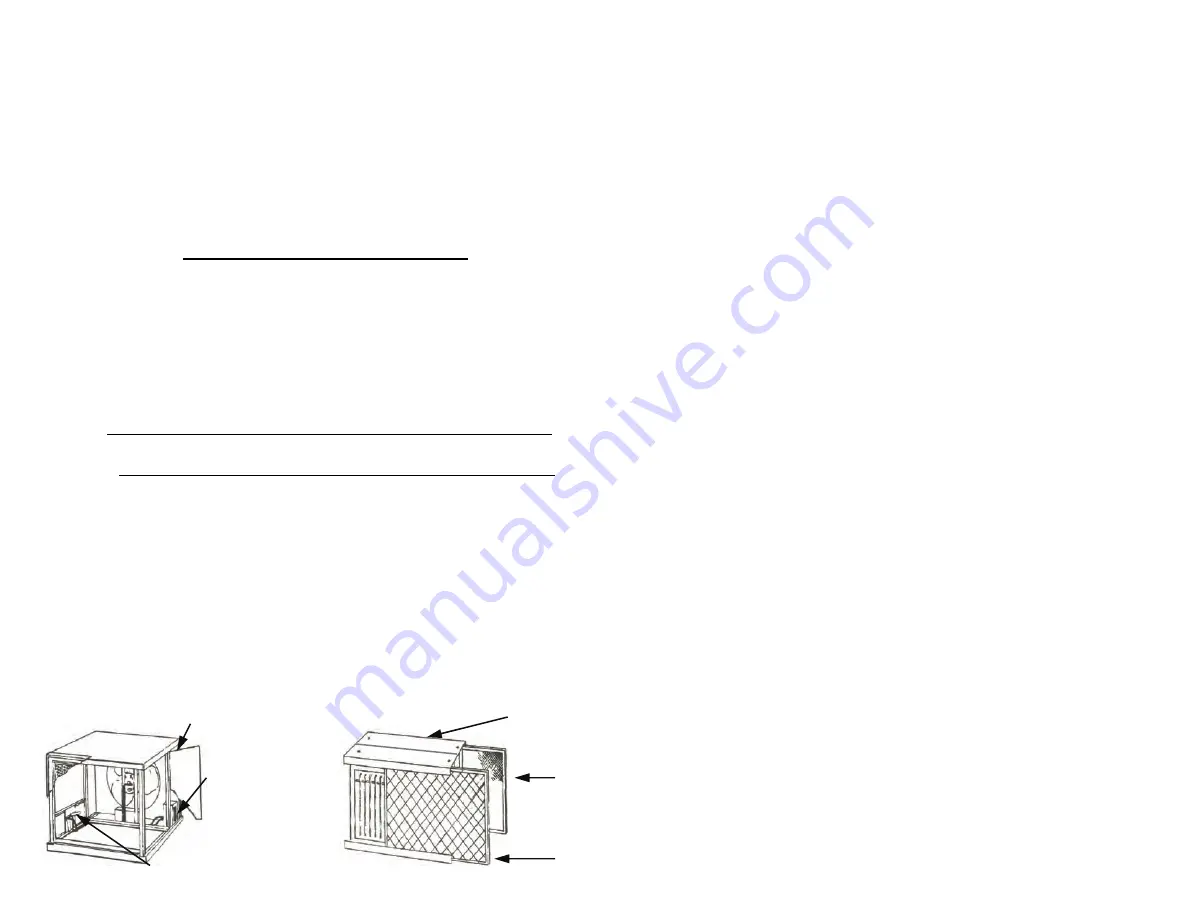
Door Panel
Control Box
Cell Contact Board
Activated
Carbon
Afterfilter
Removable Prefilter
Screen
Carbon Filter cell should be inserted nearest the fan.
1. Turn the unit on by selecting one of the
following modes of operation located on the
control box:
a) Low – Air is circulated and the
cell is activated.
b) High – Air is circulated and the
cell is activated.
2. Indicator light will illuminate when any
of the “on” modes are selected, indicating
there is electrical power to the unit.
Pre Filter cell should be inserted farthest from the fan.

