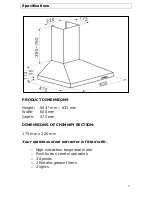


16
and ceiling. The wall and ceiling must be strong enough to take
the weight of the extractor.
o
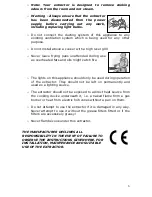
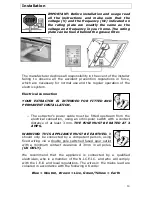
Do not tile, grout or silicone this appliance to the wall. This
appliance is designed to be surface mounted only.
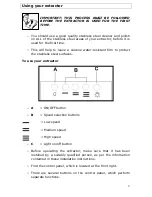
Installing your extractor
IMPORTANT: YOU WILL HAVE TO DECIDE BEFORE
INSTALLING YOUR EXTRACTOR WHETHER TO USE IT
IN EXTRACTION MODE OR RECIRCULATION MODE.
PLEASE TURN TO PAGE 22 NOW TO UNDERSTAND
THE DIFFERENCES BETWEEN THESE TWO MODES.
o
We recommend that at least two people install this extractor.
IMPORTANT: YOUR EXTRACTOR SHOULD BE CONNECTED TO
YOUR MAINS SUPPLY AFTER THE REST OF THE INSTALLATION
PROCESS HAS BEEN COMPLETED.
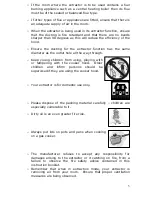
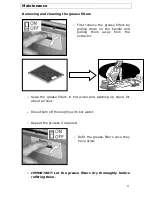
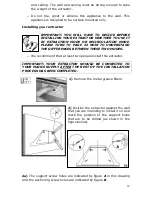
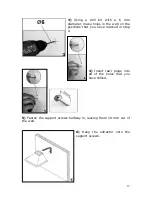
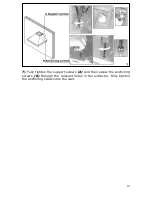
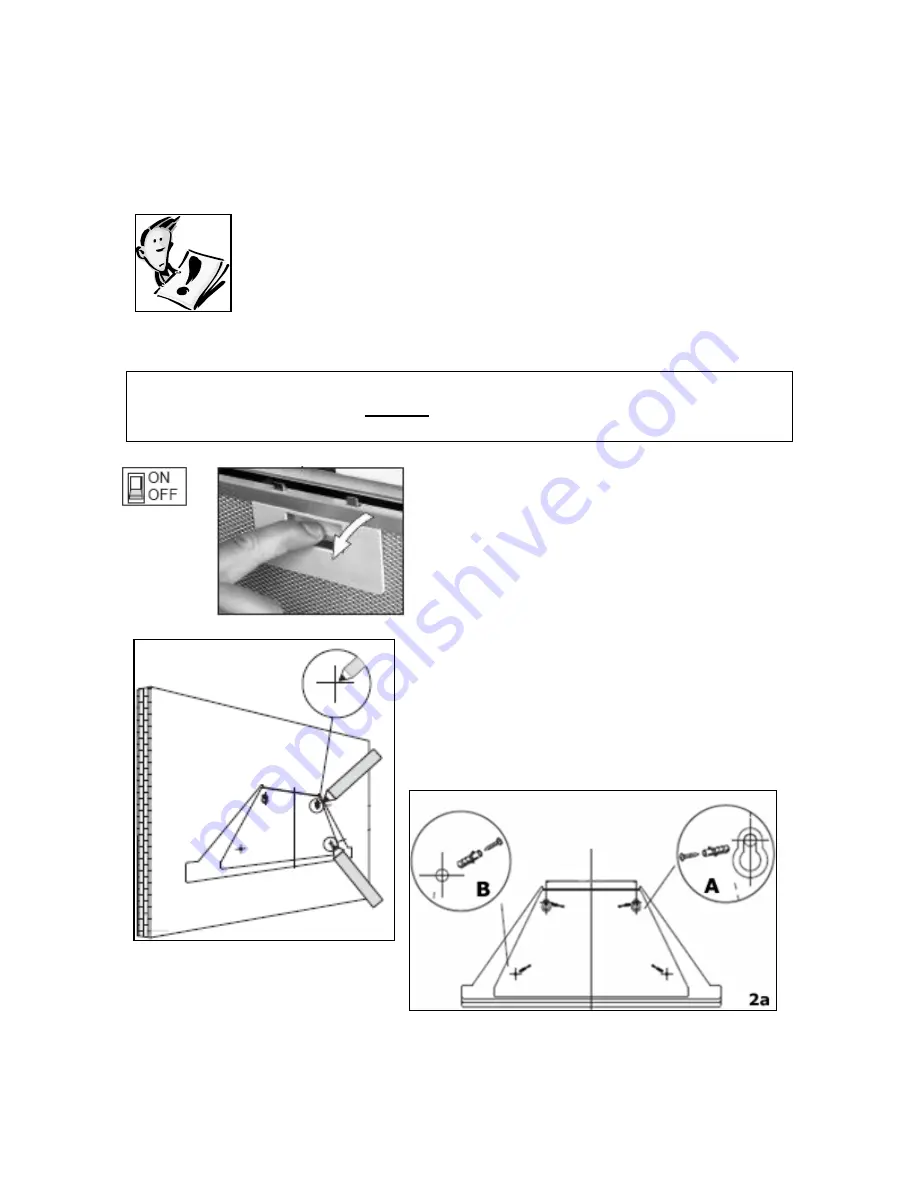
1)
Remove the metal grease filters.
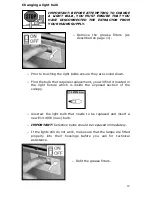
2)
Position the extractor against the wall
that you are intending to install it on and
mark the position of the support holes
that are to be drilled (as shown in the
figure below).
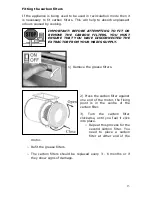
2a)
The support screw holes are indicated by figure
A
in this drawing
and the anchoring screw holes are indicated by figure
B
.
Summary of Contents for HJA2480
Page 24: ...24 Your Guarantee...
Page 25: ...25...
Page 26: ...26...
Page 27: ...27...
Page 28: ...28...


