QUESTIONS?... Contact Customer Service at 1-888-370-6531 M-F 8:00 am- 4:15 pm CST
42
Section 12 - Service / Maintenance
Preheater Diaphragm Breakdown
1.
Remove the four hex cap screws
from the diaphragm assembly
2.
Disassemble and inspect diaphragm,
spring and o-ring.
3.
Thoroughly clean remaining parts.
4.
Re-assemble the diaphragm,
o-ring, spring and hex cap screws.
Preheater Nozzle Cleaning /
Replacement
1.
Periodic cleaning of the nozzle assem-
bly may be required.
2.
Carefully remove nozzle from the air
preheater block.
3.
Disassemble the nozzle as shown and
clean thoroughly. Reassemble nozzle.
4.
Carefully remove the quad ring from
the block and inspect. Replace if nec-
essary.
5.
Insert clean/new quad ring into the air
pre-heater block.
NOTE:
The quad ring must be properly
seated. Failure to properly seat the quad
ring may result in leakage and improp-
er burner operation.
DO NOT INSTALL
QUAD RING ON THE NOZZLE.
6.
Lubricate pin/seat and re-install noz-
zle. Tighten gently.
Failure to properly seat the quad
ring may result in leakage and
improper burner operation. DO
NOT INSTALL QUAD RING ON
THE NOZZLE.
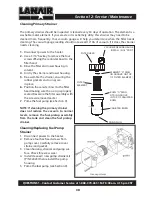
Diaphragm Assembly
Nozzle Assembly
Proper Quad-Ring Position


