PAGE 9
DRIVE CAP ASSEMBLY, MAIN PISTON AND REGENERANT PISTON:
The drive gears turn the main gear of the drive cap assembly, which moves the piston. The screw-driven, horizontally
moving piston stops at specific positions to direct the flow of water to backwash, regenerate, rinse or refill. The PC board
determines the position of the piston by counting pulses produced when the piston is moved. An optical sensor looking
at one of the reduction drive gears generates these pulses. Each cycle position is defined by a number of pulses. The
counter is zeroed each time the valve goes to the service position. The PC board finds the service position by noting the
increase in current delivered to the motor when the mechanical stop at the service position is reached. This method of
controlling piston position allows for greater flexibility and requires no switches or cams (U.S. Patent 6444127).
A regenerant piston must be attached to the main piston.
SPACER STACK ASSEMBLY:
The spacer stack assembly provides the necessary flow passage for water during the different cycles. The all-plastic
spacer stack assembly (U.S. Patent 6402944) is a one-piece design which allows the stack to be removed using your
fingers.
The exterior of the stack is sealed against the body bore with self lubricating EPDM o-rings, while the interior surface is
sealed against the piston using slippery self cleaning directional (one-way) silicone lip seals. The lip seals are clear in
color and have a special slippery coating so that the piston does not need to be lubricated.
Replace broken or damaged drive gears. Do not lubricate any of the gears. Avoid getting any foreign matter on the
reflective coating because dirt or oils may interfere with pulse counting.
The drive gear cover only fits on one way, with the large clip orientated towards the bottom. If all three clips are outside of
the gear shroud on the drive bracket the drive gear cover slips easily into place.
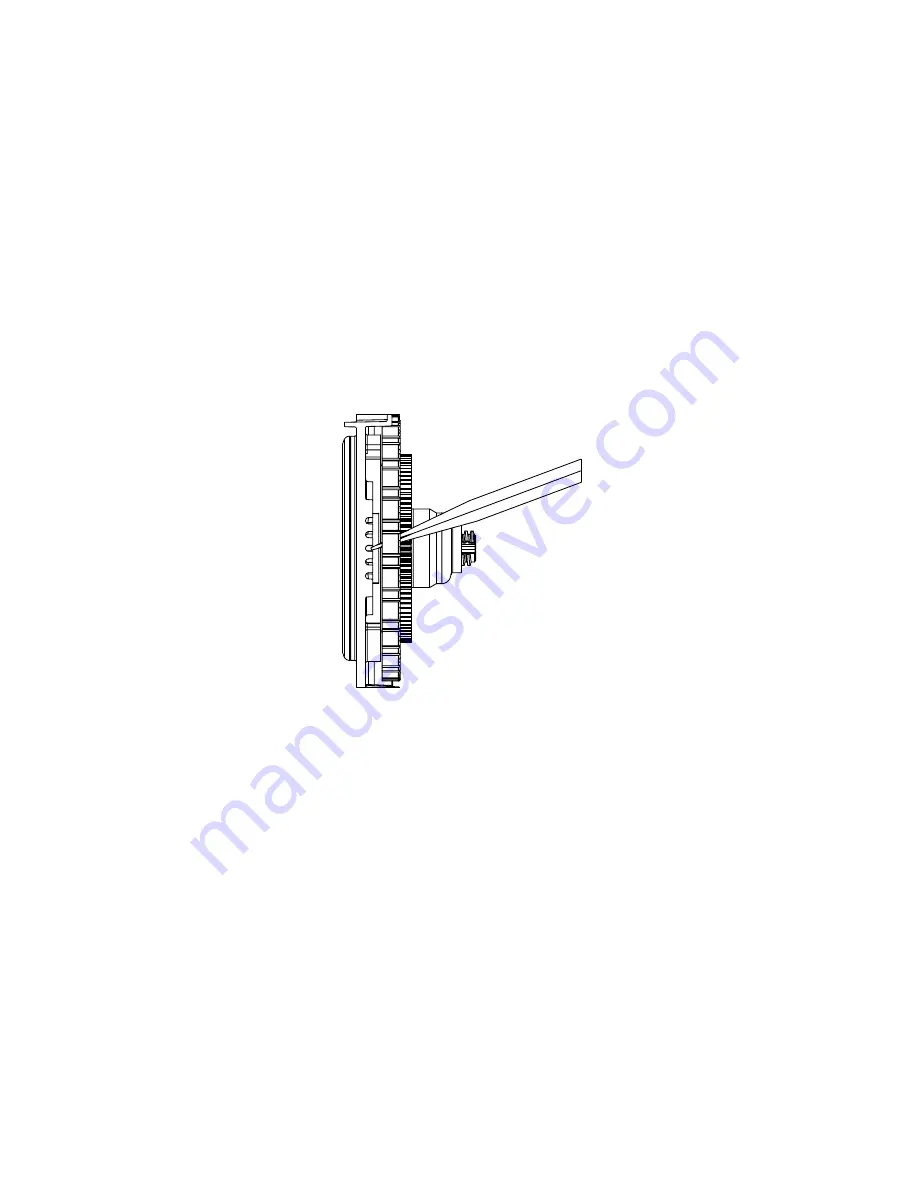
The drive bracket does not need to be removed from the drive plate if the motor needs to be removed. To remove the
motor, disconnect the power and motor plugs from the jacks on the PC board. Move the spring clip loop to the right and
hold. Rotate the motor at least a ¼ turn in either direction so the wires are vertical (up & down) before gently pulling on the
wire connectors to remove the motor. Pulling directly on the wires without rotating the motor may break the wires off the
motor.
Summary of Contents for 7-FESLER-32B
Page 15: ...PAGE 15 ...


