27
Section 2: Operating Instructions
MPS2607, MPS2609, & MPS2611 Multi-Purpose Seeder 329-301M
Table of Contents
8/8/23
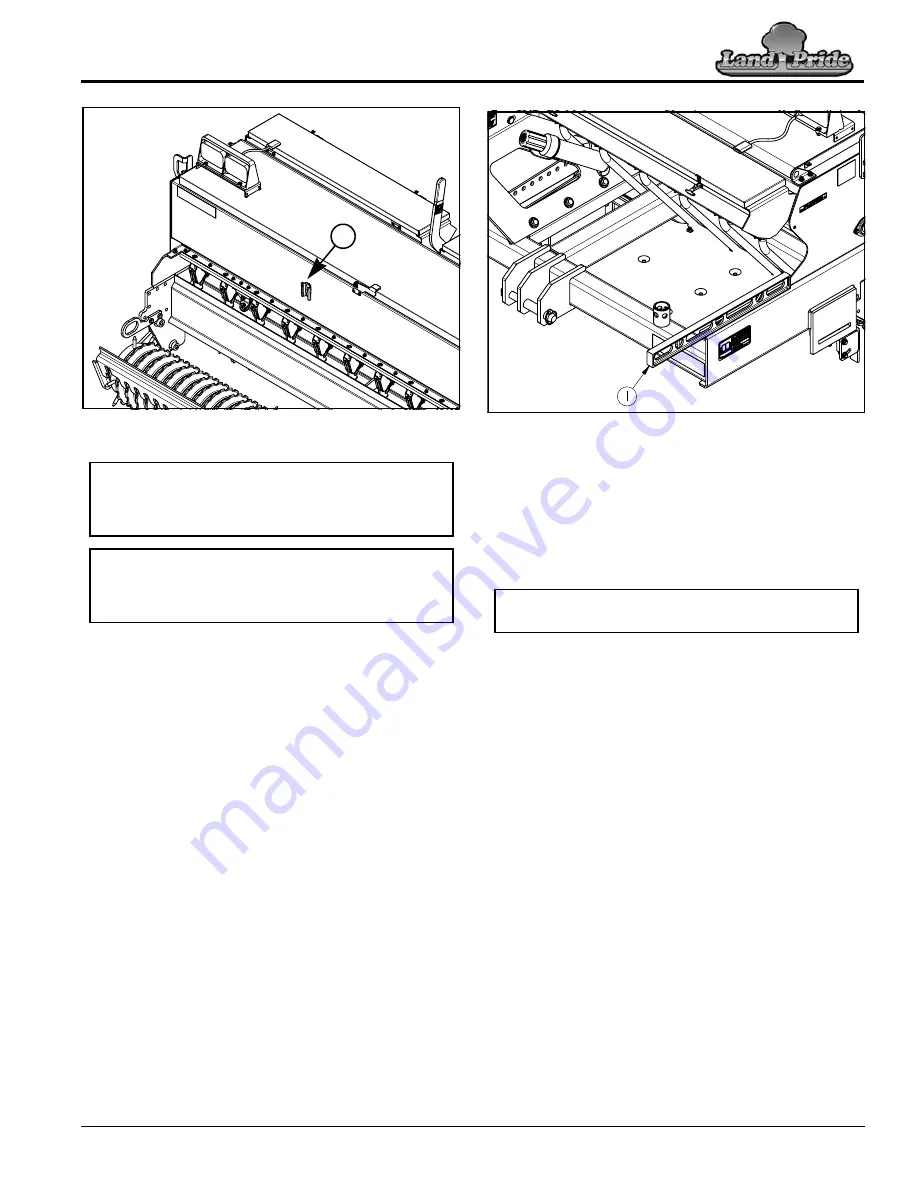
Slow Moving Vehicle Mounting Socket
Figure 2-7
Refer to Figure 2-7:
1.
Relocate slow moving vehicle sign from back of your
tractor to mounting socket (#5) on the back of the
seeder.
2.
With tractor in park or park brake set, start tractor and
operate tractor control lever to raise seeder fully up
for transporting. Skip to step 5 if transporting with a
3-point mounted seeder.
3.
Before transporting the pull-type seeder, store park
jack on the seeder main frame. See
“Store Park
Jack”
on page 25 for detailed instructions,
4.
Install transport locks and stroke control spacers
before traveling with pull-type unit. For detailed
instructions, see
“Install Transport Locks and
Spacers”
on page 26.
5.
Start tractor and select a safe ground travel speed
when transporting from one area to another. Do not
exceed 20 miles per hour travel speed.
6.
When traveling on roadways, transport in such a way
that faster moving vehicles may pass you safely.
7.
Reduce tractor ground speed when turning. Leave
enough clearance so that the seeder does not
contact obstacles such as buildings, trees, or fences.
8.
Shift tractor to a lower gear when traveling over rough
or hilly terrain.
39013
5
IMPORTANT:
The slow moving vehicle sign should
not be used when transporting equipment on a truck
or trailer exceeding speeds of 25 mph. Cover or
remove the sign when hauling the MPS Seeder.
NOTE:
If needed, a slow moving vehicle sign can
be purchased from your nearest Land Pride dealer.
Refer to
“Slow Moving Vehicle Sign (Accessory)”
on page 56.
Level 3-Point Mount Seeder
Figure 2-8
Level Seeder With 3-Point Mount
Refer to Figure 2-8:
Leveling the seeder should be done in the field you wish
to seed. This is because the seeder should be leveled
with front spikes penetrating the soil while the rear packer
roller rests on top of the soil.
1.
Enter field to be seeded.
2.
Lower seeder and pull ahead 15 feet or until both
front and rear rollers are fully engaged in the ground.
3.
Shut tractor down properly before dismounting. Refer
to
“Tractor Shutdown Procedure”
on page 21.
4.
Place a level (#1) across the mainframe from front to
back as shown.
5.
Manually adjust length of upper center 3-point link to
level the seeder from front to back. Refer to the
tractor’s Operator Manual for instructions on
adjusting upper center 3-point link.
6.
Pull ahead another 15 feet and repeat steps 4 & 5.
IMPORTANT:
Front spike rollers will not function
properly unless the frame is level with the ground.


