Section 1: Assembly & Set-Up
RCFM4014 Rotary Cutter 326-730M
12/11/18
17
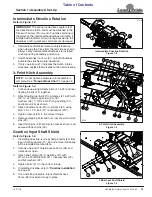
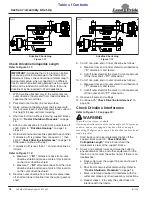
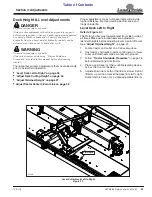
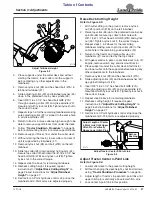
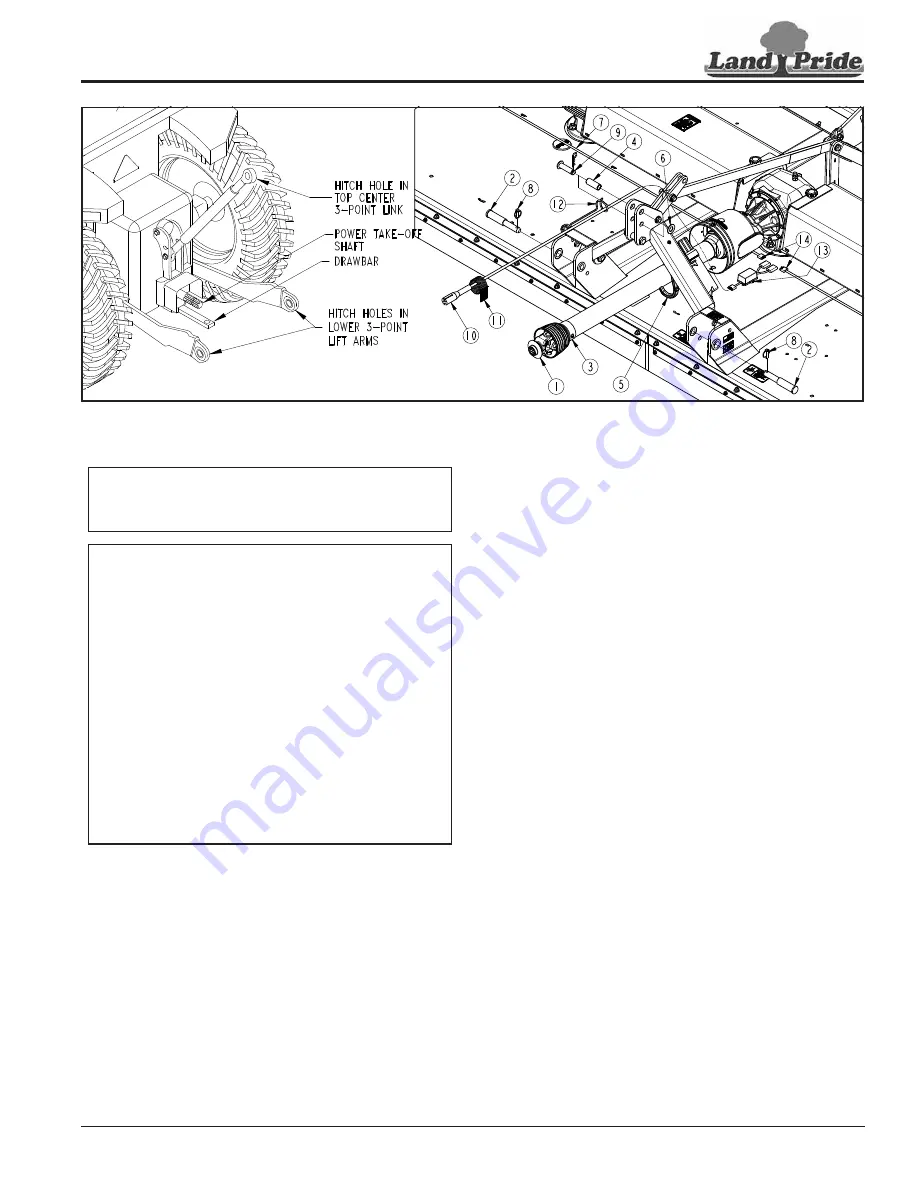
The cutter driveline (#3) fastens to the tractor power take-
off shaft with pull collar coupler (#1).
1.
If driveline collapsible length has not been checked,
go to
“Check Driveline Collapsible Length”
page 18. Otherwise, continue with step 2 below.
2. Park tractor and cutter on a level surface.
3. Shut tractor down before dismounting. Refer to
4. If tractor drawbar interferes with the driveline during
hook-up, disconnect driveline and move drawbar
forward, to the side, or remove.
IMPORTANT:
The drivelines must be lubricated
before putting them into service. Refer to
IMPORTANT:
An additional driveline may be
required if implement will be attached to more than
one tractor.
IMPORTANT:
Drivelines with friction clutches must
IMPORTANT:
Check driveline minimum collapsible
length before completing
Structural damage to the tractor and cutter can occur
if this check is not made. Refer to
IMPORTANT:
The power take-off shaft and gearbox
5. Remove driveline (#3) from driveline support (#5).
Driveline support is spring loaded and will rotate up
against the A-frame.
6. Pull back on driveline pull collar (#1) and push yoke
onto the tractor power take-off shaft. Release pull
collar and continue to push driveline yoke forward
until pull collar pops out and locks in place.
7.
Pull on driveline yoke at the tractor and implement
end to make sure it is secured to the tractor power
take-off shaft and implement gearbox shaft.
8. The tractor’s lower 3-point arms should be adjusted
for lateral float. Please consult your tractor’s manual.
9. Continue with
“Check Driveline Interference”
3-Point Hook-up
Figure 1-10
37298
37161


