Section 1: Assembly & Set-up
2/10/21
15
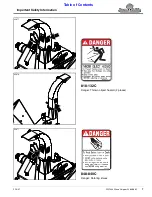
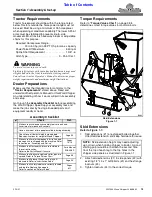
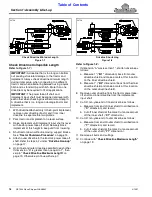
4" Feed Chute Assembly
Figure 1-4
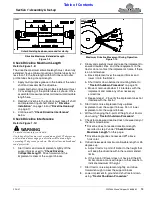
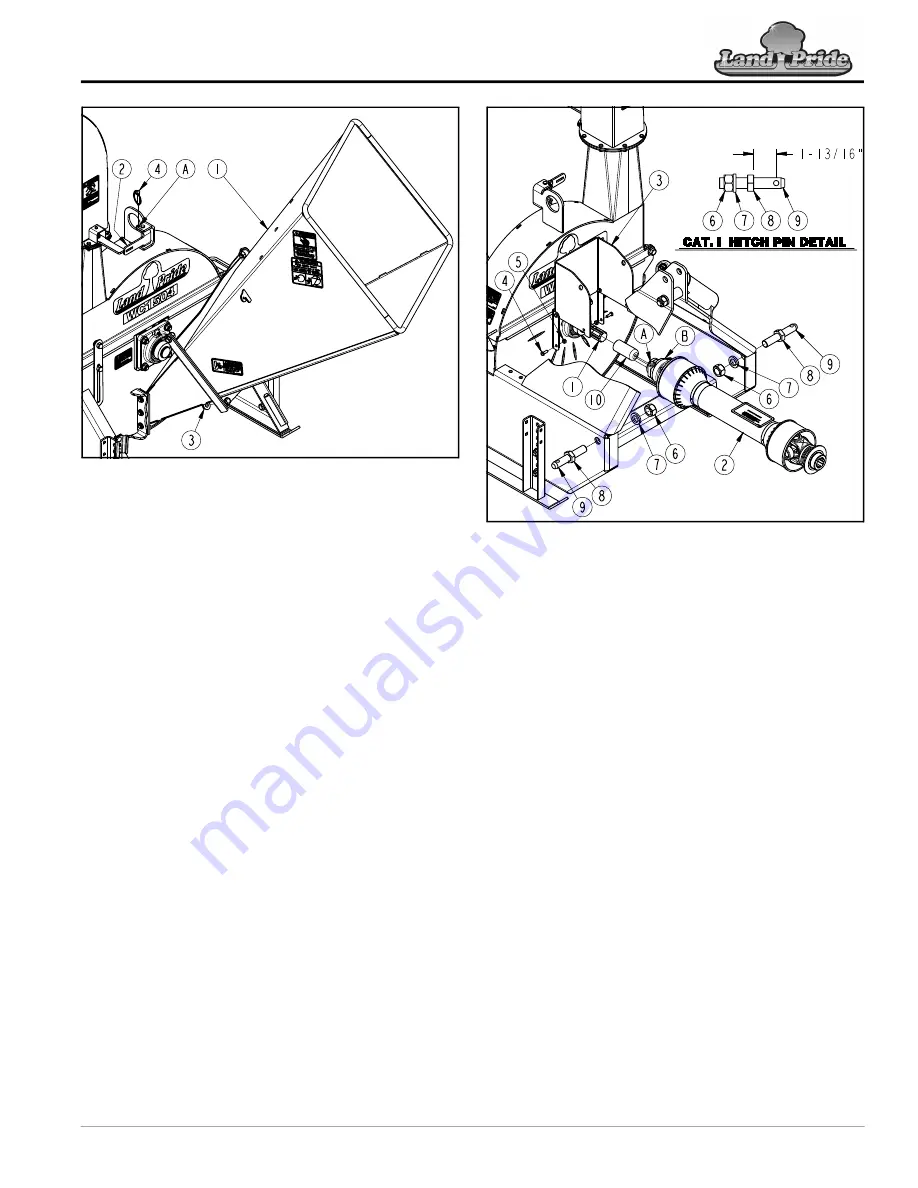
Hitch Pin Set-up
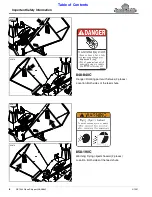
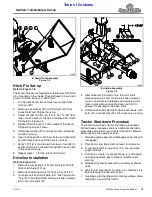
Refer to Figure 1-5:
The Wood Chipper is shipped from the factory with hitch
pins mounted on the inside. They will need to be turned
around to fit the tractor’s 3-Point hitch.
1. On the right-hand side, remove hex nut (#6) from
hitch pin (#9).
2. Remove lock washer (#7) and hitch pin (#9) from
inside the Wood Chipper housing.
3. Adjust nut (#8) on hitch pin (#9) to be 1 13/16" from
face of nut to center of hitch pin hole. See CAT. l Hitch
Pin Detail in Figure 1-5.
4. Reinsert hitch pin (#9) on the outside of the Wood
Chipper housing as shown.
5. Install lock washer (#7) and hex nut (#6). Draw hex
nut (#6) up snug.
6. Insert a drive punch in hitch pin hole and rotate hitch
pin with drive punch until the hole is vertical.
7.
Verify 1 13/16" is maintained from face of nut (#8) to
center of hitch pin hole and then tighten hex nut (#6)
to the correct torque.
8. Repeat steps 1-7 for the left-hand hitch pin.
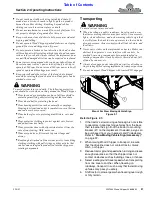
Driveline Installation
Refer to Figure 1-5:
1. Remove lower locknuts (#5) and bolts (#4). Rotate
drive shaft shield (#3) up.
2. Remove shaft protector (#10) from rotor shaft (#1).
3. On shear bolt end of driveline (#2), Push push-pins
“A” & “B” in and hold while starting to slide universal
joint onto rotor shaft (#1).
35682
Driveline Assembly
Figure 1-5
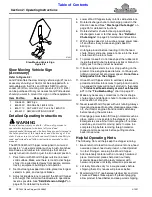
4. After universal joint starts onto the rotor shaft,
release push-pins and continue to slide universal
joint on until push-pin releases and universal joint
locks in place. Move driveline back and forth to
ensure it is secured to the drive shaft.
5. Rotate drive shaft shield (#3) down and secure with
bolts (#4) and locknuts (#5). Draw locknuts up snug.
Tractor Shutdown Procedure
The following are basic tractor shutdown procedures.
Follow these procedures and any additional shutdown
procedures provided in your tractor Operator’s Manual
before leaving the operator’s seat.
1. Reduce engine speed and disengage power take-off
if engaged.
2. Park tractor and implement on level, solid ground.
3. Lower implement to ground or onto non-concrete
support blocks.
4. Put tractor in park or set park brake, turn off engine,
and remove switch key to prevent unauthorized
starting.
5. Relieve all hydraulic pressure to auxiliary hydraulic
lines.
6. Wait for all components to come to a complete stop
before leaving the operator’s seat.
7.
Use steps, grab-handles and anti-slip surfaces when
stepping on and off the tractor.
35683


