3-20
1P124-2306
Transporting the Seeder
1. Check and follow all federal, state, and local
requirements before transporting the Seeder.
2. The Seeder should be transported only by tractor
required for field operation. The machine weight
should not exceed more than 1.5 times the tractor
weight. Maximum transport speed for the Seeder is
20 mph.
CAUTION
3. When towing equipment in combination, the maximum
equipment ground speed shall be limited to the lowest
specified ground speed of any of the towed machines.
Maximum transport speed shall be the lesser of
travel speed specified in the operator's manual,
speed identification symbol, information sign of
towed equipment, or limit of road conditions.
4. Slow down when driving on rough roads. Reduce
speed when turning, or on curves and slopes to avoid
tipping. Equipment altered other than the place of
manufacture may reduce the maximum transport
speed. Additional weight, added tanks, harrowing
attachments, etc. may reduce machine load carrying
capabilities.
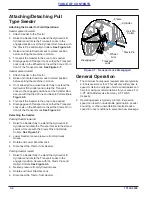
5. A Safety Chain is provided with the implement to
insure safe transport.
• The Safety Chain should have a tensile strength
equal to or greater than the gross weight of the
implement. The chain is attached to the lower Hitch
Clevis hole with two Flat Washers between the
Clamp Plates to assure a tight connection. Always
use a 1" diameter Grade 8 bolt for this connection.
• Attach the Safety Chain to the tractor drawbar.
Provide only enough slack in the chain
for turning. Do not use an intermediate chain support
as the attaching point for the chain on the tractor. Do
not pull the implement by the safety chain
• When unhitching from the tractor attach the hook
end of the chain to a free link close to the hitch
clevis for storage. This will keep the hook off the
ground, reducing corrosion, and keep the hook
functioning properly.
• Regularly inspect the safety chain for worn,
stretched, or broken links and ends. Replace the
safety chain if it is damaged or deformed in any
way.
6. Before transporting:
• Know the height and width of the implement being
towed. Markers, tanks, attachments, etc. can
increase the height and width of the implement.
DANGER
DANGER
• Check to see that the tractor hitch capacity is
rated to carry the weight of the Seeder Hitch.
Refer to Tractor Operator’s Manual.
• Use provided pins that properly fits the Lift Arms
or Quick Hitch and Implement Hitch.
• Clean all Hydraulic Couplings and attach to
tractor remotes.
• Connect Basic Clutch Switch Box or Brillion Elite
Mini Monitor System to tractor.
• Connect the Safety Warning Lights 7-Pin Plug
into tractor 7-Pin outlet, routing cord by avoiding
pinch points.
• Fully raise the Seeder Hydraulic Lift or 3-PT Hitch.
• Make sure Transport Locks are installed and
secured with Clevis Pins and Hair Pin Cotters.
See “Safety Chain” on Page 3-5.
WARNING
• Check all tires for proper inflation, and that lug nuts
are properly torque.
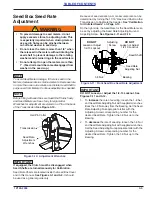
• Verify that all warnings lights, SMV sign,
reflectors, and safety decals are clearly visible
and functioning properly.
• Transport during daylight hours whenever
possible. Always use flashing warning lights,
except where such use is prohibited by law. Make
sure lights, reflectors and SMV emblem are clearly
visible and operating. Remove any obstructions
such as dirt, mud, stalks or residue that restricts
view before transporting.
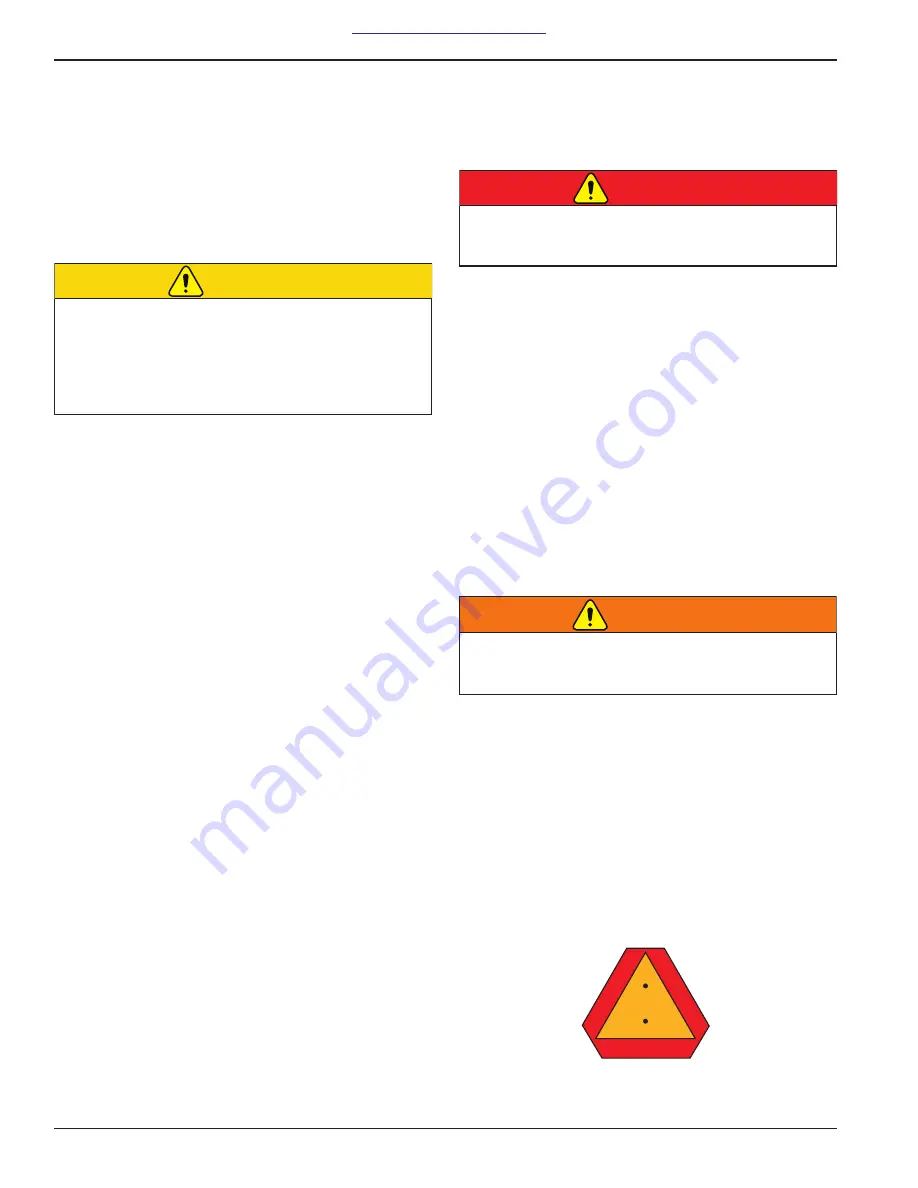
Figure 3-17: SMV Sign
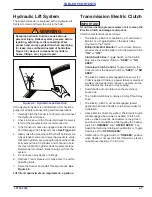
Excessive speed may result in loss of control of
the tractor and machine, reduced braking ability,
or failure of the machine tire or structure. Do not
exceed the machines maximum specified ground
speed regardless of the capability of the
maximum tractor speed.
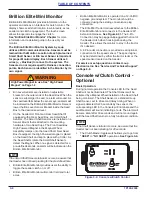
Stay away from power lines when transporting,
extending implement. Electrocution can occur
without direct contact.
Failure to use transport lock during transport may
result in permanent equipment damage, serious
injury, or death.
Summary of Contents for Brillion Turfmaker III Series
Page 4: ......
Page 14: ...1 6 1P124 2306 TABLE OF CONTENTS Figure 1 4 Decal Placement Hitch SL2 HitchDecals 1 9 1 9 3...
Page 18: ...1 10 1P124 2306 TABLE OF CONTENTS Table provided for general use NOTES...
Page 45: ...1P124 2306 2 27 TABLE OF CONTENTS Table provided for general use NOTES...
Page 49: ...1P124 2306 2 31 TABLE OF CONTENTS Table provided for general use NOTES...
Page 57: ...1P124 2306 2 39 TABLE OF CONTENTS Table provided for general use NOTES...
Page 74: ...3 14 1P124 2306 TABLE OF CONTENTS Table provided for general use NOTES...
Page 102: ...6 4 1P124 2306 TABLE OF CONTENTS Table provided for general use NOTES...

