G200 Analyser Range
OMG200N1.23
©
Copyright 2010 Geotechnical Instruments (UK) Limited
Page
37
open regulator valve to allow the gas to flow.
2)
Press the ‘Start’ key and wait for the reading to stabilise. This can take a couple of
minutes. Press the ‘Pump’ key to draw sample gas.
3)
Once a stable reading is shown press the soft-key ‘Accept’. A successful span
calibration message will then be displayed. Press the soft-key ‘Accept’ again to
confirm the calibration and ‘Store’ the new user span. Alternatively, press soft-key
‘Reject’ to exit without change.
"
Note:
If the calibration failed then try again using a longer purge time or different
target gas.
7.5.3 Reset Factory Settings
This option will reset the instrument to its factory programmed calibration characteristics
and will clear the user calibration points for both gas channels.
1)
To reset to factory settings, press ‘Key 1 - Factory Reset’ from the ‘Calibration’
menu.
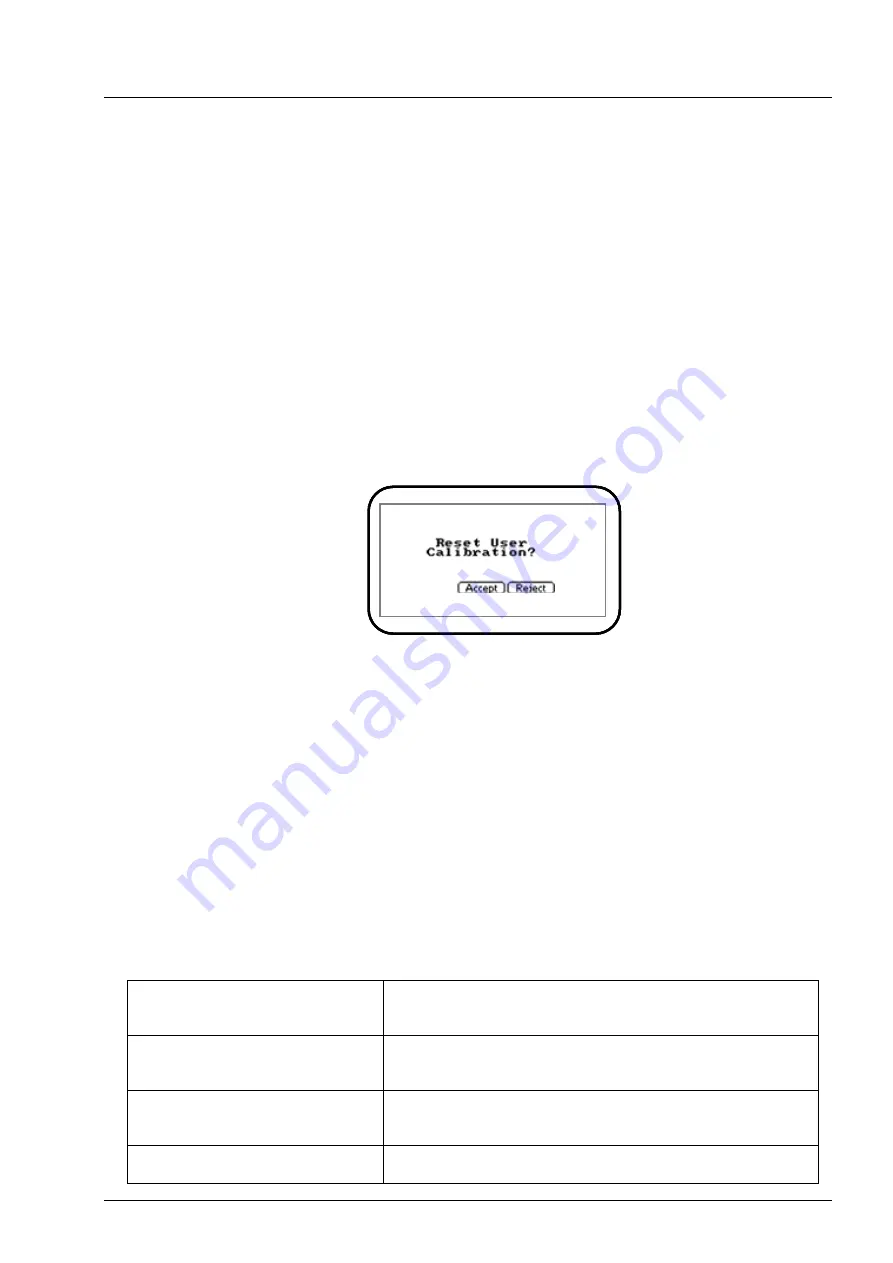
User Calibration - Reset
2)
To prevent the user calibration data being accidentally erased the user must confirm
the action by pressing the soft-key ‘Accept’, or soft-key ‘Reject’ to exit without
change.
7.6 Last Field Calibration
This data can be found in the ‘Information’ screen accessed via the ‘Utilities’ menu. This
option displays the date that the last field calibration was performed on the instrument.
7.7 Calibration Record
The G200 instruments have the facility to log user calibrations via the ‘Event Log’. This can
be used as an aid in ensuring that gas measurements are valid and accurate.
During calibration the instrument will record the following in the event log. For each entry
the time and date will be stored.
Event
Data Recorded
Successful user zero
for
selected gas
Type (N
2
or Air) and Readings before and after
Successful user span for
selected gas
Target Value, Readings before and after
Successful user span for
selected gas
Target Value, Readings before and after


