background image

12


OPERATION 


General 

The suggested time and temperature chart (below) is provided as a guide for the 
products listed only.  

CAUTION:


ALWAYS KEEP THE AREA NEAR THE APPLIANCE FREE 
FROM COMBUSTIBLE MATERIALS.


CAUTION:


KEEP FLOOR IN FRONT OF EQUIPMENT CLEAN AND 
DRY.  IF SPILLS OCCUR, CLEAN IMMEDIATELY, TO 
AVOID THE DANGER OF SLIPS OR FALLS. 


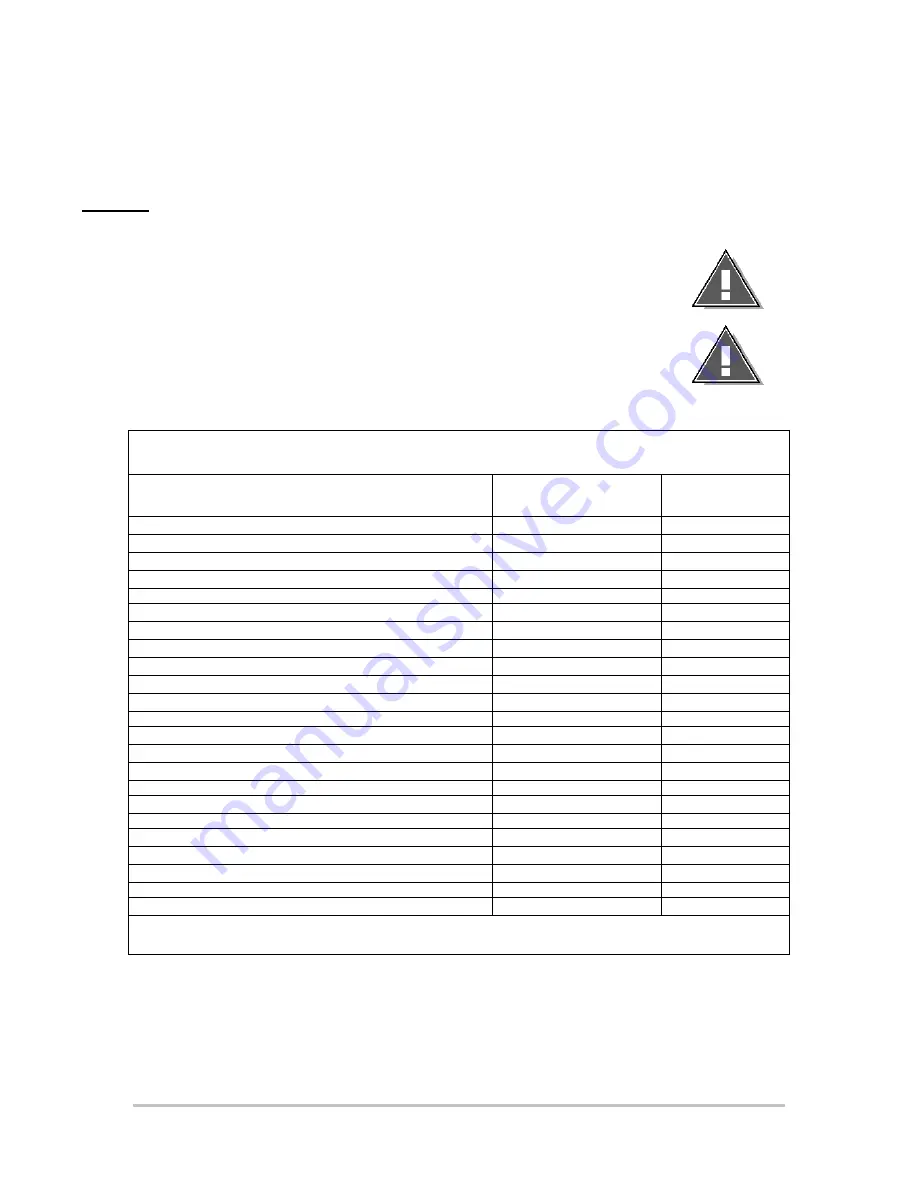
SUGGESTED TIMES AND TEMPERATURES 

PRODUCTS 

TEMPERATURE 

(F)

TIME (MIN) 

HAMBURGER 

350 


2 patties per LB 

350 

6 to 8 

4 patties per LB 

350 

4 to 6 

6 patties per LB 

350 

3 to 4 


STEAKS 


1/2 to 3/4 inch thick, cooked medium 

375 

5 to 7 

3/4 to 1 inch thick, cooked medium 

375 

8 to 10 


Lamb Chops 

350 

6 to 8 

Pork Chops 

350 

6 to 8 


Salmon 

350 

6 to 8 

Halibut 

325 

6 to 8 

Snapper 

325 

6 to 8 


Hashbrown Potatoes 

375 

3 to 4 


Bacon 

350 

3 to 4 

Sausage Links or Patties 

350 

3 to 4 

Ham (Pre-cooked) 

375 


Eggs 

275 

2 to 4 

Note:  The times and temperatures in this chart are intended as a general guide and starting 

point. Your actual times and temperatures may vary from this chart. 


If different temperature settings are to be used, select one side of the griddle and 
operate at the lowest temperature.  Adjoining sections should be set at progressively 
higher temperatures.  Do not try to operate the end sections hot and the center sections 
cool. 


Summary of Contents for 136SB-WB

Page 1: ...Drive St Louis MO 63143 Part Number 2M W350 Phone 314 781 2777 Fax 314 781 2714 Rev B WWW STAR MFG COM May 31 2007 Installation Operation and Maintenance Instructions Electric Griddle w Dual Gutters...

Page 2: ...LLS GAS THIS INFORMATION SHALL BE OBTAINED BY CONSULTING YOUR LOCAL GAS SUPPLIER AS A MINIMUM TURN OFF THE GAS AND CALL YOUR GAS COMPANY AND YOUR AUTHORIZED SERVICE AGENT EVACUATE ALL PERSONNEL FROM T...

Page 3: ...S CHAPTER PAGE TABLE OF CONTENTS 3 READ FIRST 4 EQUIPMENT DESCRIPTION 6 UNPACKING 7 INSTALLATION 8 INITIAL START UP 11 OPERATION 12 MAINTENANCE CLEANING PROCEDURES 14 TROUBLE SHOOTING 15 PARTS LIST 17...

Page 4: ...TO EQUIPMENT UNIT MUST BE INSTALLED IN ACCORDANCE WITH ALL APPLICABLE CODES NOTICE The data plate is located behind access panel between controls and grease drawer The grill voltage wattage serial num...

Page 5: ...onger than 10 minutes Longer contact can cause corrosion NOTICE Service on this or any other LANG appliance must be performed by qualified personnel only Consult your authorized service station direct...

Page 6: ...rping and ensure even heat to the edges of the griddle Controls Each twelve inch section has its own temperature selector switch that snaps into place to lock in any temperature from 175 F to 450 F in...

Page 7: ...ing move the griddle as near to its intended location as practical The crating will help protect the unit from the physical damage normally associated with moving it through hallways and doorways Un c...

Page 8: ...lly read and understood before proceeding with the installation Leg Installation There are four 4 legs provided for 2 3 and 4 foot griddles There are eight 4 legs provided for 5 and 6 foot griddles Th...

Page 9: ...ottom of the griddle body There are 2 two 1 1 4 inch conduit knockouts provided on the 4 5 and 6 foot griddles Use a supply wire suitable for at least 90 degree centigrade The model LGR griddle is shi...

Page 10: ...erminal block Insert one each of the three wires provided into the side of terminal block 1 which contain the wires that come from the griddle Pull the other end of the wires over to the terminal bloc...

Page 11: ...up another 50 F for another hour and repeat this until the griddle is at 450 F for hour The griddle may emit a small amount of smoke as the cooking surface passes the 300 F point Do not be alarmed as...

Page 12: ...thick cooked medium 375 5 to 7 3 4 to 1 inch thick cooked medium 375 8 to 10 Lamb Chops 350 6 to 8 Pork Chops 350 6 to 8 Salmon 350 6 to 8 Halibut 325 6 to 8 Snapper 325 6 to 8 Hashbrown Potatoes 375...

Page 13: ...eat the entire cooking section If the product is loaded to the side front or back of the temperature sensor the thermostat will react to the temperature change much slower During slow periods with min...

Page 14: ...irection of the metal s grain At least once a day remove the waste drawer and wash in the same way as an ordinary cooking utensil The drawers are removed by pulling forward until they are released fro...

Page 15: ...then refer to test to identify test procedures SYMPTOM POSSIBLE CAUSE Whole Griddle will not heat No Power to Griddle Failed Power switch Failed Transformer One Section will not heat Failed Power swi...

Page 16: ...ive Possible Cause TEST Product is cooked too long No test available operational condition Failed Probe Check probe for proper resistance Failed Circuit board Confirm that Circuit board is getting cor...

Page 17: ...l 1 4 5 6 3 2 7 8 9 10 11 12 13 14 For individual parts SEE DETAIL A This drawing contains information confidential to Star Manufacturing International Inc No reproduction or disclosure of it s CERTAI...

Page 18: ...PAN INSULATION 148SB WB 11 K9 XL 439 4 ELEMENT PAN Z ASSEMBLY 148SB WB 12 2N 11030 30 4 ELMNT GRID 208V 1257W 148SB WB 13 2N 11030 29 4 ELE GRD 208 240V4 5KW 6KW 148SB WB NI 2E 30500 03 2 TRM STRP 6 P...

Page 19: ...ELMNT GRID 208V 1257W 172SB WB 13 2N 11030 29 6 ELE GRD 208 240V4 5KW 6KW 172SB WB NI 2E 30500 03 2 TRM STRP 6 POLE 30A 300V 172SB WB NI 2E 30500 07 2 TRM BLOCK 3PLELRGE 125AMP 172SB WB NI 2E 30501 05...

Page 20: ...1 2 3 8 5 10 11 2 12 1 13 14 15 16 16 20 9 7 6 18 19 17 2 4 Control Panel Assembly LPGS4 C shown SK2307 Rev B 7 7 08 DETAIL A...

Page 21: ...NEL XL LG SEL 4 480V K9 LGPS4 U 148S WB 2 PNL LG S 2 208 240V WB 4 BDY K9 LGPS2 CWB 4 160S 1 PANEL XL LG SEL 2 208 240V K9 LGPS2 C 1 PANEL XL LG SEL 3 208 240V K9 LGPS3 C 160S 480V 1 PANEL XL LG SEL 2...

Page 22: ...S4 U LGPS4 U W1 2J 31601 07 1 PILOT LT 28V 6 LEAD WHT LGPS2 U LGPS4 U LGPS4 U W1 LGPS3 K 10 2E 30701 04 2 CONTC 2POLE 30A 24VAC LGPS2 C LGPS2 U 3 LGPS3 C LGPS3 U LGPS3 K 4 LGPS4 C LGPS4 U LGPS4 U W1 1...

Page 23: ...3 U LGPS4 U 2E 31400 18 XFORMR 380 24VAC 40VA U L LGPS3 K 19 2C 20101 24 2 SCRW MS PLT 10 32 X 375 ALL 20 2C 20301 15 2 NUT HEX 10 32 PLTD ALL NI 2E 30501 05 1 TRM STRP 6 POLE W 2PUSH LGPS3 K NI 2T 30...

Page 24: ...T I W S N O I T I S O P 2 1 7 H C T I W S E L G G O T 8 2 S S A L C R E M R O F S N A R T 9 E B O R P 0 1 7 6 7 7 6 8 8 8 6 2 6 2 2 1 2 1 2 1 1 1 5 2 9 8 2 8 2 0 2 0 2 8 1 9 1 5 2 7 1 7 2 7 2 6 1 6 1...

Reviews: