6
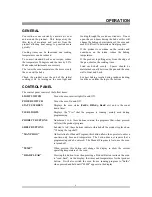
To cook, place the product into the oven cavity
and shut the oven doors. Press the Product
Button which is labeled for that product.
The Status Screen will then display
"SHELF".
Press the Shelf Button(s) that match the shelf
position(s) the product was placed on ("A"
equals the top shelf, "E" equals the bottom
shelf).
If the product program is a "Multiple Tiered"
program, the operator has only one opportunity
to enter a product and shelf selection. The
computer will not allow a second selection
during the cooking cycle (see separate
Programming instructions).
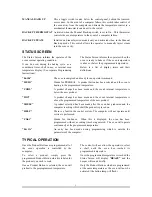
When the product is done the Status Screen will
display
"DOnE"
, the beeper will sound, and a
shelf button lamp will flash, indicating which
product has finished baking.
Pressing the flashing Shelf Button will turn Off
the beeper and allow the oven to continue baking
or go to Stand-by with the Status Screen
displaying
"rEAdY"
.
If you wish to change to a product which is
programmed at a different temperature you must
first press and hold the
READ/CLEAR
button
until
"88888"
is displayed in the Status Screen.
Release the
READ/CLEAR
button and the
Status Screen will display
"EntEr"
and the
computer will allow selection of a new product.
When a product, which is programmed at a
different temperature is selected, the Status
Screen will display
"HOt"
or
"COLd"
until the
oven has reached the programmed temperature.
The computer will not allow a shelf selection
until the Status Screen displays
"rEAdy"
.
Once the oven reaches the programmed
temperature the beeper will sound briefly and the
Status Screen will display
"rEAdy"
.
When the Status Screen displays
"rEAdy"
any
Product Button which is programmed at the
same temperature will also flash.
When a Product Button is selected that button
will remain On steady indicating which product
is being baked.
To check the remaining cook time of a product
that is baking, press the corresponding Shelf
Button. The Status Screen will display the
remaining time in the cooking cycle.
MANUAL BACK-UP
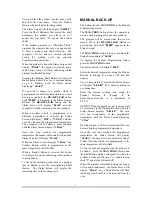
The button labeled
MAN PROG
is the Manual
Programming button.
The
MAN PROG
button allows the operator to
create a simple program for one time products.
The program will be erased when the oven is
turned off or the
READ/CLEAR
Button is
pressed and held until
"88888"
appears in the
Status Screen.
The
MAN PROG
button is active only when the
Status Screen displays
"EntEr"
.
To operate the Manual Programming feature
press the
MAN PROG
button.
The Status Screen will display
"000F"
.
Select the desired temperature, using the Product
Buttons
0
through
9,
between 100 and 450
degrees.
Once a temperature is entered the Status Screen
will display
"0:00:00"
. The control is asking for
a cooking time.
Enter the desired cooking time, using the
Product Buttons
0
through
9
, in
hours/minutes/seconds to a maximum of
9:59:59.
OPTION: If the program does not require a time
be entered, press the flashing
E
button when the
Status Screen displays
"0:00:00"
. The oven
will run continuously at the programmed
temperature with the Status Screen displaying
"COnt"
.
No other buttons will be activated until the oven
has reached the programmed temperature.
Once the oven has reached the programmed
temperature the Status Screen will display
"rEAdy"
, the beeper will sound briefly and all
Product Buttons which are programmed at the
same temperature will also flash.
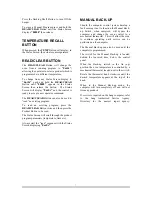
To run the manual program load the product to
be baked. Press the
MAN PROG
Button and
the Shelf Button which corresponds to where the
product is loaded in the oven ("A" equals the top
shelf "E" equals the bottom shelf).
When the product is finished baking the beeper
will sound continuously, the Status Screen will
display
"dOnE"
, and a Shelf Button will flash
indicating which shelf is to be removed from the
oven.
Summary of Contents for GCCO-C
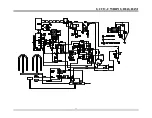
Page 16: ...13 GCCO C WIRING DIAGRAM...


