LANIER R/C
EXPLORER 40
ASSEMBLY
INSTRUCTIONS
9
11. Glue on the stab and vertical fin
with 30 min. epoxy. Construct a centerline
as before. Sight down through the fin slot
to center the stab. Pin stab at tail post to
keep it from moving. Make sure fin is
perpendicular with the stab. Wipe off
excess epoxy with a paper towel and
alcohol. Allow to cure.
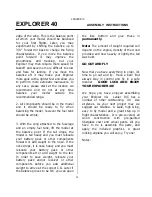
12. Locate three black clevis from the
hardware pack. Screw each of them on a
pushrod using about half the thread. Now
connect each to a control horn connector
on the elevators and rudder.
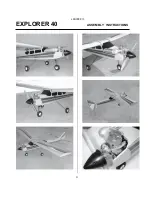
13. Install the servos in the position
shown in the photo. The one in the
foreground is the elevator servo. Tape the
elevators in neutral position. Lay the
pushrod wire on the servo output arm and
mark it even with the hole. Make a 90
degree bend at that point and trim off
leaving a 3/16” leg. Connect it to the arm
with a snap-on connector. Now do the
rudder servo.
Here is a tip. Remove the servo arm from
the servo to snap on the connector. It is
much easier to work on it. Power up the
servo to center it. Replace the servo arm,
making sure the retaining screw is snug,
and make any final adjustments at the tail
clevis to neutralize the control surface.
ASSEMBLING THE FUEL TANK
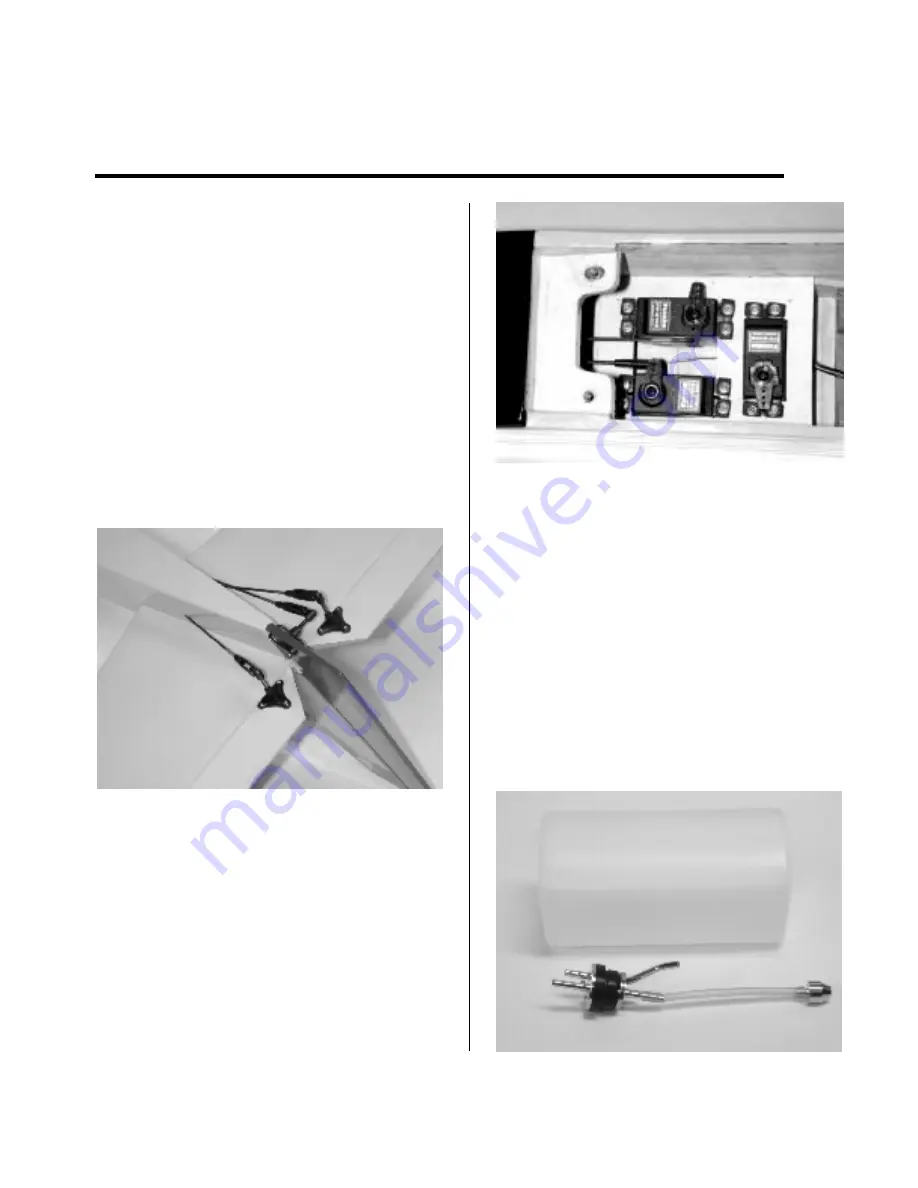
1. Locate the fuel tank and the hardware
with it.
Assemble the parts as shown
in
the photo
.


