LANIER R/C
EXPLORER 40
ASSEMBLY
INSTRUCTIONS
16
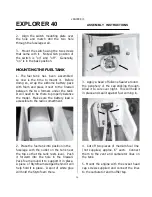
2. Align the switch mounting plate over
the hole and match drill the two hole
through the fuselage wall.
3. Mount the switch using the two screws
that came with it. Note which position of
the switch is “on” and “off”. Generally,
“on” is in the back position.
MOUNTING THE FUEL TANK
1. The fuel tank has been assembled
so now is the time to mount it. Before
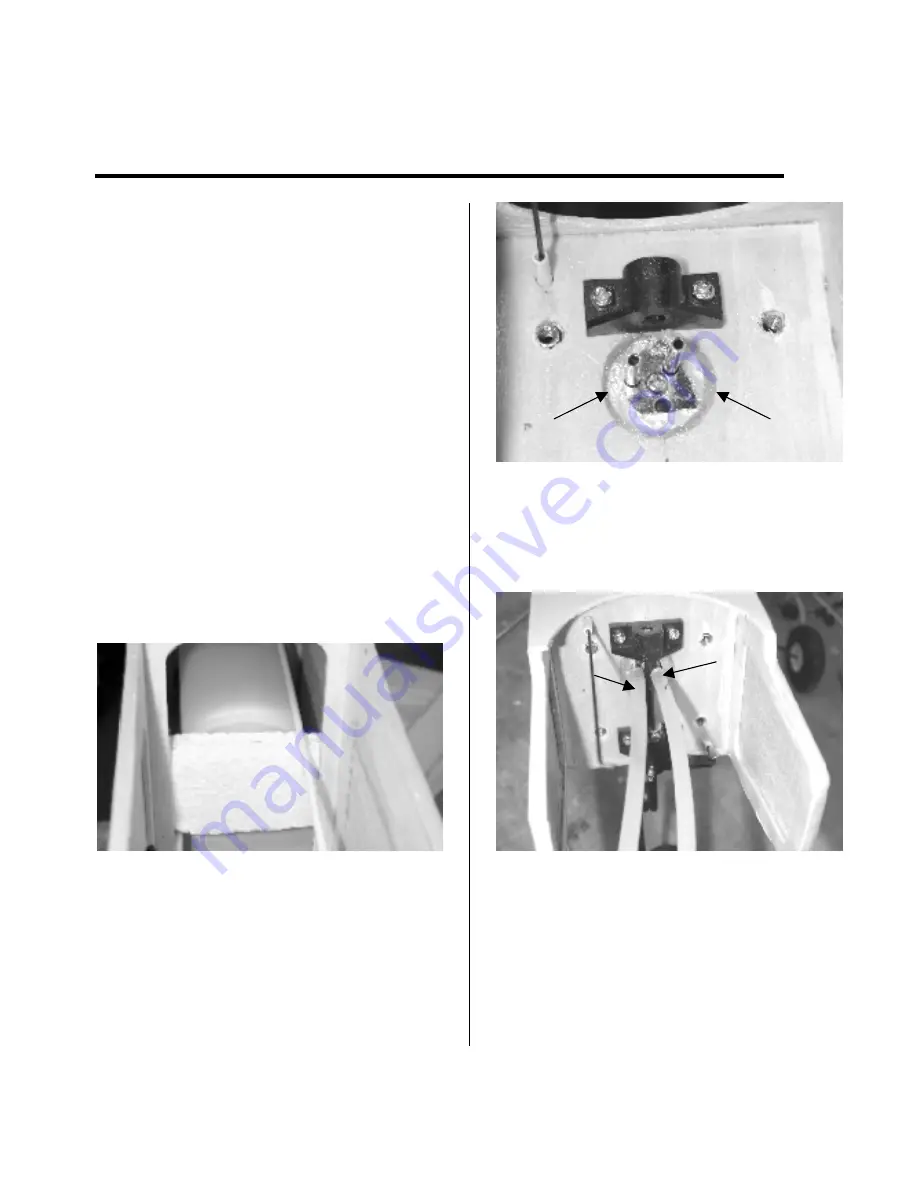
doing so, wrap the airborne battery pack
with foam and place it next to the firewall
between the two formers under the tank.
It will need to be there to properly balance
the model. Make sure the battery lead is
accessible to the radio comartment.
2. Place the fuel tank into position in the
fuselage with the outlet on the tank near
the top so that the tank rests level. Push
it forward into the hole in the firewall.
Pack foam around it to support it in place.
A piece of Styrofoam wedged behind it will
help hold it in place. A spot of white glue
will hold the Styrofoam there.
3. Apply a bead of Silicone Sealer around
the periphery of the cap sticking through.
Allow it to cure over night. This will hold it
in place and seal it against fuel coming in.
4. Cut off two pieces of medium fuel line
(not supplies) approx. 6” each. Connect
them to the vent and carburetor lines on
the tank.
5. Mount the engine with the socket head
cap screws supplied and connect the lines
to the carburetor and muffler tap.


