LANIER R/C
EXPLORER 40
ASSEMBLY
INSTRUCTIONS
2
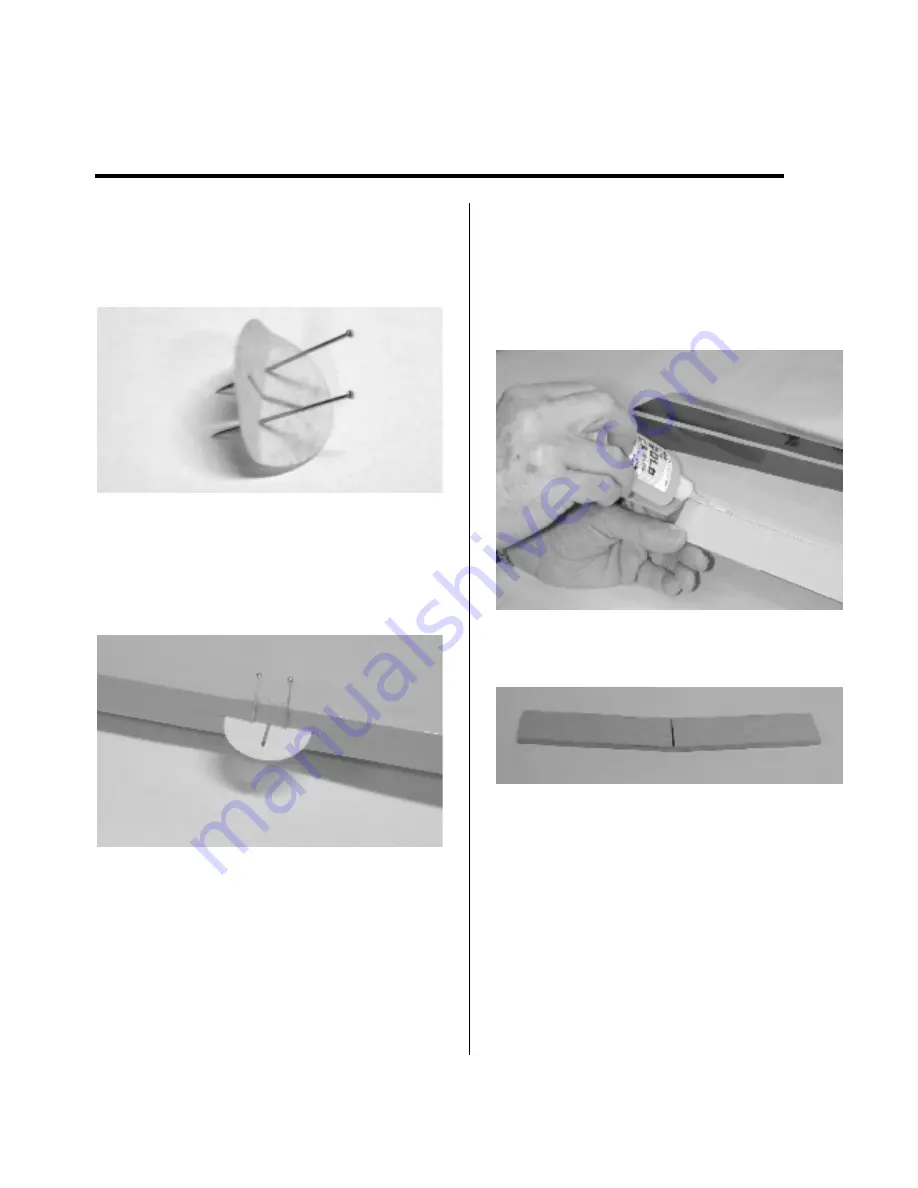
the hinges. There are four high quality
hinges in each panel. Remove each hinge
and fold it in the center. Insert a pin in
the crease line on either side of the slot.
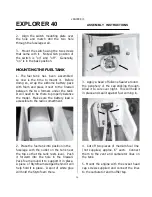
2. Insert the hinges back in the wing with
the pins resting up against the trailing
edge. Now insert the aileron. The hinge is
now centered in the wing panel and
aileron.
3. Remove the pins and snug the aileron
against the wing panel. This will ensure
that the hinges are centered.
4. Deflect the aileron and apply a couple
drops of thin CA at the center of the hinge
in the slot. Do not overdo it. Have a paper
towel handy to absorb any excess CA.
Ideally, when the hinge is glued in place, a
1/32” gap or less will be maintained
throughout the length of the aileron. The
hinge is made of a special material that
allows the CA to wick, or penetrate, and
distribute throughout the hinge, securely
bonding it in place.
5. Trial fit the wing joiner in the wing to
check for proper insertion.
6. Remove the wing joiner and find the
center. Draw a line to indicate the center
with a felt tip pen.


