LANIER
– 1.20 Edge 540T ARF -
INSTRUCTIONS
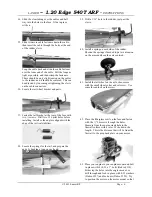
clevis to secure in place.
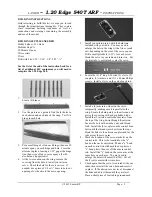
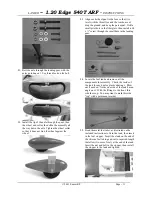
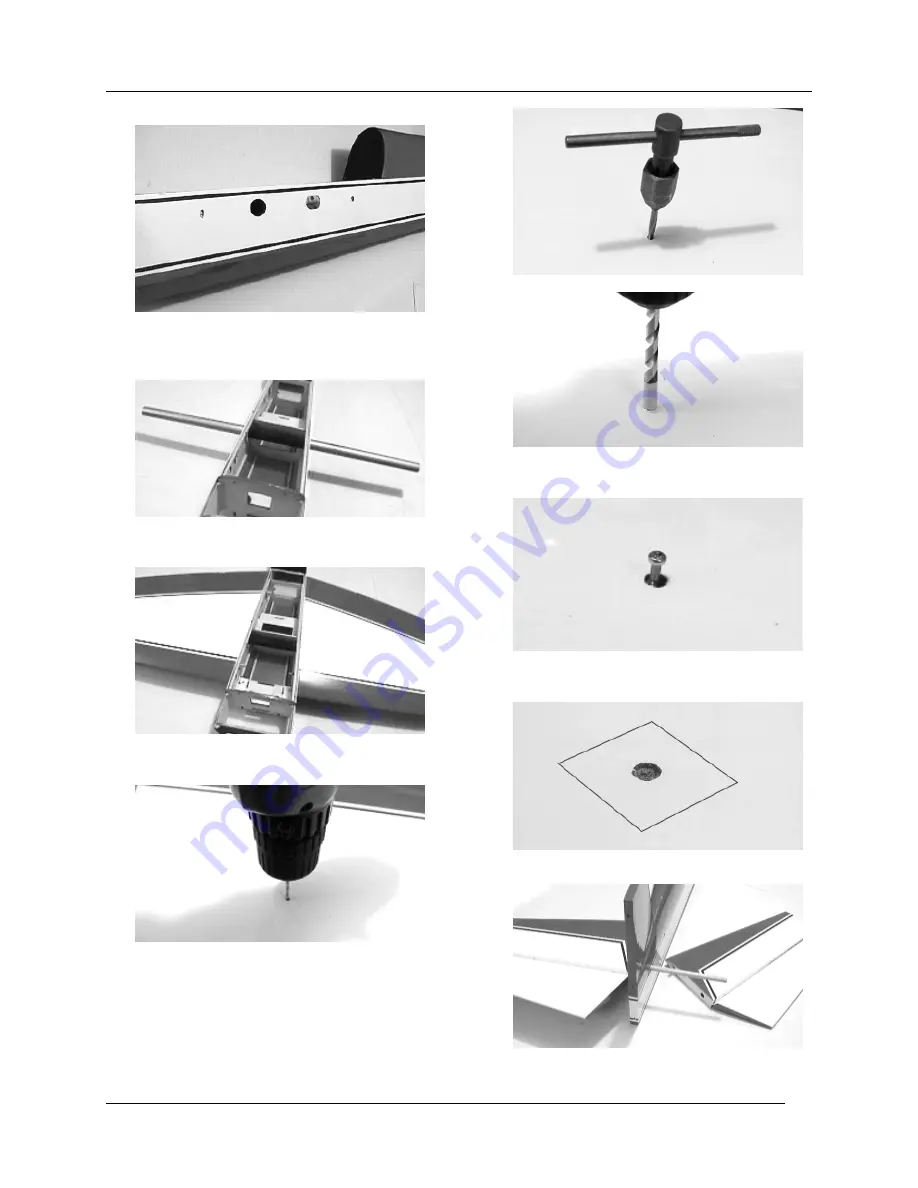
10. Using a sharp hobby blade, cut the covering
away from the wing tube and locating pin holes.
You may want to seal the covering down with
CA or a sealing iron.
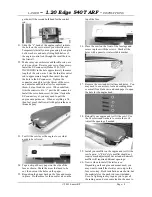
11. Test fit the wing tube through the fuselage. Use
a ruler to help center the tube in the fuse, then
mark the alignment with a permanent marker.
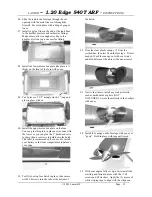
12. Temporarily mount the wing on the wing tube,
sliding the dowels in the locator holes. Be
careful to keep the tube centered in the fuse.
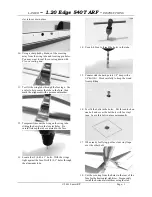
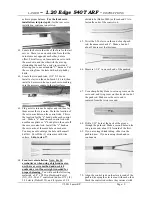
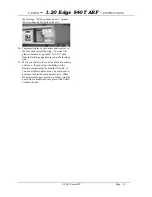
13. Locate the (2) 4-40 x 1” bolts. With the wings
tight against the fuse, Drill (2) 0.1” holes through
the aluminum tube.
14. Use a 4-40 tap to thread the holes in the tube.
15. Counter sink the hard points 1/8” deep with a
1/4”drill bit. Work carefully to keep the wood
from splitting.
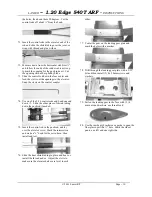
16. Test fit the bolts in the holes. Put thread lock on
one bolt and cover the bolt hole with 3m vinyl
tape. Leave this bolt in place permanently.
17. When ready for flying, put 3m clear vinyl tape
over the other bolt.
18. Cut the covering from the holes in the rear of the
fuse for the horizontal stabilizer. Temporarily
install the horizontal stabilizer using the stab
© 2001 Lanier R/C
Page - 3


