LANIER
– 1.20 Edge 540T ARF -
INSTRUCTIONS
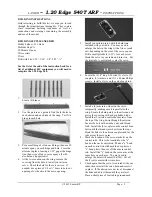
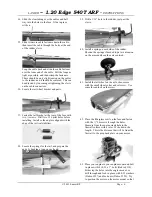
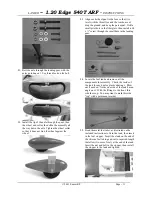
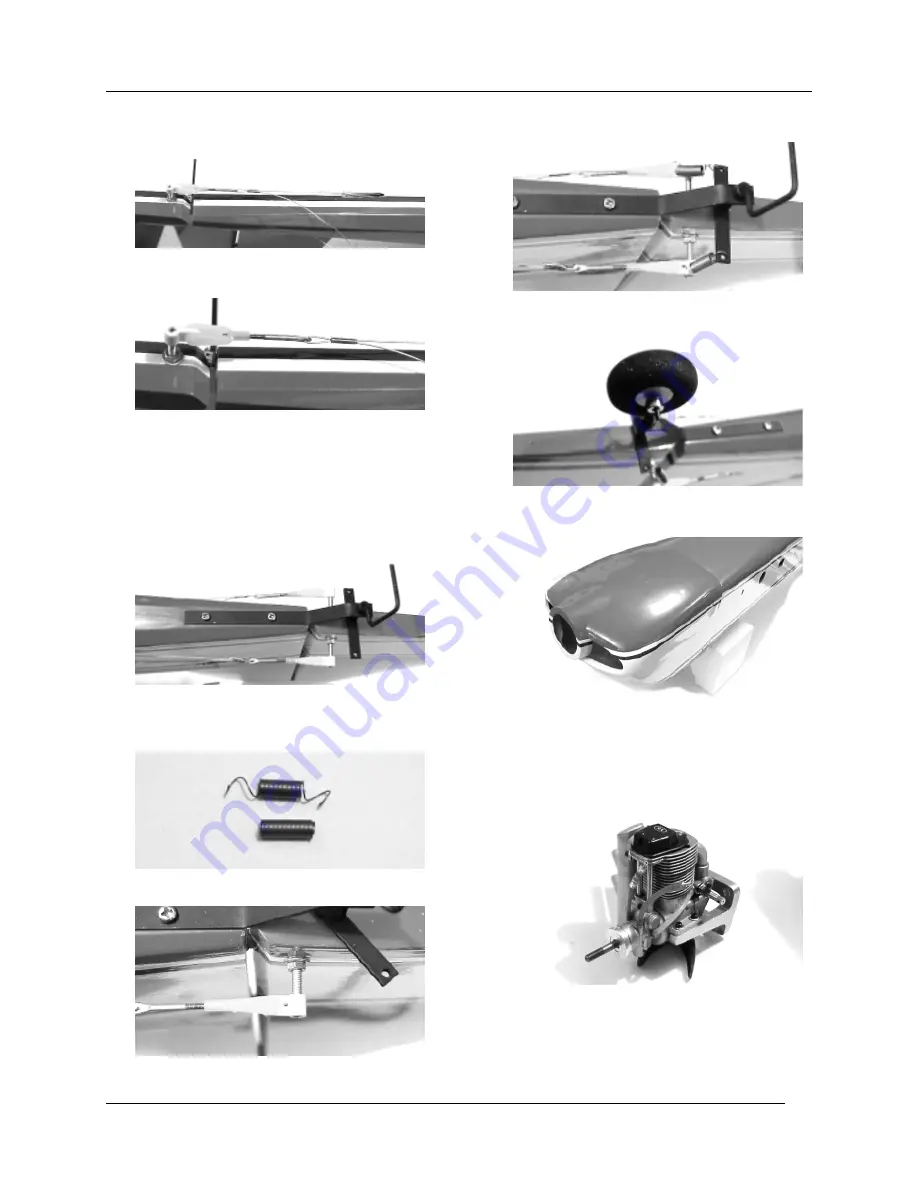
34. Slide the clear tubing over the cables and half
way into the holes in the fuse. Glue in place
with ca.
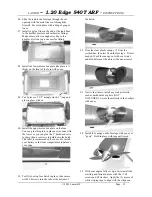
35. Slide two more cable fasteners down the cable,
then insert the cable through the holes at the end
of the rudder clevis.
Loop the cable back and slide the cable fastener
over the loose end of the cable. Pull the loops as
tight as possible, and then crimp the fasteners.
There should be only slight tension on the cables
to the rudder, and it should be centered. This can
be adjusted by loosening or tightening the clevis
on the cable connectors.
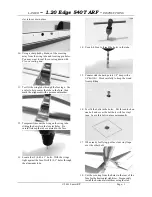
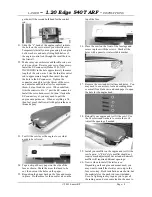
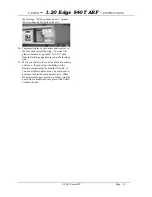
36. Locate the tail wheel bracket and parts.
37. Fasten the tail bracket at the rear of the fuse with
two ½ screws. Drill two 1/16 pilot holes before
installing. Install so the angle is aligned with the
edge of the vertical stabilizer.
.
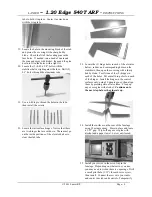
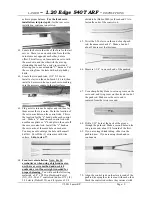
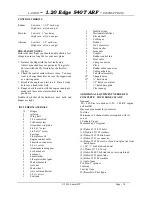
38. Locate the springs for the tail, and prepare the
ends by bending a loop on each end.
39. Drill a 1/16” hole in the rudder, just past the
clevis.
40. Install a spring on each side of the rudder.
Shorten the springs if needed to put even tension
on the arms and keep the axle centered.
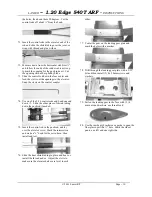
41. Install the tail wheel on the axle, then secure
with the small wheel collar and set screw. Use
some thread lock on the screw.
42. Place the fiberglass cowl on the fuse and fasten
with the ½” #4 screws through the holes.
Measure from the engine crank hole to the
firewall surface with a ruler. Write down the
length. This is the distance that will be from the
firewall to the prop back plate on your motor.
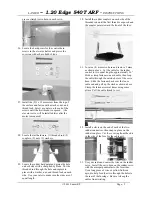
43. Place your engine in your engine mount and bolt
in place with (4) 8-32 x 1” bolts (Dubro #318).
Either tap the holes into the engine mount, or
drill through and lock in place with 8-32 washers
(Dubro #327) and lock nuts (Dubro #329). Try
to position the motor on the motor mount so that
© 2001 Lanier R/C
Page - 6


