Do's & Don'ts
73
5
Do's & Don'ts
R
CAUTION:
• Do not touch areas on or around the fusing unit. These areas get hot.
• After copies are made continuously, the exposure glass may feel warm. This
is not a malfunction.
• The area around the ventilation hole may feel warm. This is caused by ex-
haust air and is not a malfunction.
• Do not turn off the main switch while copying. Before turning off the main
switch, make sure that copying is completed.
• The machine might fail to produce good copy images if there is condensation
inside caused by a temperature change.
• Do not open the covers of the machine while copying. If you do, misfeeds
might occur.
• Do not move the machine while copying.
• The supplier shall not be liable for any loss or damage resulting from a failure
of the machine, a loss of machine settings, or use of the machine.
• Do not place more than one sheet of paper at a time on the bypass table.
• Center your paper on the copy table using the size marks. Then slide the pa-
per straight into the copier until it stops.
• When copying to a long sheet of paper, lightly hold the sheet as the copier
pulls it in so that it goes in well.
• Do not make two sided copies.
• If you open the unit, make sure you close it within 5 minutes to keep light
from damaging the copy drum.
• When copying to sheets 35"
×
45" (90 cm
×
115 cm) or larger, make sure the pa-
per does not drag directly on the floor as the copier pulls it in. (You can spread
paper on the floor for this.)
• If your paper has an uneven or slanted edge, do not insert this edge in first.
• Do not make copies longer than 80 inches (2 m).
• Do not insert originals made of paper less the 52.3 g/m
2
(13.9 lb or 0.07 mm
thick). For such originals, please use the optional Carrier Sheet.
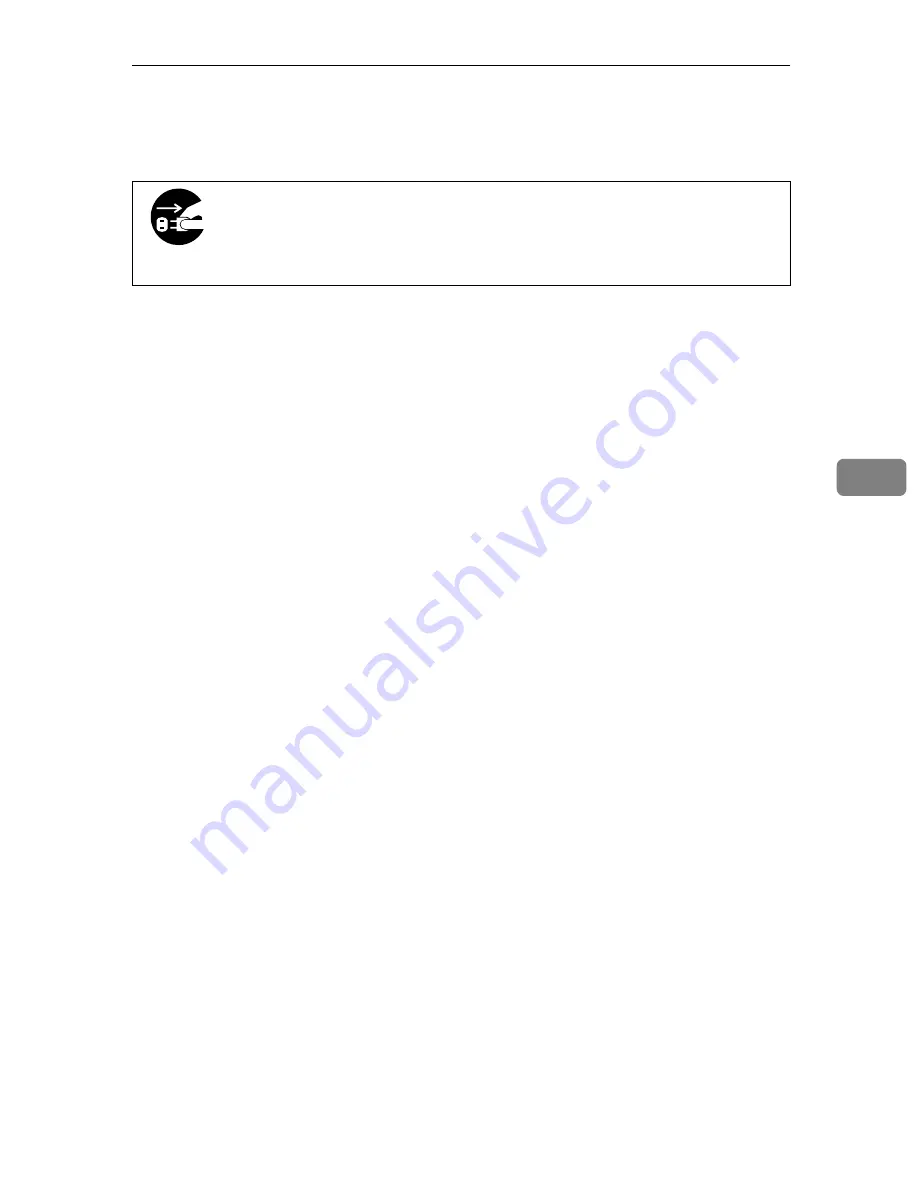
• When you move the machine, unplug the power cord from the
wall outlet to avoid fire or electric shock.
• When the machine will not be used for a long time, unplug the
power cord.
Summary of Contents for LW110
Page 12: ...viii...
Page 46: ...Copy Settings 34 3 The P will disappear...
Page 56: ...Copy Settings 44 3 Note 0 Standard Density 1 Darker Image Density Default 0...
Page 59: ...Changing The Used Toner Bottle 47 4 F Close the upper unit...
Page 63: ...Adding Toner 51 4 The copier will need a few moments to warm up before it is ready to copy...
Page 65: ...Changing The Roll Paper Size 53 4 Metric version Roll Feeder A0 K A1 KL A2 KL A3 KL A4 K...
Page 70: ...Maintaining Your Copier 58 4 I Close the Roll Feeder...
Page 104: ...viii...
Page 153: ...Changing The Used Toner Bottle 49 4 F Close the upper unit...
Page 157: ...Adding Toner 53 4 The copier will need a few moments to warm up before it is ready to copy...
Page 159: ...Changing the Roll Paper Size 55 4 Metric ver sion Roll Feeder A0 K A1 KL A2 KL A3 KL A4 K...
Page 164: ...Maintaining Your Copier 60 4 I Close the Roll Feeder...
Page 166: ...Troubleshooting 62 5 E The used tonerbottle is full Empty the used toner bottle P 47...
Page 182: ...Troubleshooting 78 5...


