Network Computing Platforms
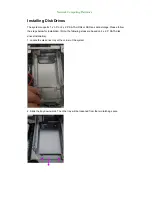
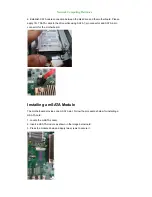
3. Take the tray out and prepare to install a SATA 2.5” disk drive.
4. Place the disk drive as shown in the image below. Apply 2 screws for each side of the disk
drive.
5. Place the tray with HDD/SSD installed back to its original spot inside the system.
Remember to aim the two latching holes. Then slide the tray upwards to get it locked by the
two latching spots.
SATA connector this way
Summary of Contents for NCA-4210
Page 1: ...Network Computing Platforms NCA 4210 User Manual Rev 1 2 September 26th 2016...
Page 14: ...Network Computing Platforms Chapter 2 System Overview Mechanical Drawing NCA 4210A Unit mm...
Page 15: ...Network Computing Platforms Mechanical Drawing NCA 4210B Unit mm...
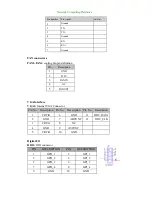
Page 27: ...Network Computing Platforms 19 12V 20 5V 21 12V 22 5V 23 3 3V 24 Ground...
Page 49: ...Network Computing Platforms HW Monitor This option allows you to view hardware health status...
Page 63: ...Network Computing Platforms You may select Enabled Disabled or Auto...
Page 68: ...Network Computing Platforms...
Page 88: ...Network Computing Platforms...

