© Lanta Lighting™ 2010. Terms Apply. All trademarks are the property of their
respective owners. E&OE. All specifications and details are correct at time of print.
Revision 1
Owner Handbook Quasar RGY180™
Operating Modes
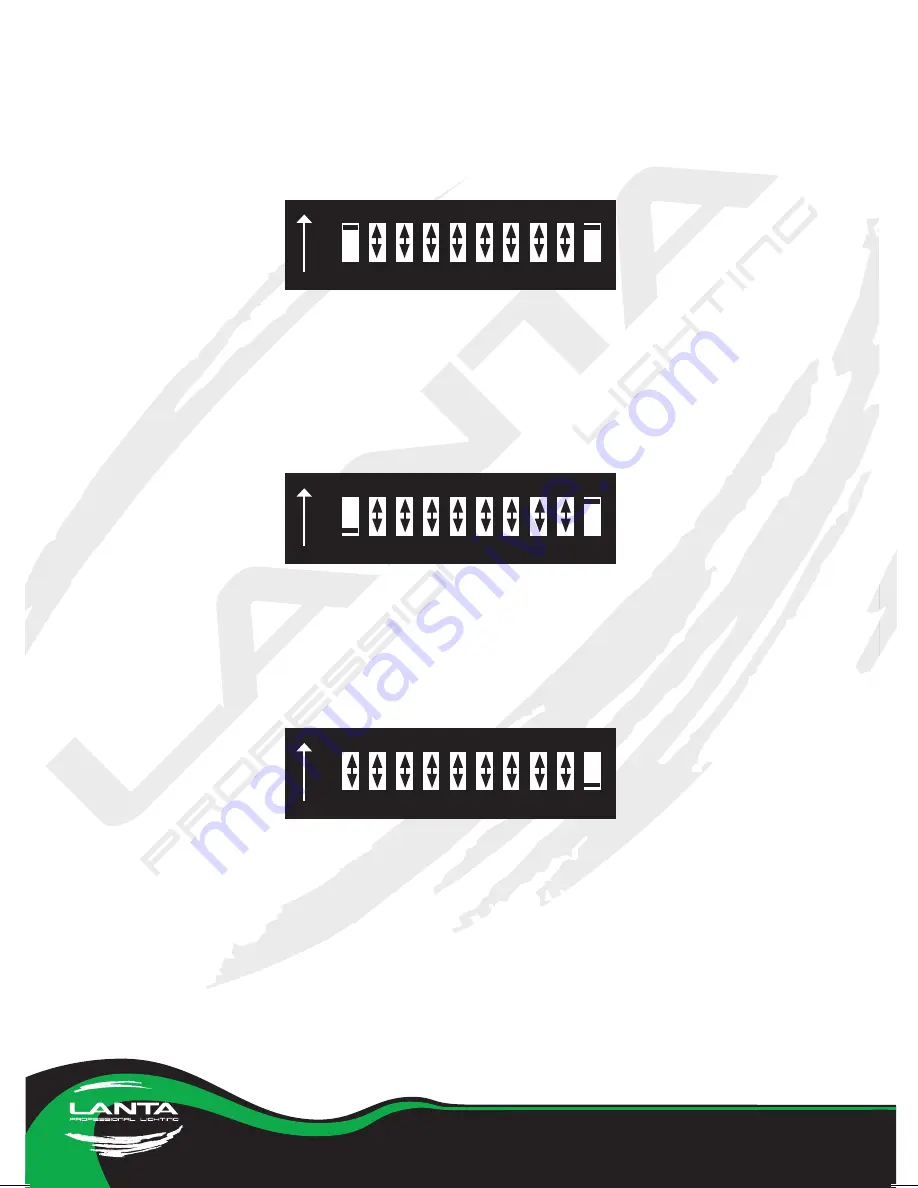
1- Auto Run Mode
All 50 in-built programs are run one after another in a continuous loop. Effects include
Fan, Tunnel and Flowers. To select Auto Run Mode rear panel Dip Switch settings are;
1
2
3
4
5
8
6
7
9 10
ON
DIP
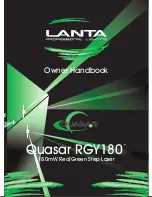
2- Sound Activated Mode
The unit responds to sounds picked up by the in-built mic. Sensitivity can be adjusted with
a potentiometer located on the rear of the unit. Each sound steps the Effect to the next
in the sequence. To select Sound Activated Mode Dip Switch settings are;
1
2
3
4
5
8
6
7
9 10
ON
DIP
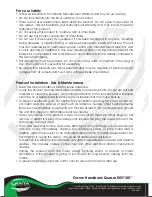
3- DMX Control Mode
The unit responds to control signals sent from a standard 10 Channel DMX Control desk.
To select DMX Control Mode rear panel Dip Switch settings are;
1
2
3
4
5
8
6
7
9 10
ON
DIP
Choosing DMX Control Mode
Ensure that Dip Switch 10 is set to “On” to activate DMX Control Mode.
Setting the DMX Addresses
Dip Switches 1-9 on the Rear Panel set the DMX Address of the unit. This unit uses binary
format, allowing values from 1 to 511 to be set. The DMX Address can be set when Dip
Switch 1 represents “1”; Dip Switch 2 represents “2”; Dip Switch 3 represents “4”; Dip Switch
4 represents “8”; Dip Switch 5 represents “16”; Dip Switch 6 represents “32”; Dip Switch 7
represents “64”; Dip Switch 8 represents “128” and Dip Switch 9 represents “256”.


