9: Device Ports
EMG™ Edge Management Gateway User Guide
186
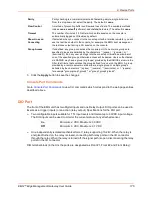
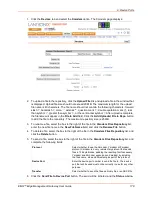
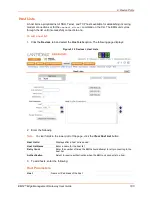
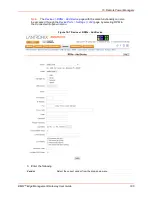
3. Click the
Add Site
button.
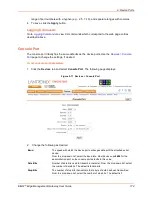
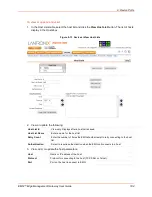
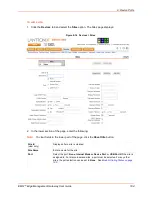
To view or update a site:
1. In the
Sites
table, select the site and click the
View Site
button. The site attributes are
displayed in the bottom half of the page.
2. Update any of the site attributes.
3. Click the
Edit Site
button.
To delete a site:
1. Select the site in the
Sites
table.
2. Click the
Delete Site
button.
Site Commands
to view CLI commands which correspond to the web page entries described
above.
Modem Dialing States
This section describes how each modem state that supports sites operates when sites are
enabled.
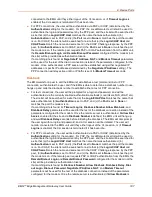
Dial In
The EMG waits for a peer to call the EMG unit to establish a text (command line) or PPP
connection.
For text connections, the user will be prompted for a login and password, and will be
authenticated via the currently enabled authentication methods (Local Users, NIS, LDAP, etc).
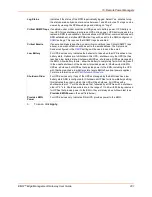
The site list will be searched for a site that (a) the
Login/CHAP Host
matches the name that
was authenticated, (b)
Authentication
is set to PAP, and (c) the
Port
is set to
None
or
matches the port the modem is on.
If a matching site is found, the
Timeout Logins
parameter configured for the site will be used
for the rest of the dial-in connection instead of the
Timeout Logins
parameter configured for
the modem. Once authenticated, a CLI session will be initiated, and the user will remain
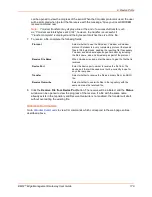
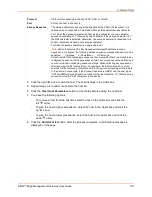
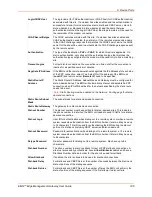
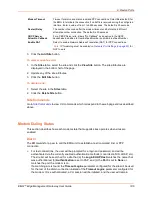
Modem Timeout
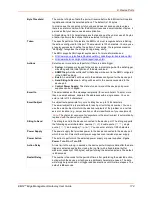
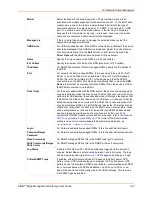
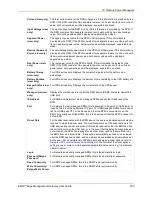
Timeout for dial-in and dial-on-demand PPP connections. Select
Yes
(default) for
the EMG to terminate the connection if no traffic is received during the configured
idle time. Enter a value of from 1 to 9999 seconds. The default is 30 seconds.
Restart Delay
The number of seconds after the modem timeout and before the EMG unit
attempts another connection. The default is 30 seconds.
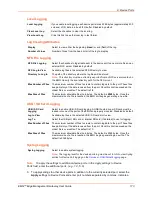
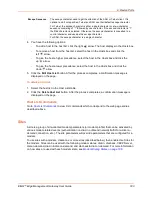
CBCP Server
Allow No Callback
For a CBCP Server site, allows "No Callback" as an option in the CBCP
handshake in addition to User-defined Number and Admin-defined Number.
Enable NAT
Select to enable Network Address Translation (NAT) for PPP connections.
Note:
IP forwarding must be enabled on
Network Port Settings (on page 67)
for
NAT to work.

