TCP/IP Configuration
4 - 2
4.1 Setting the IP Address
The EPS IP address must be configured before any TCP/IP functionality is available.
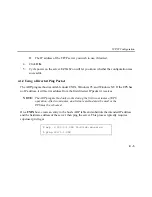
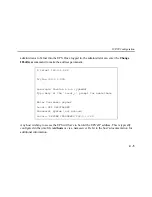
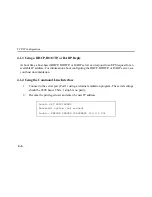
To set the IP address, use one of the following methods: EZWebCon; a directed Ping packet; a
DHCP, BOOTP, or RARP reply; or commands entered at the command line (Local>) interface.
4.1.1 Using EZWebCon
The EPS must have an IP address before you can log into it using EZWebCon. To assign the IP
address from EZWebCon:
1.
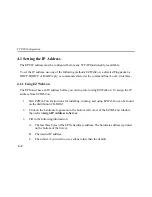
Start EZWebCon. Instructions for installing, running, and using EZWebCon can be found
on the distribution CD-ROM.
2.
Click on the Lantronix logo menu in the bottom left corner of the EZWebCon window,
then select
Assign IP Address to Server
.
3.
Fill in the following information:
A. The last three bytes of the EPS’s hardware address. The hardware address is printed
on the bottom of the Server.
B. The desired IP address.
C. The subnet, if you wish to use a subnet other than the default.
Summary of Contents for EPS2-100
Page 4: ...Declaration of Conformity Index ...
Page 12: ......
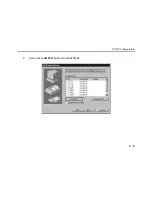
Page 25: ...TCP IP Configuration 4 9 4 Select the Add Port button and click Next ...
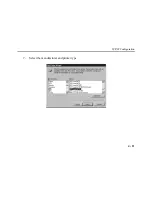
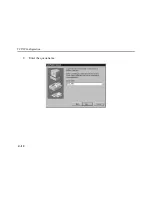
Page 27: ...TCP IP Configuration 4 11 7 Select the manufacturer and printer type ...
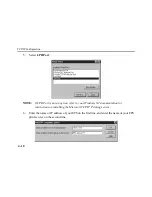
Page 28: ...TCP IP Configuration 4 12 8 Enter the queue name ...
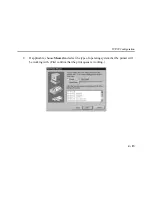
Page 30: ...TCP IP Configuration 4 14 10 Test the printer ...
Page 40: ......
Page 50: ......
Page 58: ......
Page 70: ......
Page 75: ...Pinouts J 5 J 2 2 RJ45 to DB9 Figure J 4 RJ45 DTE DB9 Adapter ...
Page 88: ...Updating Software K 12 ...
Page 92: ...Specifications L 4 ...
Page 108: ...Frequently used Commands M 16 ...
Page 114: ......


