


Ed. 003 - 02/2013
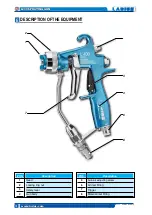
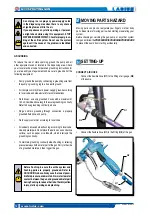
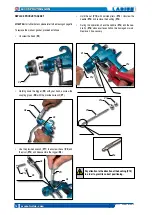
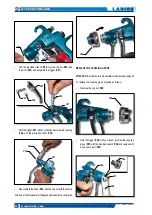
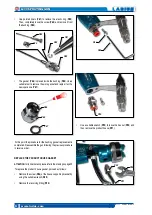
CONNECT PRODUCT HOSE
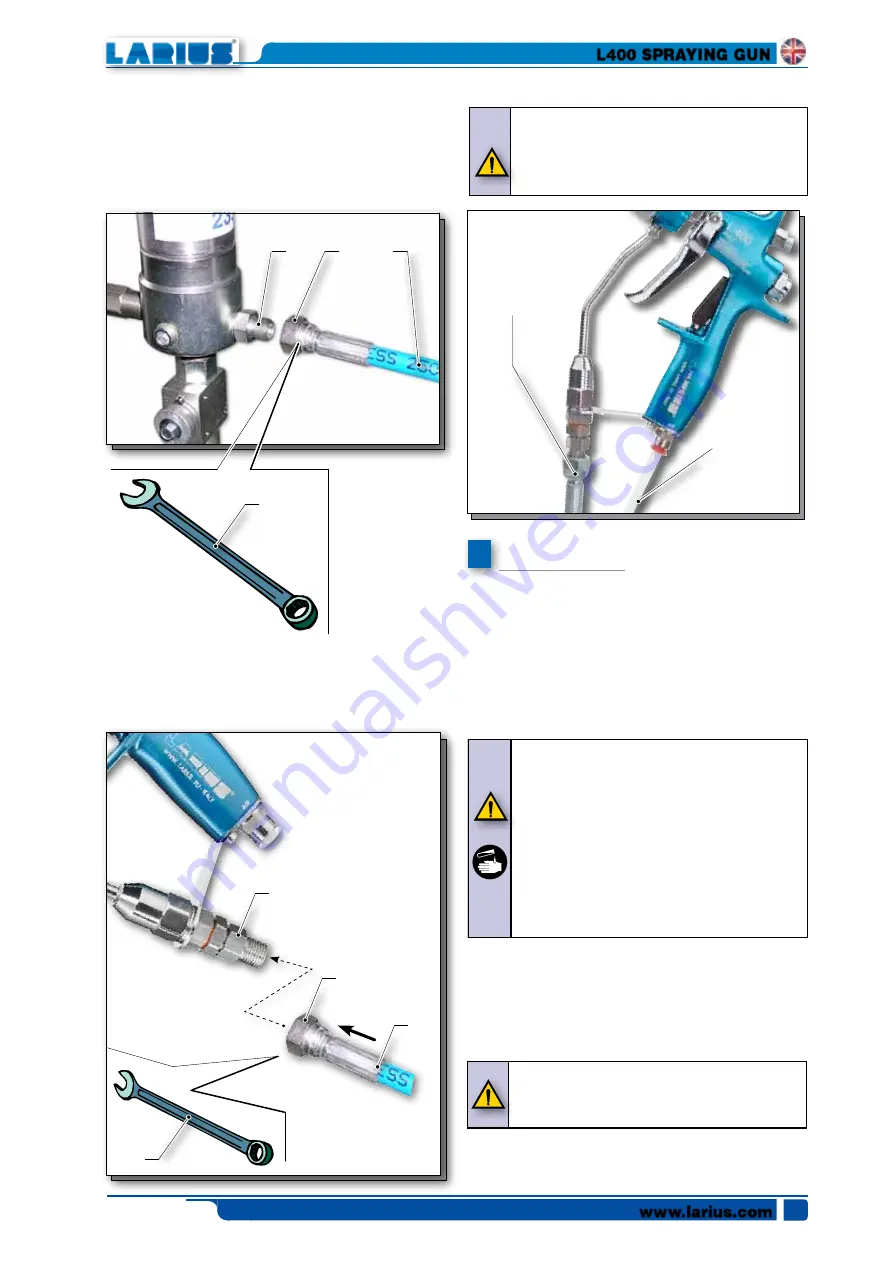
•
Connect the flexible hose for product delivery (
N4
) to the
fitting (
N5
) of the pump.
Tighten the nut (
N6
) with a suitable wrench (
N7
).
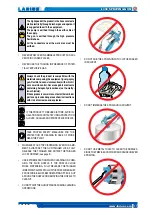
NEVER
use sealants on fittings’ threads. It is recom-
mended to use the hose provided with the standard
kit.
NEVER
use a damaged or a repaired flexible hose.
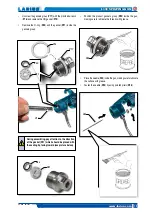
•
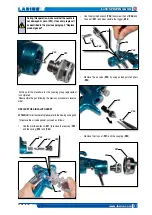
Connect the flexible hose of product delivery (
N4
) to the gun
(
N8
).
Tighten the nut (
N9
) with a suitable wrench (
N7
).
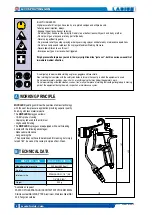
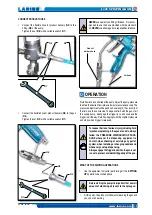
Fluid flow rate is controlled at the pump. Adjust the pump pressure
to obtain the desired flow rate; use lowest pressure necessary. The
pressure adjustment will depend on hose length, the viscosity of
the fluid, and the nozzle size. To dispense fluid with the gun, start
the supply pump, disengage the trigger lock, and squeeze the
trigger in all the way. Fluid flow begings with the slightest pressure
and stops when trigger is released.
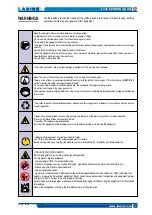
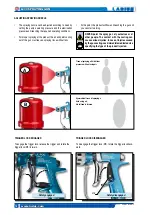
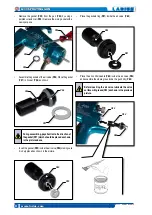
OPERATION
To reduce the risk of serious injury, including fluid
injection or splashing in the eyes or on skin, always
follow the PRESSURE DISCHARGING PROCE-
DURE whenever the dispensing equipment is
shut off, when checking or servicing any part of
system, when installing or changing nozzles and
whenever you stop dispensing.
Always engage the trigger lock when the gun is not
in use to prevent accidental triggering of the gun.
O
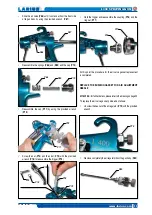
• At this point, the product will flow until reaching the gun and
you can start working.
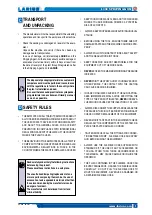
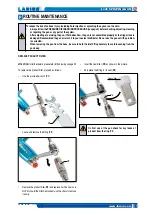
START OF THE PAINTING OPERATIONS
Before starting the pump it is important that a small
amount of atomizing air is sent to the spraygun.
• Use the equipment only after performing all the
SETTING
UP
operations described above.
www.larius.com
L400 SPRAYING GUN
15
N7
N5
N4
N7
N4
Product
delivery hose
Air hose
N9
N8


