


Ed. 003 - 02/2013
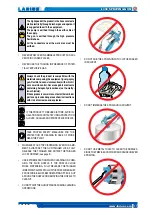
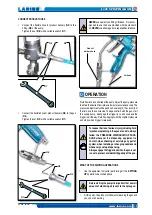
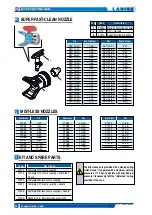
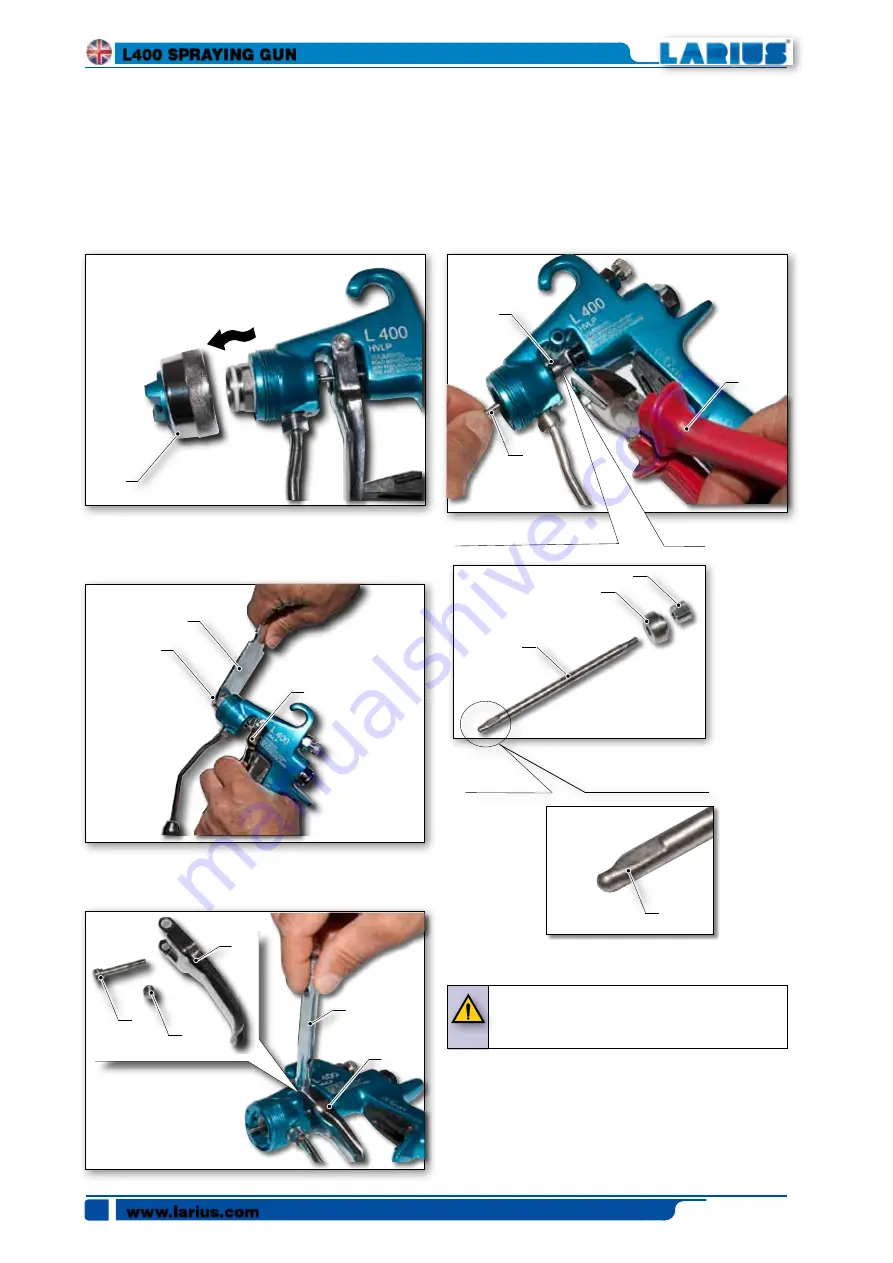
REPLACE PRODUCT GASKET
ATTENTION
:
for further details, please refer to the drawing on page 16
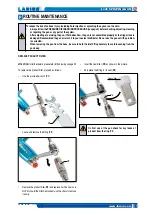
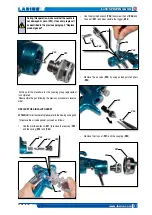
To replace the product gasket, proceed as follows:
• Unscrew the head (
P4
) .
• Holding down the trigger (
P5
) with your hand, unscrew the
coupling group (
P6
) with the provided wrench (
P7
).
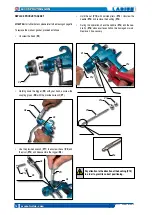
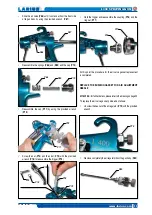
• Use the provided wrench (
P11
) to unscrew the nut (
P9
) and
the pivot (
P10
) and disassemble the trigger (
P8
).
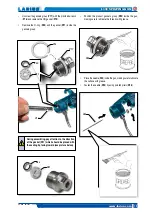
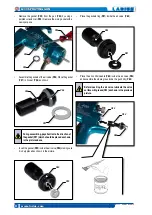
• Hold the nut (
P12
) with pointed pliers. (
P13
). Unscrew the
needle (
P14
) and remove the bushing (
P15
).
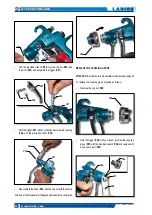
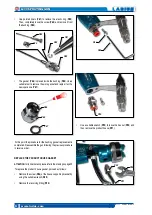
• during this operation, check the neddle (
P14
) and the nee-
dle tip (
P16
) whose surface shall not be damaged or worn.
Replace it, if necessary.
Pay attention to the direction of the bushing (P15)
in order to grant its correct positioning.
www.larius.com
L400 SPRAYING GUN
18
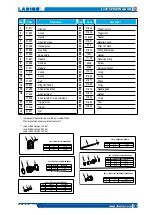
P4
P5
P7
P6
P8
P8
P9
P10
P11
P13
P14
P12
P12
P15
P14
P16


