3. Vehicle-mounted recording
To record a video, please check whether the DV is under Vehicle-mounted
mode. The icon is played on the screen.
Start recording:
Press and release the button, the icon and [:]
displayed in LCD will ash. At the same time the blue indicator will ash
too, meaning the recording is in process.
Stop recording:
Press and release the button, the icon and [:]
displayed in LCD will stop ashing. At the same time the blue indicator
will stop ashing either, meaning the recording is stopped.
Press the shutter button once under the preview state to begin recording, save
a segment for recording every 3 minutes, then start to record the next segment
of video. When the storage card is full, the earliest segment of video will
be deleted to release the corresponding space for continuous recording.
4. Connecting to PC
Turn on the DV and connect it to the USB port
of the PC via the attached USB cable.
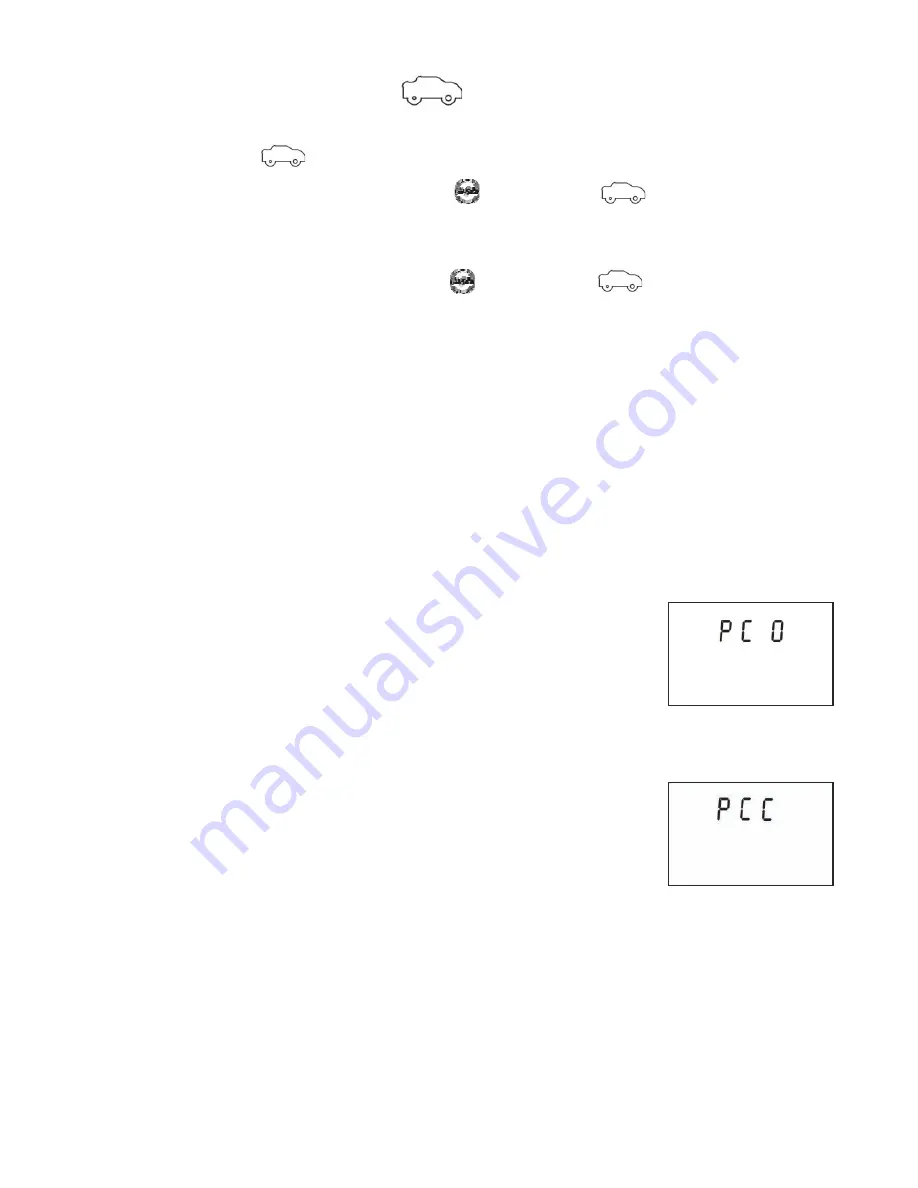
The DV will enter U-disk mode and the LCD will
display [PCO] after connection:
Now you can view the photos or videos taken
by DV on PC.
In U-disk mode (PCO mode), press the Shutter
button to switch to web cam mode (PCC mode),
and the LCD will display [PCC].
Now you can start the web cam through application.
To return to U-disk mode (PCO mode), press
the button again.
NOTE:
Driver is not required for web cam mode (PCC mode) on Windows XP(SP3)
version or above.
9


