PTB-1-WHT
Larson Electronics, LLC
Phone: (800) 369-6671
Fax: (903) 498-3364
www.larsonelectronics.com
3
of
8
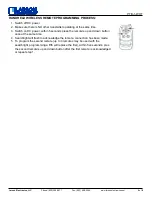
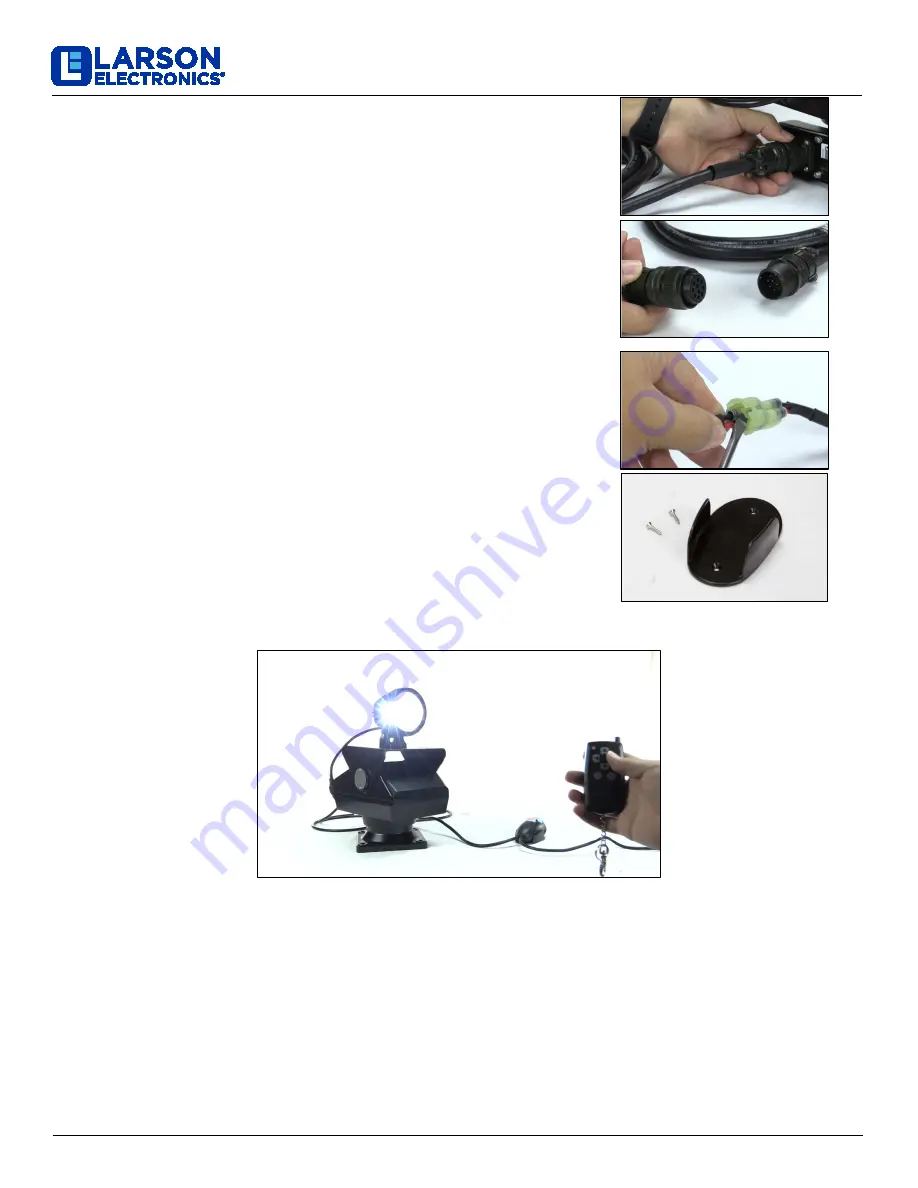
4.
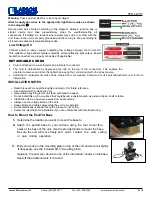
Attach and run the power cables. Take the 25’ cable
w/inline remote and securely attach the female connection
to the base.
5.
Attach the hardwired remote to the other end of the cable
by screwing the female end of the remote assembly to the
male end of the wire harness.
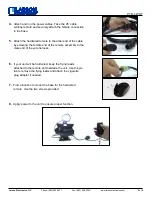
6.
If your unit will be hardwired, keep the flying leads
attached to the remote and hardwire the unit. Use the pin
tab to remove the flying leads and attach the cigarette
plug adapter if needed.
7.
Find a location to mount the base for the hardwired
remote. Use the two screws provided.
8.
Apply power to the unit to ensure proper function.


