background image

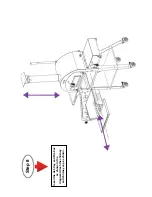
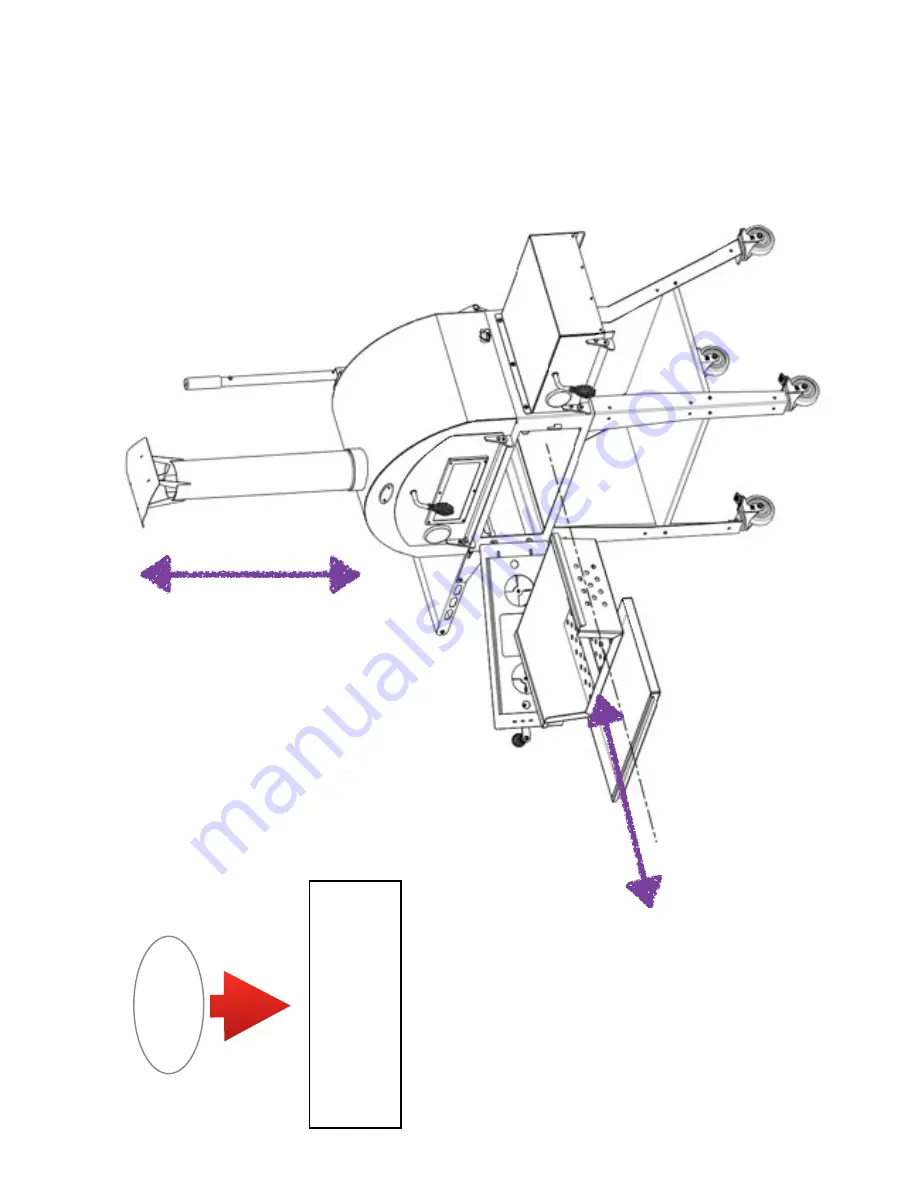
Step 8

Insert the 

Ash tray and Fire box 

as shown in the 

diagram.

Attach the chimney 

and chimney cap as shown.

Summary of Contents for V3

Page 1: ...WOOD FIRED OVEN GRILL COMBINATION MODEL V3 ...

Page 2: ...ed our V3 Multi function Oven and Barbecue This booklet contains instructions regarding the functioning and correct use of the oven and its maintenance The manufacturer reserves the right to make changes or improvements to it s products at any Eme without prior noEce Page 2 ...

Page 3: ...ring Never use an abrasive cleaner on any of the oven s surfaces WHEN GRILLING MAKE SURE THE FLAME LEVEL IS NOT DANGEROUSLY HIGH BEFORE TILTING THE OVEN UP Note By products from the combustion of charcoal wood and other fuels are known by the state of California to cause cancer birth defects and other reproductive harm Page 3 Before using Remove all packing materials and discard Remove the cooking...

Page 4: ...ing and a middle position for using a rotisserie then insert the stainless steel grill Pull out the safety pin and use the lifting handle to return the oven to the baking position open the oven door and carefully insert the cooking stones in the oven For seasoning use hardwood no longer than 12 inches 30 cm or chunk charcoal Light the fire in the firebox Insure that the air vents on the firebox do...

Page 5: ...carefully the section titled Starting the fire for the first time prior to using the oven DURING USE ALL OVEN SURFACES GET VERY HOT DO NOT TOUCH KEEP CHILDREN AND PETS AWAY FROM THE OVEN ALWAYS USE HEAT RESISTANT GLOVES WHEN USING THE OVEN ALLOW THE OVEN FIRE TO GO OUT THE OVEN TO COOL DOWN BEFORE CLEANING OR REMOVING ASHES Keep all operating manuals handy and refer to them prior to each use Chimn...

Page 6: ...quickly heat the thick stones on the oven floor and at the same me moves through the air space on the sides providing radiant as well as direct heat for cooking Uniquely due to it s very thick cooking stones V3 can cook for up to two hours aYer the fire goes out An added health factor is the fact 95 of the smoke travels up through the air space to the chimney avoiding the overly smoked flavor of many...

Page 7: ...ver charge Four chunks will be enough to start 4 Set the vent knob When starMng the fire open the air vent all the way adjust the burn rate and temperature by adjusMng the vent during cooking Do not exceed a temperature of over 500 F 260 C on the built in thermometer If so close a bit the vent knob Do not cook grill or bake when the flames are excessively high it is best to wait unMl the flames have ...

Page 8: ...ase and oils DO NOT PUT WET STONES BACK IN THE OVEN WET STONES CAN CRACK VOIDING THE OVEN S WARRANTY 9 Cleaning the grill Always clean as you go That will mean an easier and less Vme consuming clean in the end It is best to scrub the grill with a metal grill brush before and a er cooking while the grate is sVll piping hot When the grill is cold it should then be oiled to preserve its life Do this ...

Page 9: ...ansportaFon costs or in home repair charges Warranty information The V3 Wood fired multifunction Oven and Grill is covered by a 5 years limited warranty from the date of purchase by the original owner This warranty covers parts and workmanship it is the sole decision of the seller to either replace any defective parts or replace the entire oven Parts are supplied free of charge but replacing them ...

Page 10: ...eather oven cover Please record and send the following information to confirm your warranty Date of Purchase Place of purchase Location Invoice number Copie of the invoice must be joined to this form Your name Your Location Your Tel Your mail Please complete the Warranty Form and forward to Email contact artdujardin fr Address L Art du Jardin 123 Faubourg des Vosges 68700 Cernay France ...

Page 11: ...REF V3 Mul Oven Assembly Manual L Art du Jardin 123 Faubourg des Vosges 68700 Cernay France ...

Page 12: ... the ash tray the fire box and carefully remove the cooking stones they are fragile Remove one of the Styrofoam blocks from the box and lay it on the ground Carefully lay the oven on the Styrofoam as shown on the diagram Styrofoam from packing B1 F1 F2 B2 ...

Page 13: ...en legs bolts yet NOTE IT IS CRITICAL THAT THE LEGS AND WHEELS ARE IN THE CORRECT POSITIONS THE FRONT LEGS ARE STRAIGHT AND HAVE LOCKING WHEELS THE REAR LEGS HAVE A SLIGHT ANGLE AND THE WHEELS DO NOT LOCK F1 F2 B2 B1 B1 B2 F2 F1 After the wheels are attached to the legs loosely bolt the legs to the oven Watch F1 and F2 at front B1 and B2 at rear Use the included tools for tightening bolts ...

Page 14: ...Step 4 Using the bolts and nuts provided attach the storage shelf Now tight firmly the bolts holding the oven to the legs ...

Page 15: ...ttach the warming chamber on the right side as shown Step 6 Assemble the folding side shelve as shown and attach to the side of the oven Attach the black lifting handle on the front left as shown Step 5 ...

Page 16: ...Step 7 Assemble the rear handle as shown ...

Page 17: ...Step 8 Insert the Ash tray and Fire box as shown in the diagram Attach the chimney and chimney cap as shown ...

Page 18: ...ng position using the lifting handle Insert the grilling grid as shown Step 10 Pulling out the safety pin catch lower back down to the baking position Open the oven door carefully insert the two cooking stones The stones are heavy but fragile always take care when inserting or removing them from Safety pin ...

Page 19: ...Step 11 Your Oven Your Grill Enjoy your L Art du Jardin V3 outdoor wood fired Oven ...

Reviews: