background image

12

13

recorDInG funcTIon

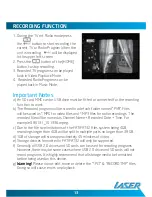
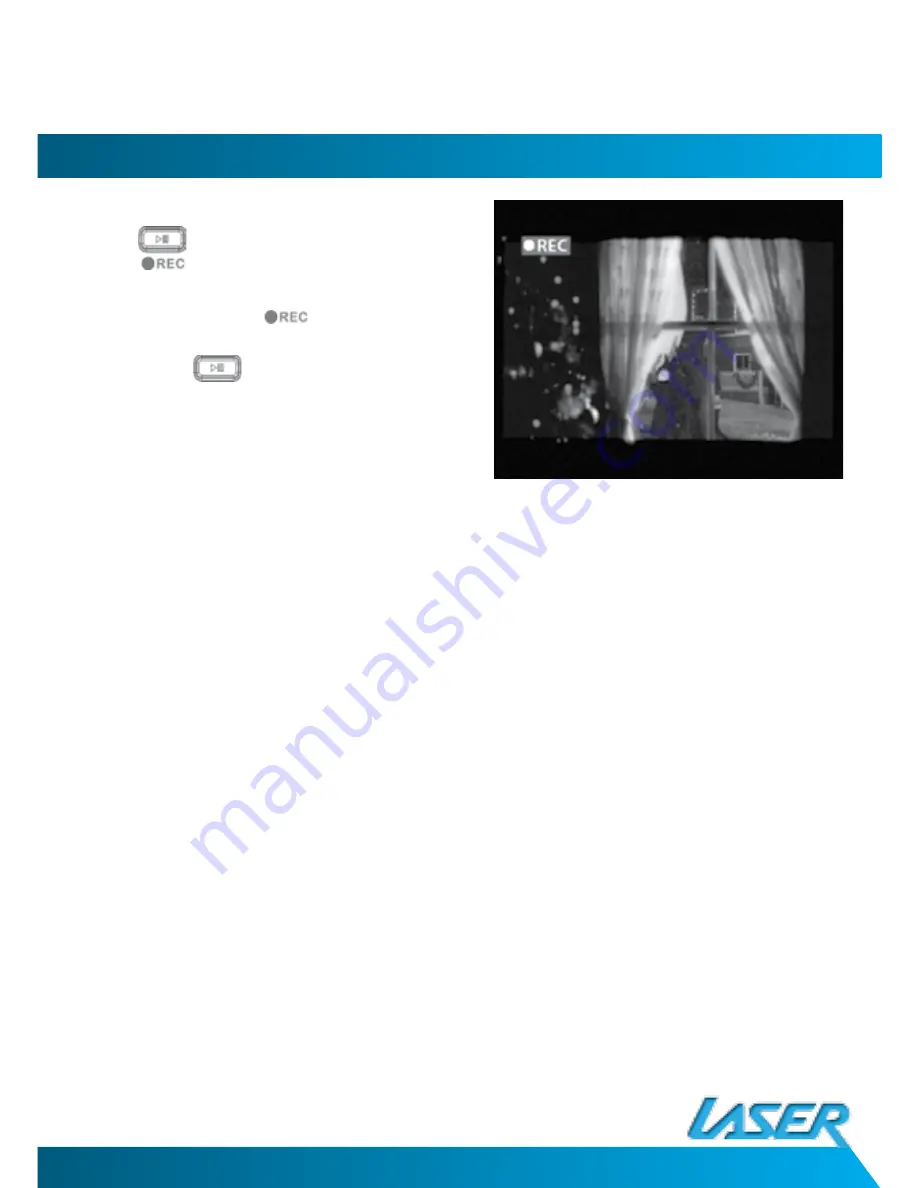
1. During the TV ort Radio mode press 

the 

 button to start recording the 

current TV or Radio Program When the 
unit is recording,  

 will be displayed 

in the upper left screen.

2. Press the 

 button of the [HOME] 

button to stop recording.

3. Recorded TV programs can be played 

back in Video Playback Mode.

4.  Recorded Radio Programs can be 

played back in Music Mode.  

Important Notes

a) An SD card, MMC card or USB drive must be fitted or connected for the recording 

function to work

b) The Recorded program will be stored in a default folder named “PVR”. Files 

will be saved as*. MPG for video files and *.MP3 files for radio recordings.  The 
recorded file will be named as Channel Name + Recorded Date + Time. For 
example 090131_101336.mpeg.

c)  Due to the file size limitations of the FAT/FAT32 files system being 4GB, 

recordings larger than 4GB will be split in multiple parts no larger than 3.9GB.

d) 1GB of storage will store approximately 45 minutes of video
e) Storage devices formatted in FAT/FAT32 will only be supported.
f)  Generally all USB 2.0 drives and SD cards can be used for recoding programs. 

However, there may be some cases where USB 2.0 drive and SD cards will not 
record programs. It is highly recommend that all storage media be formatted 
before being used on this device.

g) 

warning!

 Please do not edit, move or delete the “*.PLT” & “RECORD.TMP” files. 

Doing so will cause errors on playback.

connecTIon GuIDe

Summary of Contents for DVBT-MP32

Page 1: ...DVBT MP32 User Manual Please read carefully before use...

Page 2: ...g pools kitchen sinks baths and the like This device is not waterproof Only place the device on a stable surface and ensure that cables attached to the device can not cause the device to fall Only use...

Page 3: ...ain Never attempt to repair this device by yourself It does not contain any user serviceable parts The battery should be replaced only by authorised service providers Use headphones safely Use of head...

Page 4: ...g your DVT 6 Basic operations 7 Media Hot Keys and Using the Main Menu 8 Quick start for first time use 10 Using the DVB T Radio 12 Recording Fuction 13 Video File Playback 14 Music File Playback 15 P...

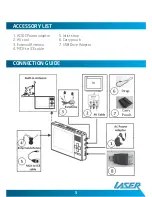
Page 5: ...Accessory List 1 AC DC Power adaptor 2 AV cord 3 External Antenna 4 MCX to ICE cable Connection Guide 5 Wrist strap 6 Carry pouch 7 USB Drive Adaptor...

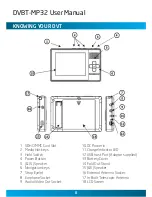
Page 6: ...ower Button 5 15 Speaker 6 Navigation keys 7 Strap Eyelet 8 Earphone Socket 9 Audio Video Out Socket 10 DC Power in 11 Charge Indicator LED 12 USB host Port Adaptor supplied 13 Battery Cover 14 Fold O...

Page 7: ...Basic Operation...

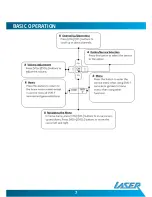
Page 8: ...ress and hold key to fast rewind during playback Play Pause Function Next Fast Forward Function Press the key to play the next Video Audio file Press and hold the key to fast forward during playback U...

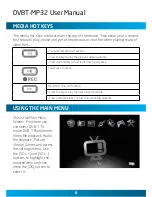
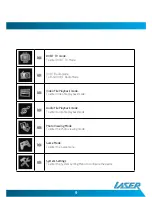
Page 9: ...de Video File Playback mode To enter Video file playback mode Audio File Playback mode To enter Audio file playback mode Photo Viewing Mode To enter the Photo viewing mode Game Mode To enter the Game...

Page 10: ...ry starts charging the Charge LED will Glow RED 3 When the battery is fully charged The LED will Glow GREEN The Player can be remeoved from the adaptor Step 2 Turning the Device on Press the Power but...

Page 11: ...em 4 Press the OK button to select the highlighted item or press the MENU button to exit to the previous screen NOTE Time zone settings will be automatically updated once the Region setting is changed...

Page 12: ...d then press the OK button to enter the Radio Mode 2 Press the CH CH to select the preferred radio channel 3 The Radio service will start immediately Note The device can only play DVB T radio broad ca...

Page 13: ...nd MP3 files for radio recordings The recorded file will be named as Channel Name Recorded Date Time For example 090131_101336 mpeg c Due to the file size limitations of the FAT FAT32 files system bei...

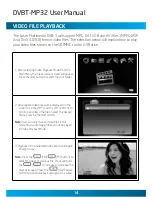
Page 14: ...to select the root folder 2 All available video files will be displayed on the screen Use the CH and the CH buttons to scroll up and down the files Select the desired file by pressing the OK button N...

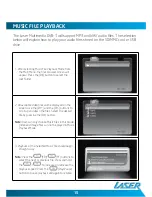
Page 15: ...available video files will be displayed on the screen Use the CH and the CH buttons to scroll up and down the files Select the desired file by pressing the OK button Note User can only choose Music f...

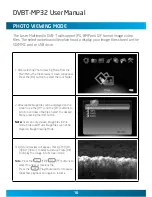
Page 16: ...folder 2 All available image files will be displayed on the screen Use the CH and the CH buttons to scroll up and down the files Select the desired file by pressing the OK button Note User can only ch...

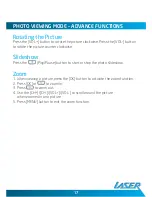
Page 17: ...cture counter clockwise Slideshow Press the Play Pause button to start or stop the photo slideshow Zoom 1 When viewing a picture press the OK button to activate the zoom function 2 Press OK or to zoom...

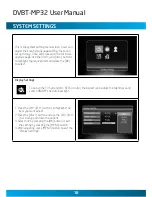
Page 18: ...m and press the OK to select Display Settings To set up the TV System PAL NTCS or Auto the Aspect ratio adjust the brightness and switch ON OFF the Auto backlight 1 Press the CH CH buttons to highligh...

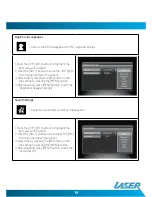
Page 19: ...the setting by pressing the MENU button 4 After adjusting press MENU button to exit the Region language Settings Sound Settings To select a sound efect and set up the equaliser 1 Press the CH CH butt...

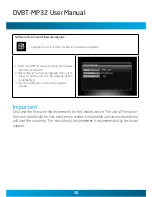
Page 20: ...Version upgrade menu press the CH button until the SW Upgrade option is highlighted 3 Press the OK button to start the upgrade process System Settings Important Only use the firmware file recommend f...

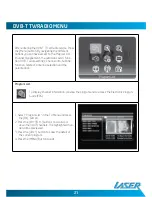
Page 21: ...Subtitle function Teletext Antenna selection and the parental lock Program List To Display Channel information preview the program and to access the Electronic Program Guide EPG 1 Select Program List...

Page 22: ...ting using the Skip List Lock and Delete Fucntions 1 Select Channel Management in the TV Menu and press the OK button 2 Press the CH CH Buttons to scroll up or down the channel list Press the OK butto...

Page 23: ...Press the OK button to activate the function Note This Function temporarily removes the channel from the program list Us ers can restore the channels by deactivating the function Lock a Channel 1 Afte...

Page 24: ...Radio FM Radio Auto channel search EPG Channel preview and Subtitles where supported Power supply 100 240V AC power adaptor Battery Built in 3 7V 2000mAh rechargable polymer battery Operating time Ty...

Reviews: