PLMNL0232 REV. H Effective Date: 01/14/19
17
FiberCUT
®
2D Operation Manual
3 Electrical Installation and
Operation
The FiberCUT
®
2D has a companion control box
that acts as the interface between the
FiberCUT
®
2D, the power, the motion system
and a personal computer.
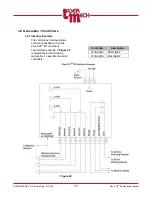
There are (2) generations of FiberCUT
®
2D
control boxes. See the chart below.
The main difference is that Generation 2
controllers have expanded discrete I/O
capabilities.
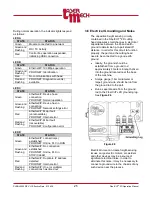
Generation
See
Section
Industrial
Ethernet
Part
Number
1
PROFINET PLCSA0041
EtherNet/IP PLCSA0052
2
EtherNet/IP PLCSA0064
PROFINET PLCSA0065
None
PLCSA0066
3.1 Connections
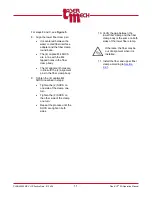
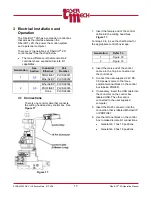
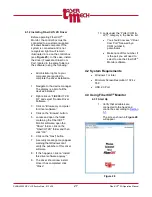
There is one control cable that connects
the cutting head and any control box. See
Figure 17
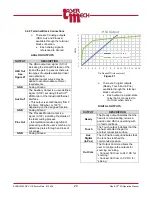
1. Insert the female end of the control
cable into the cutting head. See
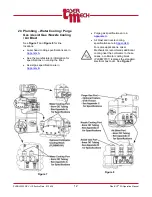
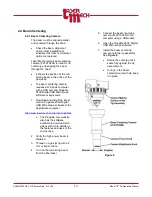
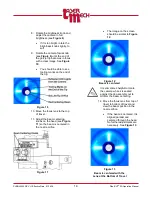
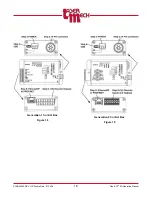
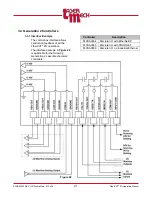
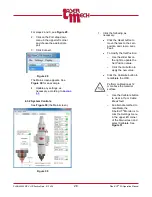
For steps 2 to 6, see the chart below for
the appropriate control box image.
Generation
Refer To
1
2
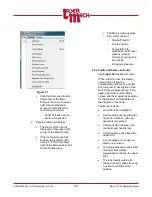
2. Insert the male end of the control
cable into the 14-pin connection on
the control box.
3. Connect the user-supplied, 24V DC,
0.5A power source to the three
position terminal block on the control
box labeled POWER.
4. If necessary, insert the USB cable into
the connector on the control box
labeled USB. The other end is
connected to the user supplied
computer.
5. Insert the RJ-45 connector into the
connection that is labeled Ethernet/IP
or PROFINET.
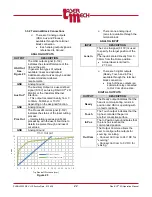
6. Use the terminal block on the control
box to make discrete I/O connections.
Generation 1 has 10 positions.
Generation 2 has 16 positions.

