PLMNL0232 REV. H Effective Date: 01/14/19
51
FiberCUT
®
2D Operation Manual
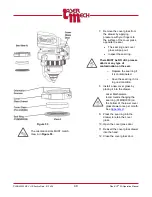
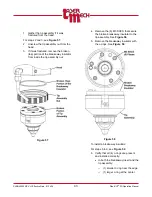
6. Use lens insertion tool (PLLIT0034) to
unthread the collimator lens cartridge
and shim(s) from the collimator.
7. Verify the new shim(s) are included
with the new collimator lens cartridge.
Do not reuse old shims.
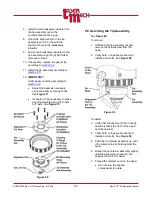
8. Use lens insertion tool (PLLIT0034) to
thread the new collimator lens cartridge
into the collimator.
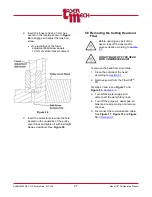
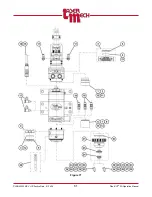
Figure 70
If you have the standard electrical box
cover, see
If you have the optional collimator
cooling block (PLSBW0101), see
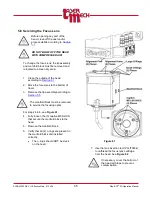
9. Feed the collimator sensor cable
through the collimator, near where it is
attached.
10. Reinstall the collimator on the head
and reattach the collimator sensor
cable to the collimator sensor board.
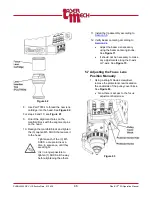
11. Tighten the (4) M5 LHCS that secure
the collimator to the head.
12. Verify the gasket is in the groove on
the back of the electronics cover or
cooling block.
Replace the gasket if necessary.
13. Reinstall the electronics cover or
collimator cooling block on the
collimator and tighten the (4) M2
SHCS.
14. Install the cutting head according to
steps 13 to 21 in


